Monday, October 12, 2020

Tamiya 1/48 M8 Greyhound and Winter GIs

Well, it's Thanksgiving weekend here in Canada and last year at this time, we had a foot of snow on the ground... thankfully it's pretty nice here still this year (I cleaned the leaves out of my house gutters today) but we know that winter is just a matter of time. 

When I posted about the Solido M20 Command Car and winter Sherman I threatened to post again with the entire army, and it's only taken seven months :-)  Most of the infantry are from Artizan Designs.

These are supplemented by a command squad from Bolt Action, that I've posted about before.


I also augmented the Artizan troops with a veteran Bolt Action squad. All of the models in the army are metal.

Lots of .50 cal. "Ma Deuces" in the force... along with one tripod-mounted HMG, there's also one on the Sherman, one on the M20 armoured car, and one on the Greyhound.  

A couple of Artizan .30 cal. MMG crews in the force as well.

The latest addition prompting this post is the completion of this Tamiya M8 Greyhound.

Turned out pretty good. I also added resin wheels and tirechains from Black Dog (blackdog.cz), a manufacturer based in the Czech Republic. The fit was absolutely flawless and a really easy conversion to make.  

I left off securing the front and rear fenders to the model until after I'd painted the wheels. The paintwork was done the same as on the M20 and Sherman - Catachan Green basecoat, Rakarth Flesh stipple followed by White Scar. Done! 

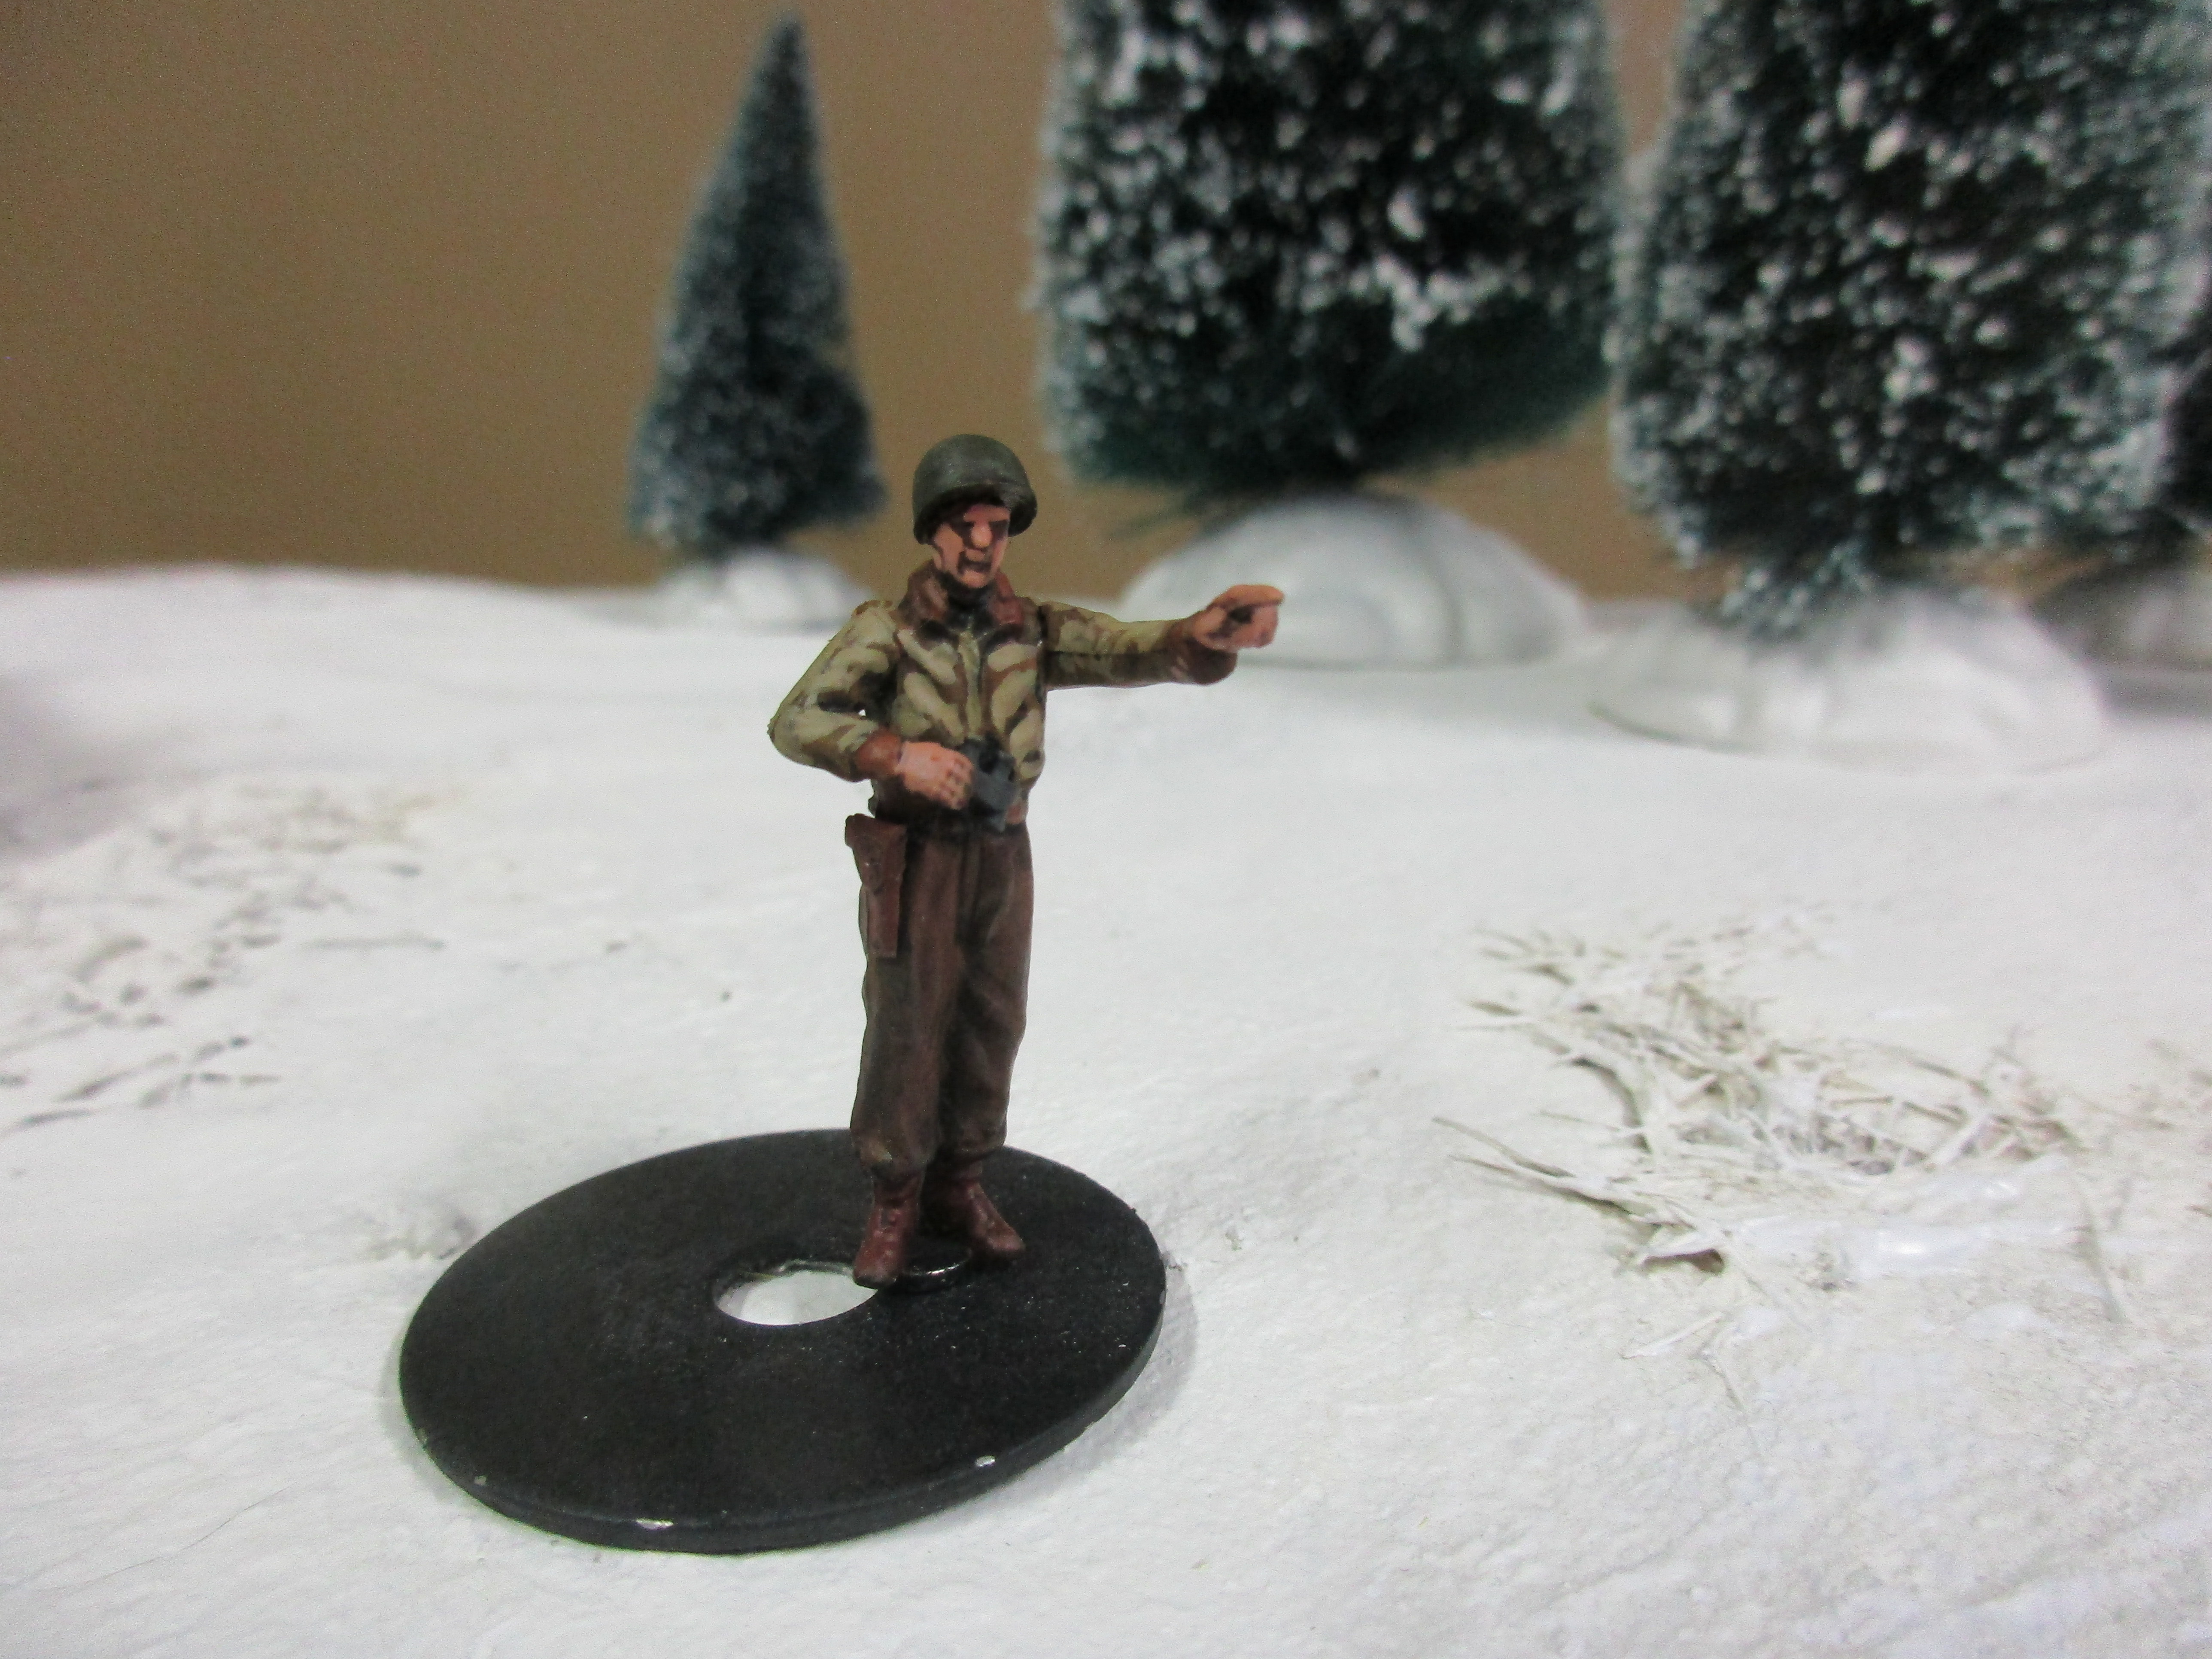
The crewman required a bit more thought. The crew model was supplied in the Tamiya kit but the pose was kinda boring - just holding a pair of binoculars in front of his chest. So I pinched a pointing arm from a handy Bolt Action plastic US Infantry set and added that.

Now, how to secure him in the turret? Magnets to the rescue of course... I superglued a 5mm rare earth magnet to the crewman's feet...

...and stuck a corresponding magnet on the top of the seat in the bottom of the turret (see next pic)

You can just see the magnet on top of the seat in this pic. It actually worked really well; the crewman stands up nice and straight and is quite secure.

A couple other models added to the army... first a .50 calibre machinegun team. This one is from Warlord's Bolt Action range and is actually a weird little set. You get these very useful crewmen for the .50, but the pack also contains two other oddballs, one of which is warming himself over a fire (!)

I haven't painted the other two models from the pack yet.

I also got a couple of .30 cal. MMG teams from Artizan. They should come in handy in a game, if these guys ever get to see the tabletop.

Hope you enjoy the post and stay healthy, friends.

Wednesday, October 7, 2020

Hummel Time! Bolt Action 28mm Sdkfz.165 SP Howitzer

The Hummel is the first of the modern range of Bolt Action vehicles that I've built and painted, probably because the majority of my WW2 vehicle collection is 1/48 scale, and the Bolt Action stuff is 1/56. I've always wanted to build and paint a Hummel for my Germans though, and the fact is that there aren't any readily available Hummel models in 1/48.  

And the Hummel is so cool! Armed with a 150mm (!) howitzer, the Hummel was built on a hybrid Pzkpfw III/IV underpinning - driving and steering from the Panzer III and engine and suspension from the Panzer IV.

The Bolt Action kit in 1/56 scale is pretty simple to put together. The hull (including interior storage) is one big piece of resin, requiring little cleanup. The rear doors are cast in metal, as are the sFH 18 L/30 15cm howitzer (with separate metal sights), the crankwheel for the gun mount, the left and right barrel supports, the headlight, and the MG34 and its pintle mount. The left and right track and suspension assemblies are separately cast in Bolt Action resin. Unfortunately there were no assembly instructions included, and the pictures on the website didn't disclose where one of the metal parts fit - not a big deal though, it was obviously just a minor interior part. Other than this, the kit wasn't hard to assemble but one of the resin hull sides was a little warped. It straightened out fine with some hot/cold water immersion though. 

No decals are included, unfortunately, but I found some in my decal folder.

The vehicle was basecoated Zandri Dust, and camouflaged with Doombull Brown and Catachan Green. I then washed it in Agrax Earthshade, followed up with decal application and sponge chipping, as well as applying some mud and dirt around the lower parts. 

The kit also comes with three crew, cast in metal with separate heads. You get three heads wearing M-38 schiffchen (sidecaps) and one in an M-43 einheitsfeldmuetze (soft cap). This really sold me on the Bolt Action Hummel as I'm a sucker for open-topped vehicle models that come with crew.


I modeled the rear doors open, since the metal doors didn't fit the opening well in the closed position. I love that the ranging rods are cast onto the hull, a great detail.

Interior detail on the kit is super and is all cast-in.

Pintle MG34 is slightly fiddly but is a nice touch as well. 


Here's the crew pictured outside their vehicle.

I should also add that I tried out a couple of different matt varnishes on this kit. My usual go-to is Testor's Dullcote, but the can I've been using has gone satin-y... not good. I picked up a can of Winsor & Newton General Purpose Matt Varnish spray, but it took ages to dry, smelled pretty bad, and didn't flatten the finish much at all. Next I tried Tamiya XF-86 Flat Clear acrylic, brushed on neat from the bottle. It worked much better at flattening the finish. Not as good as Dullcote at its best, but better than the can I've got now.

Anyway, I hope you enjoy the post, and stay healthy!

Friday, October 2, 2020

Battle of Chemulpo Bay, February 9, 1904

Remote miniatures gaming on Zoom!

Last week I ran a naval war game on Zoom, using Gridded Naval Rules, by Bob Cordery. We re-fought the Battle of Chemulpo Bay, which occurred on 9 February 1904, at the start of the Russo-Japanese War: https://en.wikipedia.org/wiki/Battle_of_Chemulpo_Bay

A Japanese squadron attacked Russian forces trying to break out from a neutral Korean port into the open seas. Frederick and Dallas managed to navigate their Japanese forces remotely, against my doomed Russian force.

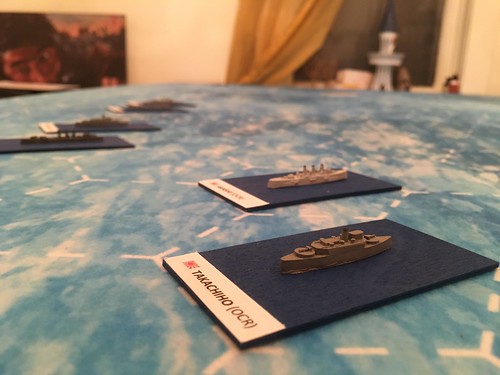
All the ships are 1/2400 scale resin models from Panzerschiffe. The beautiful cloth battle mat is from Cigar Box (you can have them add hex grids of various sizes).

Below, the Russian cruiser Variag, accompanied by the old gunboat Korietz.

Untitled 

The superior Japanese forces, arrayed into 4 divisions: 3 divisions of two cruisers each, and a torpedo boat division. Frederick ran two cruiser divisions: the lead division with the most modern warship leading, the armoured cruiser Asama; he also ran the Naniwa and the Niitaka. Dallas ran the third cruiser division (the Akashi and the Takachiho) and the torpedo boat division.

Untitled 


Untitled 

Initial setup of the opposing forces.

Untitled 

The initial stages of the battle, as the Japanese move to try a squeeze play on the Russians, who in turn used the cover of an island to shield themselves from gun fire as long as possible.

Untitled 


Untitled 

First blood to the Japanese, as the Korietz started taking long range hits from the leading Japanese cruiser, the Asama.

Untitled 


Untitled 

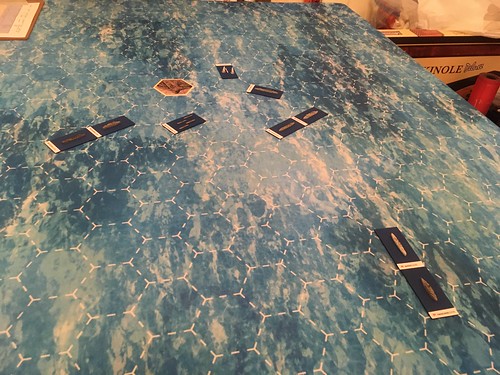
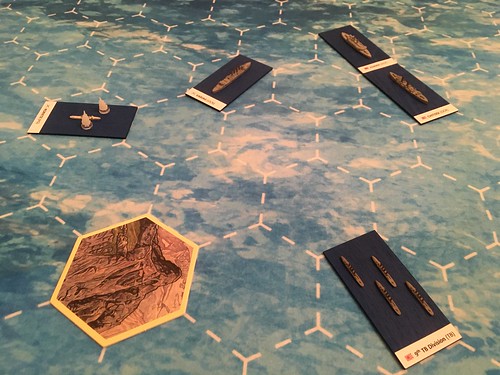
Just before the climax of the game. The Russians tried to cross the Japanese T, but were beat to the punch. Meanwhile, the Japanese torpedo boats had set up a nice deflection shot on the Variag.
Untitled >

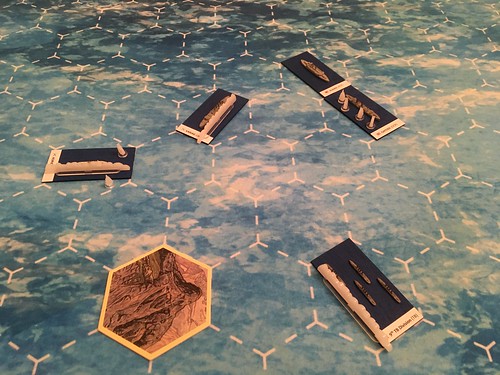
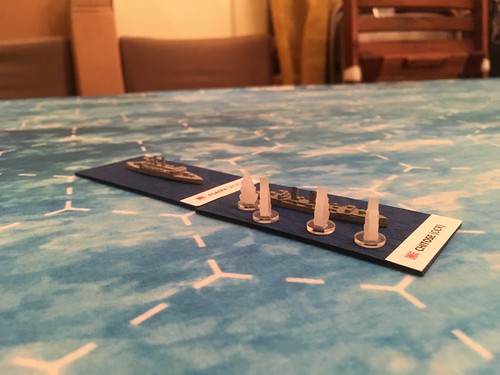
In only ONE turn of furious shooting and torpedo fire, both Russian ships were sunk, all the Japanese torpedo boats were sunk, and the Chitose took serious damage. A decisive Japanese victory!
Untitled 


Untitled 


Untitled 

Historically, the Japanese forces turned away from the Russians, to keep them at long range. 

However, in the game Frederick and Dallas played the Japanese forces very aggressively, getting into knife fighting range with their 8" and 6" naval guns, and torpedoes. (Click on the maps below to enlarge them.)


I used multiple cameras, but the hand held iPhone SE did most of the work, zooming in and out upon different parts of the battle area.

The simple rules and hex grid allowed the players to maneuver pretty easily. I look forward to trying out these rules again.

Thursday, October 1, 2020

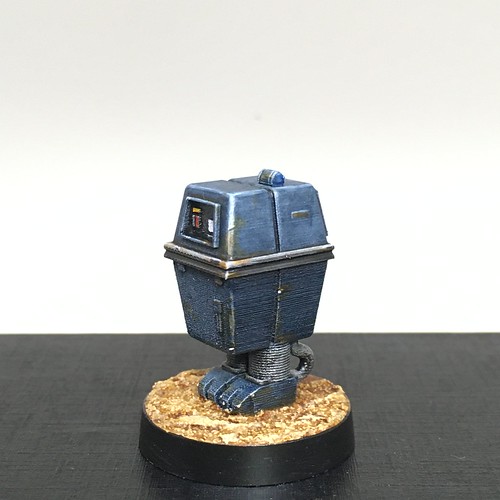
Star Wars Legion - Sabine Wren and a Gonk Droid


Untitled

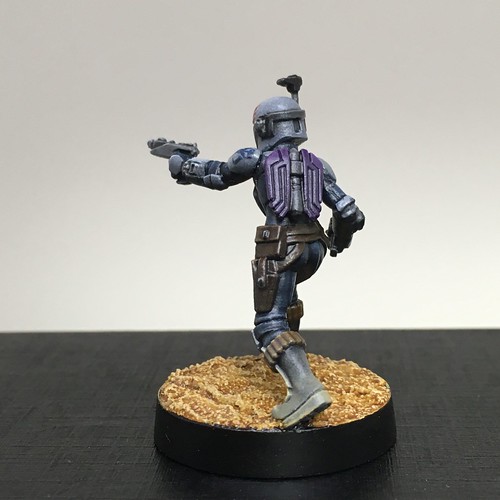
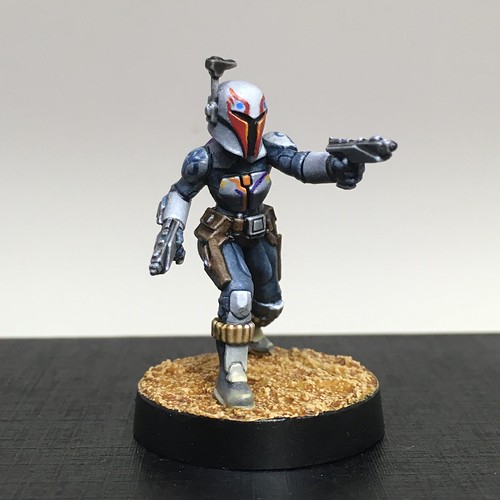
 Sabine Wren and a Gonk Droid, 1/47 scale figures for Star Wars Legion. Zenithal highlights and spotlighting with an airbrush, acrylic glazes, then details and blending with oils.

The Mandalorian is from FFG, and the droid is a 3D print from Skull Forge Studios.

Untitled


Untitled


Untitled


Untitled

For Sabine, her armour’s helmet and chest decorations are loosely based on her appearance in the series finale of Star Wars Rebels (see below). I also increased the contrast between her armour and under suit. The shoulder markings of the mythasaur skull are decals that I used decal solvent on to conform to the rounded surface, then over painted slightly with oils to give a little shading.



Untitled


Untitled


Untitled


Untitled