In the three years in which I have participated in the painting challenge I have done quite a few of the themed challenges from the planets of the Challenge Quadrant in 2022, the movie lots of the Challenge Studio in 2023, or the book sections in the Challenge Library in 2024. They have been a good way to use up some of the oddball figures I have in my collection of unpainted minis, as well as giving me the impetus to complete projects that have long lingered in my storage boxes. During AHPC XIV I completed 19 special challenges, plus had two rides on 'Lady Sarah's book cart'.
I have already posted some of these in the earlier posts related to last year's challenge, so this post will be a summary, with pictures of those figures not already posted.
Overdues & Returns - early WW2 German cavalry and wounded
History - early WW2 Polish 10th Motorized Brigade
New Acquisitions - early WW2 French Light Mechanized Division
Fantasy - Easterling Warriors and Command
Children's Books - Bunny Stormtrooper
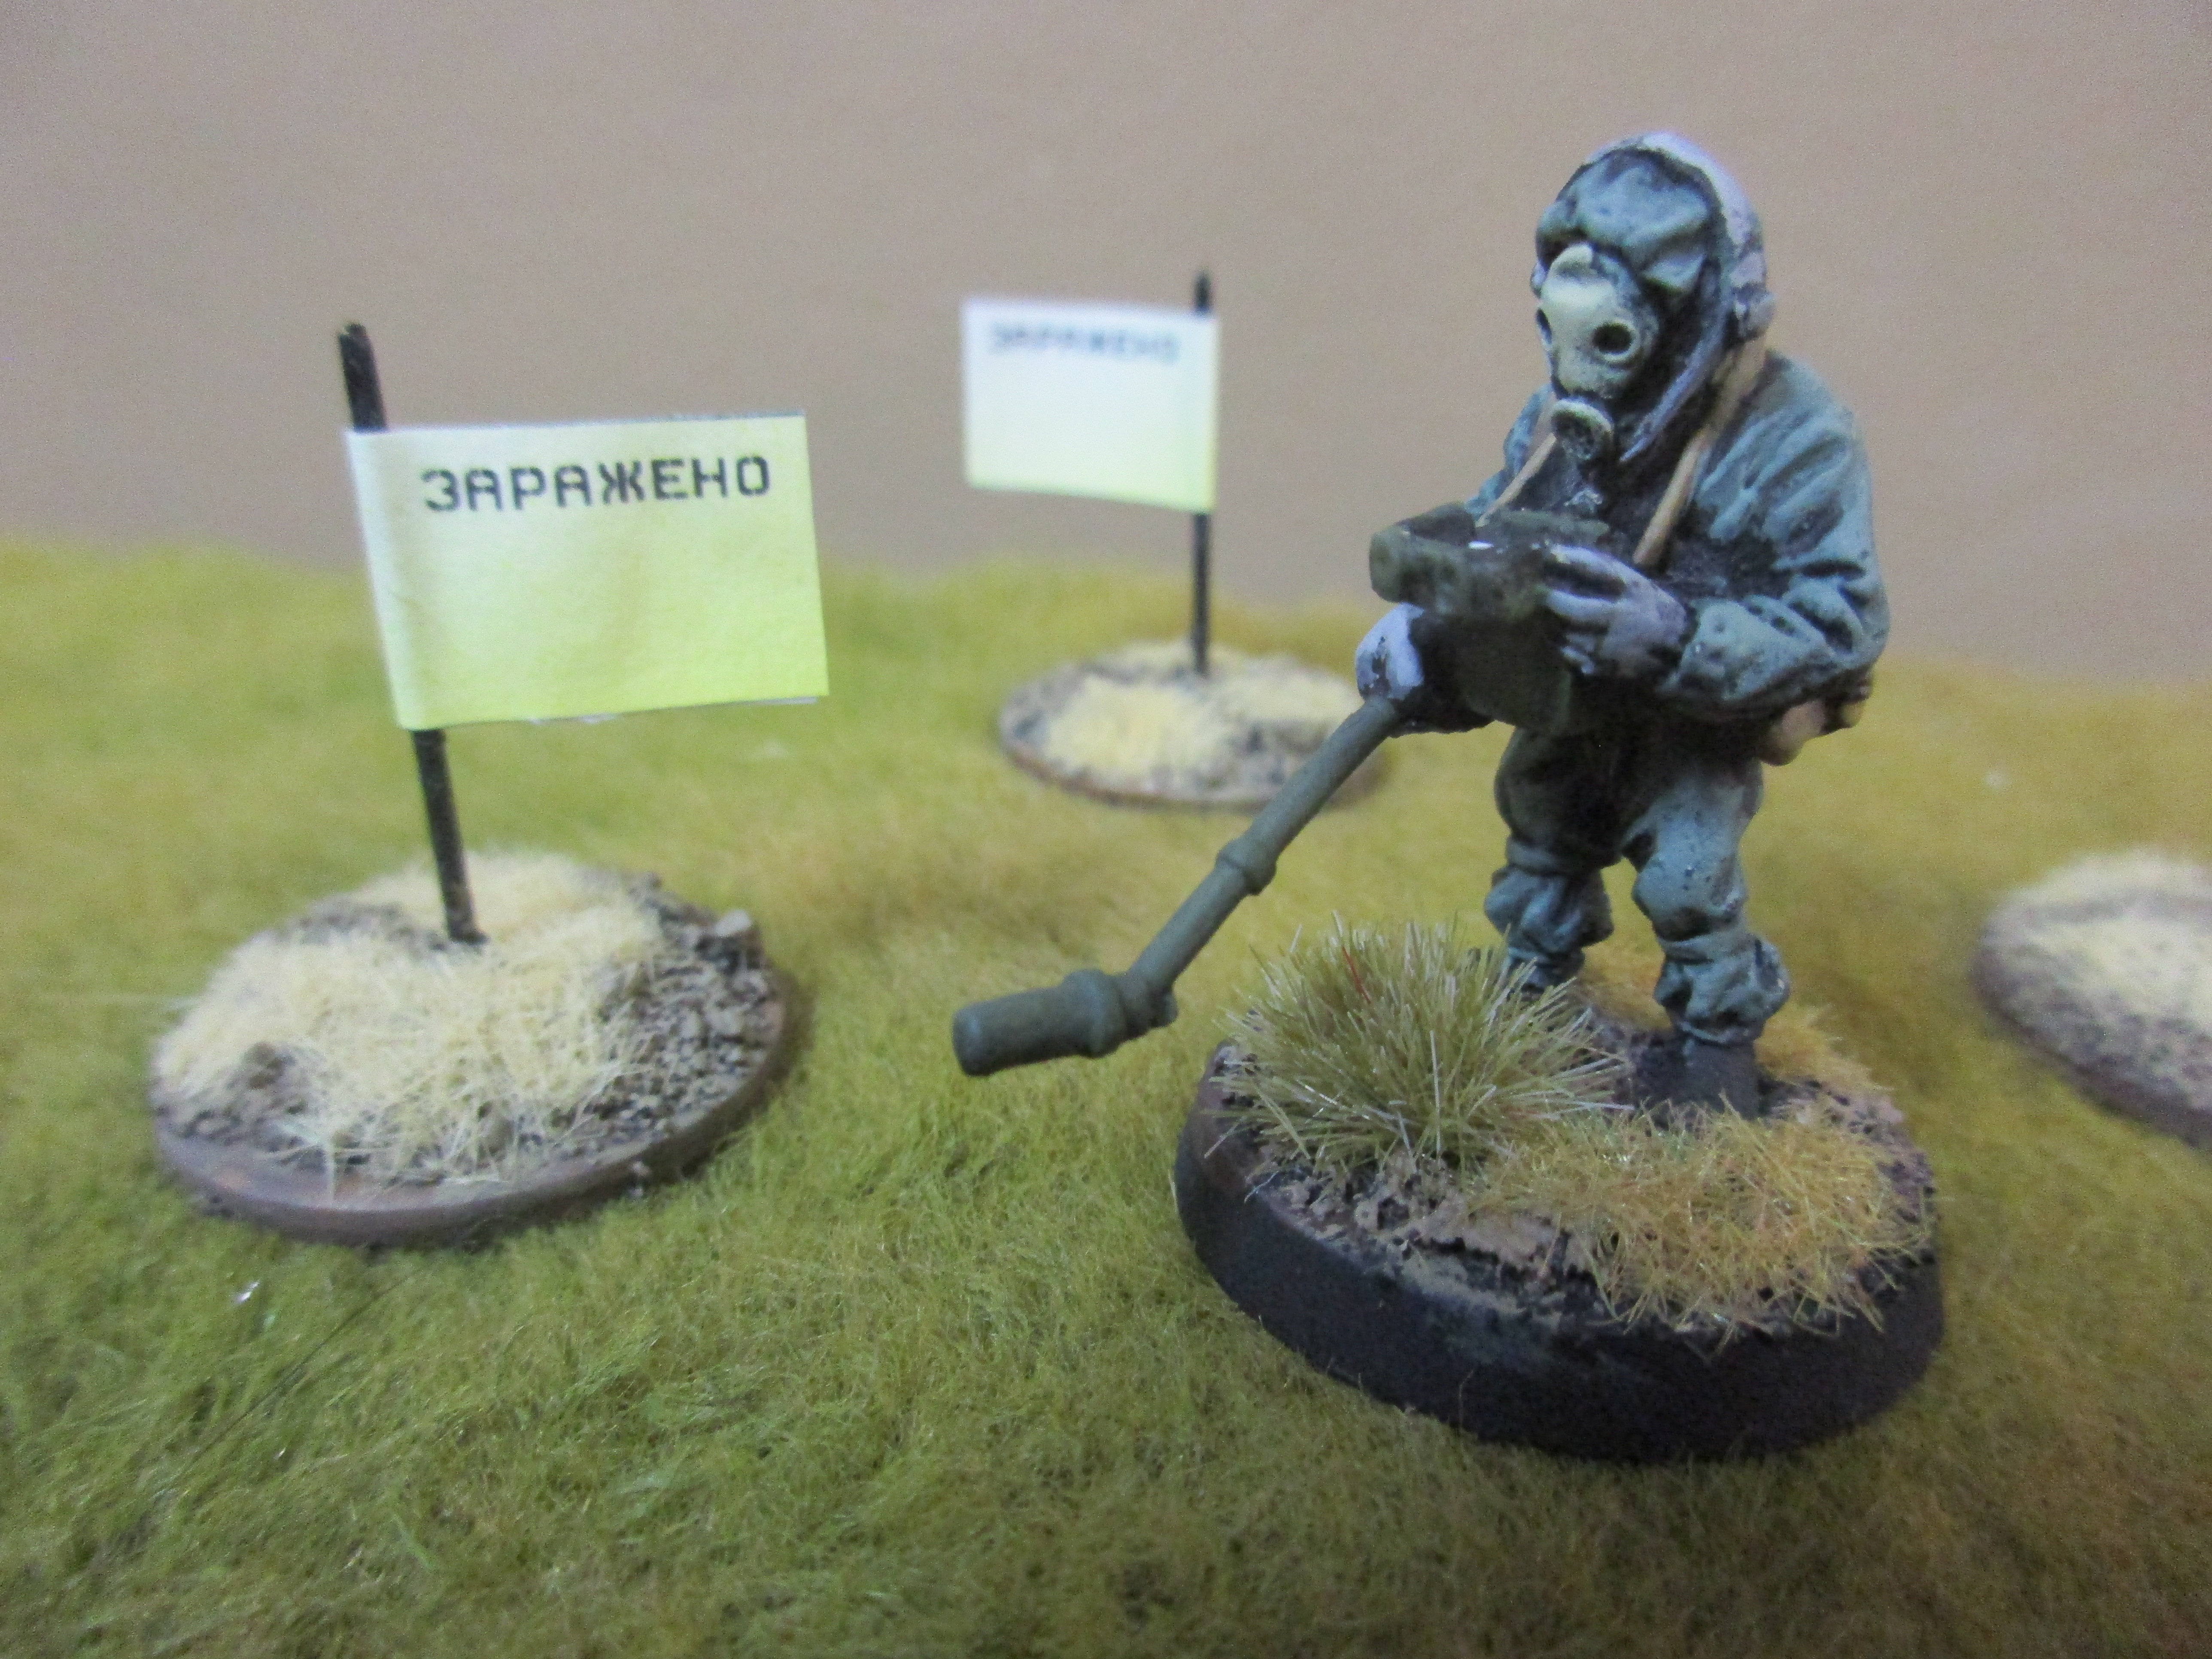
Local History - Idols of Torment
Romance - Han Solo and Leia Organa
Sci-Fi - Scotia Grendel Armoured Personnel Carriers and Tracked Vehicles
Manga & Graphic Novels - Archive Star Wars miniatures
Lady Sarah's Book Cart - Ground Zero Games female militia troopers
Statue of a Famous Person - Free French commander General Philippe Leclerc de Hauteclocque converted from a 54mm American tank crewman
Maritime - a Royal Navy longboat converted from a plastic toy sailboat
Nature - some jungle terrain with Easter Island heads
Gift Shop - a Games Workshop Lord of the Rings figure of Gothmog that went to fellow Conscript, Dallas
DYI - some brick and wrought iron fencing for my Polish Post Office Danzig made from polystyrene, cardboard, and vintage toy parts
Literature - a figure of Viggo Mortensen as Captain Alatriste converted from a Games Workshop figure of Viggo Mortensen as Aragorn
Travel - a 54mm Seven Years War Prussian musketeer associated with a visit to Sanssouci in Potsdam in 2001
Oversized Books - an 80mm Stadden figure of a British Bren gunner of 14th Army in Burma during the Second World War
Biography - in this case it was Autobiographical with a 54mm figure of a British grenadier of the 40th (Hopson's) Regiment of Foot, circa 1760 depicting me in one of my re-enactment uniforms
Rare & Antique Books - a hard plastic flat from the 1930s that belonged to my father when he was a boy, depicting a German infantryman on parade
That concludes my retrospective of AHPC XIV. Thanks for reading. If you have any questions, or would like more information on any of these figures or terrain projects, please leave a comment, and I will do my best to reply.