Saturday, July 30, 2022

Star Wars Campaign - Game 6

 This past Thursday, The Fawcett Avenue Conscripts played Game 6 of an ongoing Star Wars Skirmish campaign. We used Galactic Heroes 2nd ed., from Wiley Games. 


Previously, both the Rebels and Imperials gained some temporary allies from out of time and space to help defeat their mutual enemy, the Emperor! 


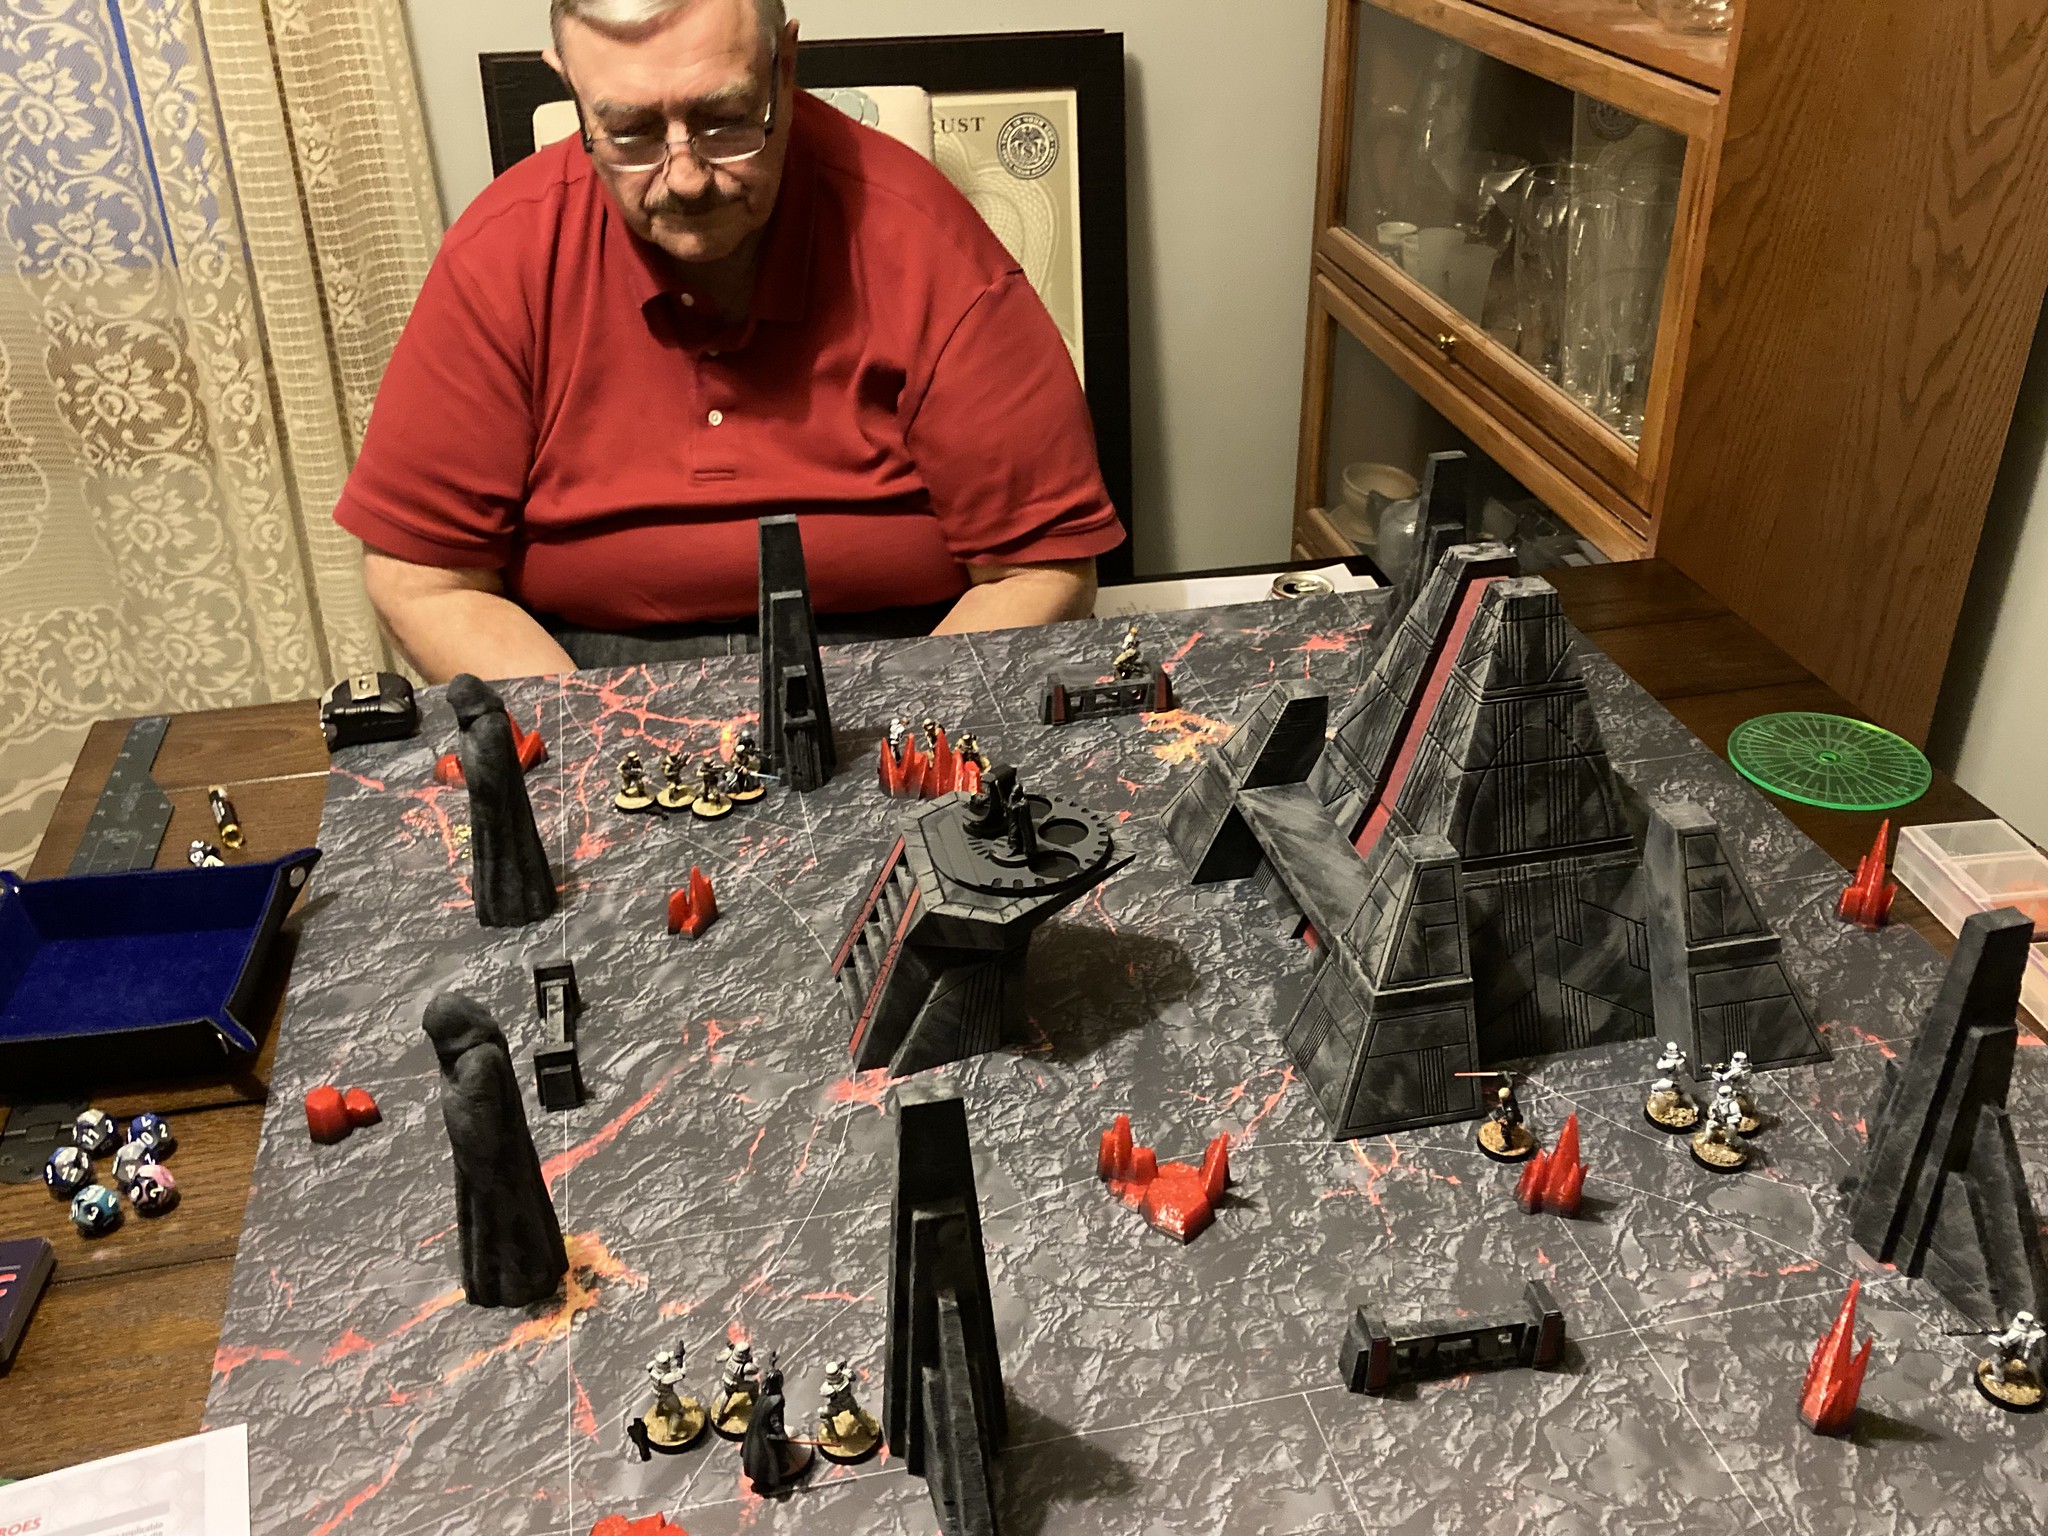
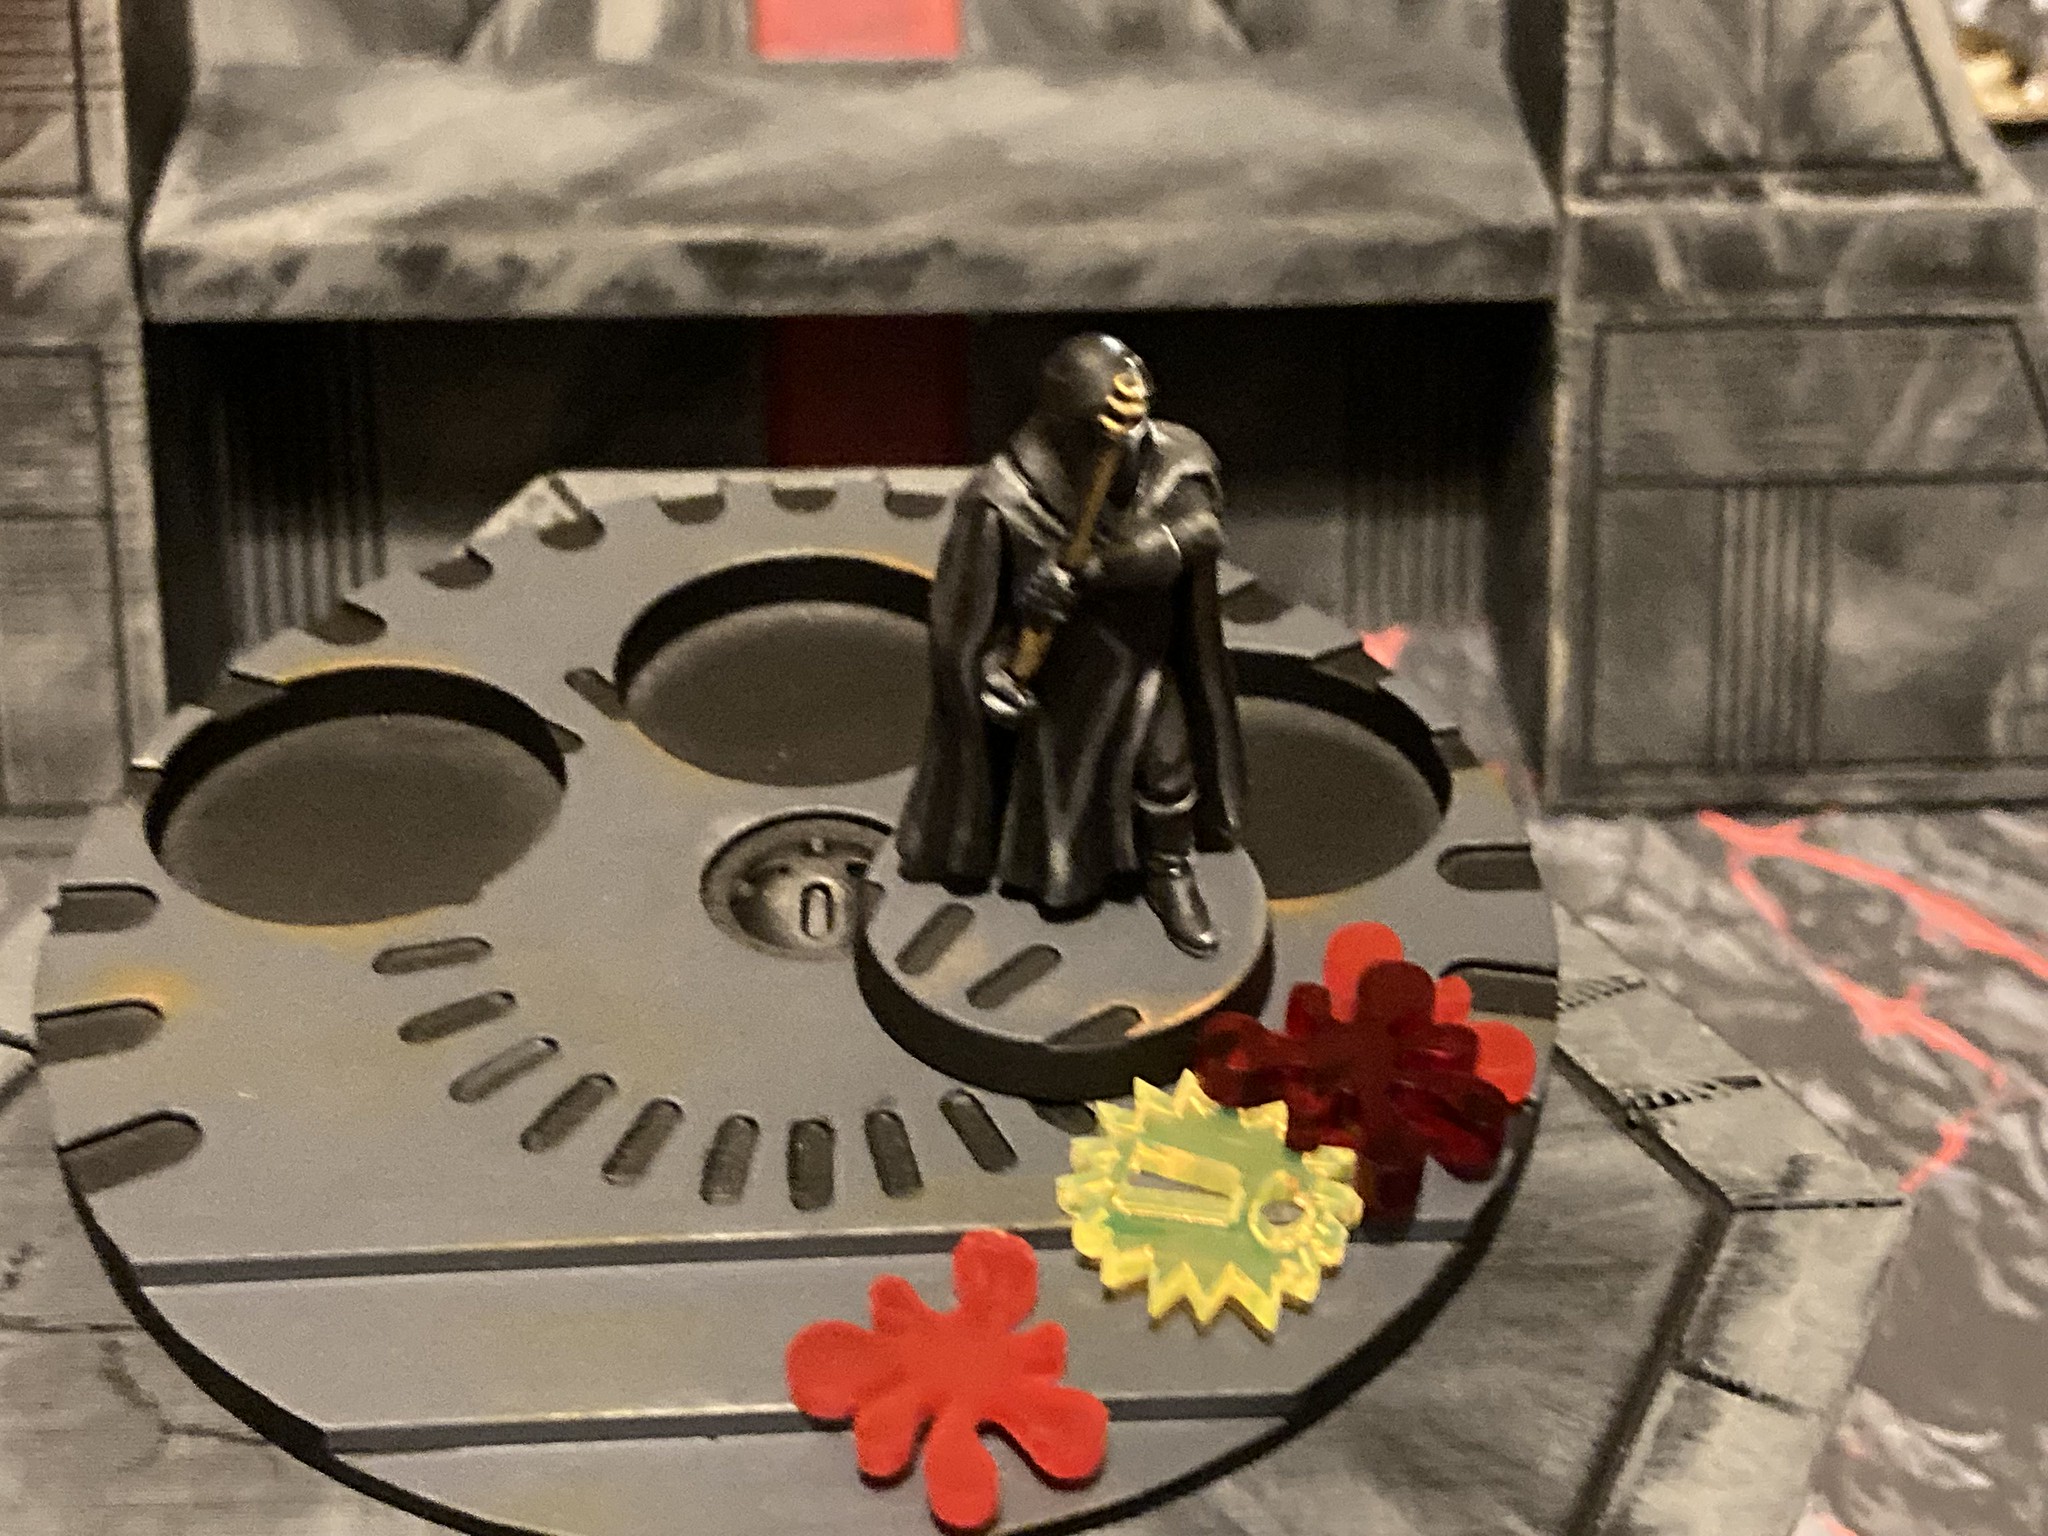
The latter individual was on a grand tour of the galaxy, and had decided to visit Darth Vader’s summer home on Mustafar. He and 6 of his personal guard were holding court in the main throne room. 

This week’s game, the “first season finale” of sorts, the Rebels and the Imperials found themselves both trying to overthrow Palpatine. Luke and Han used Stormtrooper armour to infiltrate the throne room from the west, while Darth Vader entered from the east. 

The game started with a bang, as an alternate universe Sith Anakin Skywalker and old Ben Kenobi (pulled from about 10 years in the past) both cut down guards with their lightsabers. The guards quickly responded, using a laser lance to gun down a Stormtrooper heavy gunner. 


The game then took an odd turn as a bunch of “1’s”, “2’s”, and “3’s” were rolled for shooting, leaving several Rebels and Imperials frustrated or out of ammo. Even Palpatine flubbed his roll casting Force Lightning at Luke. 

Eventually, most of the Emperor’s guards were defeated or routed away. 


A series of great card draws then allowed the Rebels activation advantage. 

Luke managed to Force Grab the Emperor off his dais and drop him on the ground, wounding him. Luke then moved into contact and inflicted another wound with his saber on a Lucky re-roll. Han activated next, Charged in and instigated a Multiple Combat. Luke rolled low, and Palpatine put Luke immediately Out of Action with a natural “11” using his own lightsaber. Han rolled a natural 12, hitting the Emperor from behind and causing a third, fatal wound. Farmboy Luke, with 9 Lives, converted his OOA result into a single wound.


Anakin tried to nail Han, but they tied rolls (including all adjustments)!


As game master, I rolled for random game length, and rolled low enough that the game ended. 

Anakin and Old Ben faded from sight, returning to the dimensions from whence they came. The Rebels beat a hasty retreat as overwhelming Stormtrooper reinforcements arrived. Darth Vader blamed the Rebels for all the carnage; none of his surviving men would have gainsaid him. 

Thanks to Bill, John, Rob, Dallas, and Hugh for playing and quaffing beer!


###

Next “season” will see a fractured Empire struggle with its succession, as Vader and various Imperial Moffs vie for power. The Rebels will grow in influence as the internecine struggle allows more cells to rise and strike against their oppressors.

I already have some plans in place, using some elements from the old SPI board game Freedom in the Galaxy to create specific scenarios for a System and Province campaign.

Tuesday, July 26, 2022

Western Desert Battle Report and Blitzkrieg 1/48 Sdkfz. 250 and 251s!

On Thursday I hosted a Bolt Action game using the new models I've painted for the Western Desert, on the amazing desert terrain tiles that Conscript Greg left here when he moved away. The occasion for the game was a visit by Founding Conscript Curt from Regina. The scenario was a straightforward clash in the desert, envisioned as part of the Battle of Gazala in May-June 1942. The Germans were on the attack with a Panzergrenadier platoon mounted in Sdkfz. 250 and 251/1 halftracks, two MMGs and crews in a truck, and a Pzkpfw. IV Ausf. F and Pzkpfw III Ausf. G. These are entering the table from the right and lower right as shown in the photo above.  

The British were deployed to defend their bivouac area, and deployed an infantry platoon with commend section in a Universal Carrier, two Vickers MMGs, two six-pounder AT guns, and a Stuart Honey and Valentine coming in from Reserve. 

"Die Panzer Rollen in Afrika Vor!"

The infantry was grouped behind the AT guns waiting for their chance to engage.

Eager to get to grips with the enemy, the British infantry rolls out from behind the AT guns. To their front, the halftracks, tanks and truck are moving towards the British lines. Firing by the AT guns on the first turn was ineffective.

The German infantry and MGs disembarked from their transport and dashed into the wadi, taking cover at the far side and engaging the British infantry. The command Sdkfz. 250 was knocked out and the surviving members of the command section took cover behind a patch of scrub.

The German MG34s were pretty effective against the British Vickers six-pounder crews. The British infantry was perhaps a bit over anxious in closing the range to engage, given that they were out in the open.

The Valentine got brewed up by a long-range shot from the Pzkpfw. III.

The Honey moved up and machinegunned some of the MG34 crew but it was getting late... both figuratively and literally. With most of the British infantry eliminated as well as their MGs and six-pounders reduced, this was always going to be a German win.

Although I somehow completely forgot some elementary parts of Bolt Action (despite having run it at Prairiecon in late May!) I think everyone had a good time. My thanks go to Conscripts Craig and John C. for coming out for a game with me and Curt. 

So while you saw some pics of the new Blitzkrieg halftracks above, I wanted to show them here in a bit more detail.

Like all of the other Blitzkrieg models in my collection, these halftracks are great, and require minimal assembly. The model 251s are literally five pieces - chassis, two bench seats, MG shield and MG34. They are rather ugly underneath, but that's OK as you can't see that part as they're sitting on the table.

Of course, I added a load of stowage to all of the models to make them more at home in the desert. The balkenkreuz decals are ancient 1/48 items from my decal folder.

Here's the 250 - with even fewer parts than the 251 - no benches as the seating is molded right in. The Afrika Korps logo is a decal but had no swastika shown - I had to freehand it in. Weird.

Of course I added a shedload of stowage to these vehicles as they were essentially a panzergrenadier's "home away from home"... and period photos show these vehicles well loaded down. Most of the stowage is from my preferred supplier "Value Gear" - a great source for resin stowage bits. 

I like to add WH license plates to my Heer vehicles as well - every vehicle in the Wehrmacht except tanks was supposed to carry a pair. Of course the Army (Heer) vehicles' plate numbers were prefaced "WH" (Wehrmacht Heer), while Luftwaffe and Waffen-SS vehicle numbers carried "WL" and "SS" prefixes, respectively. These decals are 1/35 from the decal folder but I don't mind as I like the look. However the rear plates are 1/48 scale and don't match :-(

The Sdkfz. 250 is neat too. One thing that jumped out was the difference in front wheel design from the similar 251/1. I had assumed that the front wheels would be identical, but the 250 wheels are different, and this is correct.  

Some of the stowage is from the excellent Tamiya set, that includes the jerry cans shown here. Presumably the crews just welded or bolted a hook on the outside of the vehicle and just hung the cans on there. The shovel and mallet are from an old Bandai engineer set. They sure come in handy when outfitting vehicles! 

I ended up sticking a shovel and mallet on each of the 251s.

Here's the rear of the Sdkfz. 250 with added stowage. A really nice model, this.

I'm really looking forward to playing Bolt Action in the Western Desert again soon, hopefully I will do a better job remembering the rules. But it was fun! Now to paint that Grant tank!

Monday, July 18, 2022

Perry Miniatures British 8th Army Platoon!

Well, at long last, I've finished my Perry Miniatures 8th Army platoon. I mean, there's still more work I could do on these guys but TBH I'm heartily sick of painting them, so I'm gonna call them done. Hopefully the remainder of this post will help explain what I mean.

Here's the platoon command section. I built it with the 2-in. mortar instead of the Boys AT rifle, because I'd already painted a Boys and crew at the same time as I did the 6-pounder guns. The Perry command guys are nice, there's a radioman as well as a platoon commander in a natty sweater. I have two command types here because my Perry box came with TWO command sprues instead of one, netting me two extra models. This was a good thing since one of the other Perry models met a sticky end in an encounter with my Dyson vacuum cleaner... ouch.

Each section was built with a section commander with Thompson SMG, seven riflemen, and a Bren gunner and number two.

I also added two Vickers machineguns. These are metal models from the Perrys and are quite nice.

Here's another section. There's a decent mix of poses in the Perry box but to me, one is just mystifying... that's the lad sat down on both knees at the extreme right of the picture, above. Who sits like that, other than maybe a tripod machinegunner?? There are several of these poses in the box of course and it's the only one I really don't like... at least there's no prone riflemen though, right Greg? :-)

The last section has everyone up and running, including the Bren gunner.

Some shots showing the backs of the models. This is my beef with the Perry 8th Army plastics: for some reason the web equipment (straps mainly) are very poorly defined on the models. This is in stark contrast to the excellent definition on their Afrika Korps models. The DAK dudes were super-easy to paint while these 8th Army lads... were not. There was quite a bit of guesswork involved in determining exactly where the straps were and this added a bunch of time and faffing about to the painting process. 

The metal Perry models had much better defined web equipment, fortunately.

See what I mean with the plastics? I guess if I'd taken more time and care these may have ended up looking better, but by the end of painting them I just wanted them done. They're likely good enough for my tabletop. In any case, for posterity, the formula was: Uniforms and helmets: AK Light Earth, Agrax wash, highlight Light Earth. Socks: Steel Legion Drab. Web equipment: XV-88, Agrax wash, highlight Zandri Dust, Agrax wash. Rifles and wood: Mournfang Brown, highlight Skrag Brown. Mortars etc.: Zandri Dust mostly. Bases: Steel Legion, Zandri, Rakarth Flesh.

So here's the 8th Army force so far. The Grant tank has been basecoated (trying to figure out whether I should put it in camo paint) and I discovered a Matilda that I bought but haven't yet started. There's still a couple of Universal Carriers kicking around for these lads as well. Anyway this lot should be enough for a game as-is.

Thanks for reading and I'm looking forward to posting the first battle report!

Thursday, July 14, 2022

Ral, Lord of the Balrogs/Fire Demons

So for some time now, I've been wanting to add a Balrog to my model collection, the idea being that we could then play the "Bridge of Khazad Dum" scenario from the Fellowship of the Ring book. The GW Balrog is "OK" but I always balked a bit at the price for a (now) plastic model, and to be honest it's a bit... boring to look at. So I looked around for an alternative.

And here one is - Tom Meier's magnificent "Ral, Lord of the Balrogs" sculpted for Ral Partha. This was originally packaged as a "10th Anniversary Commemorative Edition" box set. I got mine newly-cast from Fantization Miniatures, it's part of their Iron Wind Metals - Ral Partha Classics offering. Of course the original "Lord of the Balrogs" moniker had to be dropped when (presumably) Tolkien's IP owners took exception. He then became known as the Lord of the "Fire Demons". OK.

The model is obviously awesome. It's composed of only four metal parts - the Balrog's body, the two wings, and his upper jaw. Prep and assembly took very little time - just some greenstuff work required to fill gaps around the wings and head, and some minor sculpting on the sides of the scale loincloth. I saw that on the Internet somewhere.

Then it was on to the painting... the wings I did in the same style as on my Fellbeast - drybrushed grey and washed multiple times with Reikland Fleshshade.

I really had some fun painting this model. I decided the skin would be grey, so I just worked that up in highlights. The flames were a lot of fun to paint too - and easy.

I just worked my way up from dark red to yellow - Mephiston Red, Evil Sunz Scarlet, Blood Orange (this was a REALLY old Citadel colour), Yriel Yellow.

Can't have a Balrog without a flaming sword!

Of course all that remains is a pose-off with Gandalf! (Well, it's good for showing the size of the model too I guess)

Not nearly as big as the new plastic Balrog but imposing nonetheless. He kind of brings that Ralph Bakshi/old school flavour doesn't he?

So that dude's done and living up in the LotR cabinet now. Next thing will be to scratch out some terrain for that Khazad-Dum game and get that going.