|
| Madhist battle line takes shape - very ominous |
Last week the conscripts assembled at Dallas' place to play a Colonial game using the "Black Powder" rules. I had tried Black Powder for the first time during my recent visit to Regina and was really impressed with the rules. I was hoping for a second successful run through with the group at our home base back in Winnipeg.
 |
| The emir's standard |
The scenario was a slight "what-if" type encounter, imagining a bold Madhist emir launching a probing attack against General Graham's force assembling at the port of Suakin in 1884. Irritated and keen to get into action, Graham sends a smaller force into a preliminary battle.
 |
| Camelry takes the lead - the beast are in a bad mood... |
The table was 6' x 4'. With the trusty Geo Hex terrain as a base, the setting included the ruins of a small trading station once run by the Egyptian administration in Sudan. The British had to break the Madhists. The Madhists had the same goal. The break points were similar - first side to have half their units broken would lose.
The British had a battalion from the Cameron Highlanders (or the Gordons, depending on your interpretation of my brushwork on the kilts), a battalion from the Yorks & Lancs, a detachment of naval troops, a gatling gun and some lads from the 10th Hussars.
The Madhists had three big warbands of warriors with spears, a unit of cavalry with spears and carbines, a unit of camel scouts with carbines and two groups of skirmishers with captured Remington breech loaders. They also had a captured Krupp gun crewed by Egyptian "volunteers".
 |
| Madhist skirmishers with rifles - likely captured from the Egyptians which had been previously "defeated" |
This was only my second game of Black Powder, and the first game with the group here in Winnipeg, so I'm pretty sure I messed up a couple of rules. But overall it was a great game. Dallas, Frederick and Dave V. played the British side while Mike F, Kevin H. and Perry played the Madhists.
 |
| Another view of the Madhist attack |
Black Powder moves very fast. Because command success can vary, some units can cover quite a bit of distance if you give a bold order and roll well (or with luck - whatever :). The Madhists roared forward into the approaching British lines. The Brits responded with crashing volleys from their Martini-Henrys and counter charges from the 10th Hussars.
 |
| Madhist religious leader at the forefront of the cavalry. The "WTF?" token was used to indicate disorder. |
The Hussars caused some dramatic damage on the Madhists on the British left, but ultimately they took a lot of punishment broke after a couple of turns. On the British right the Highlanders withstood charge after charge, breaking a couple of Madhist warbands but they were ultimately overwhelmed by the combination of cavalry and irritating Madhist skirmishers!
 |
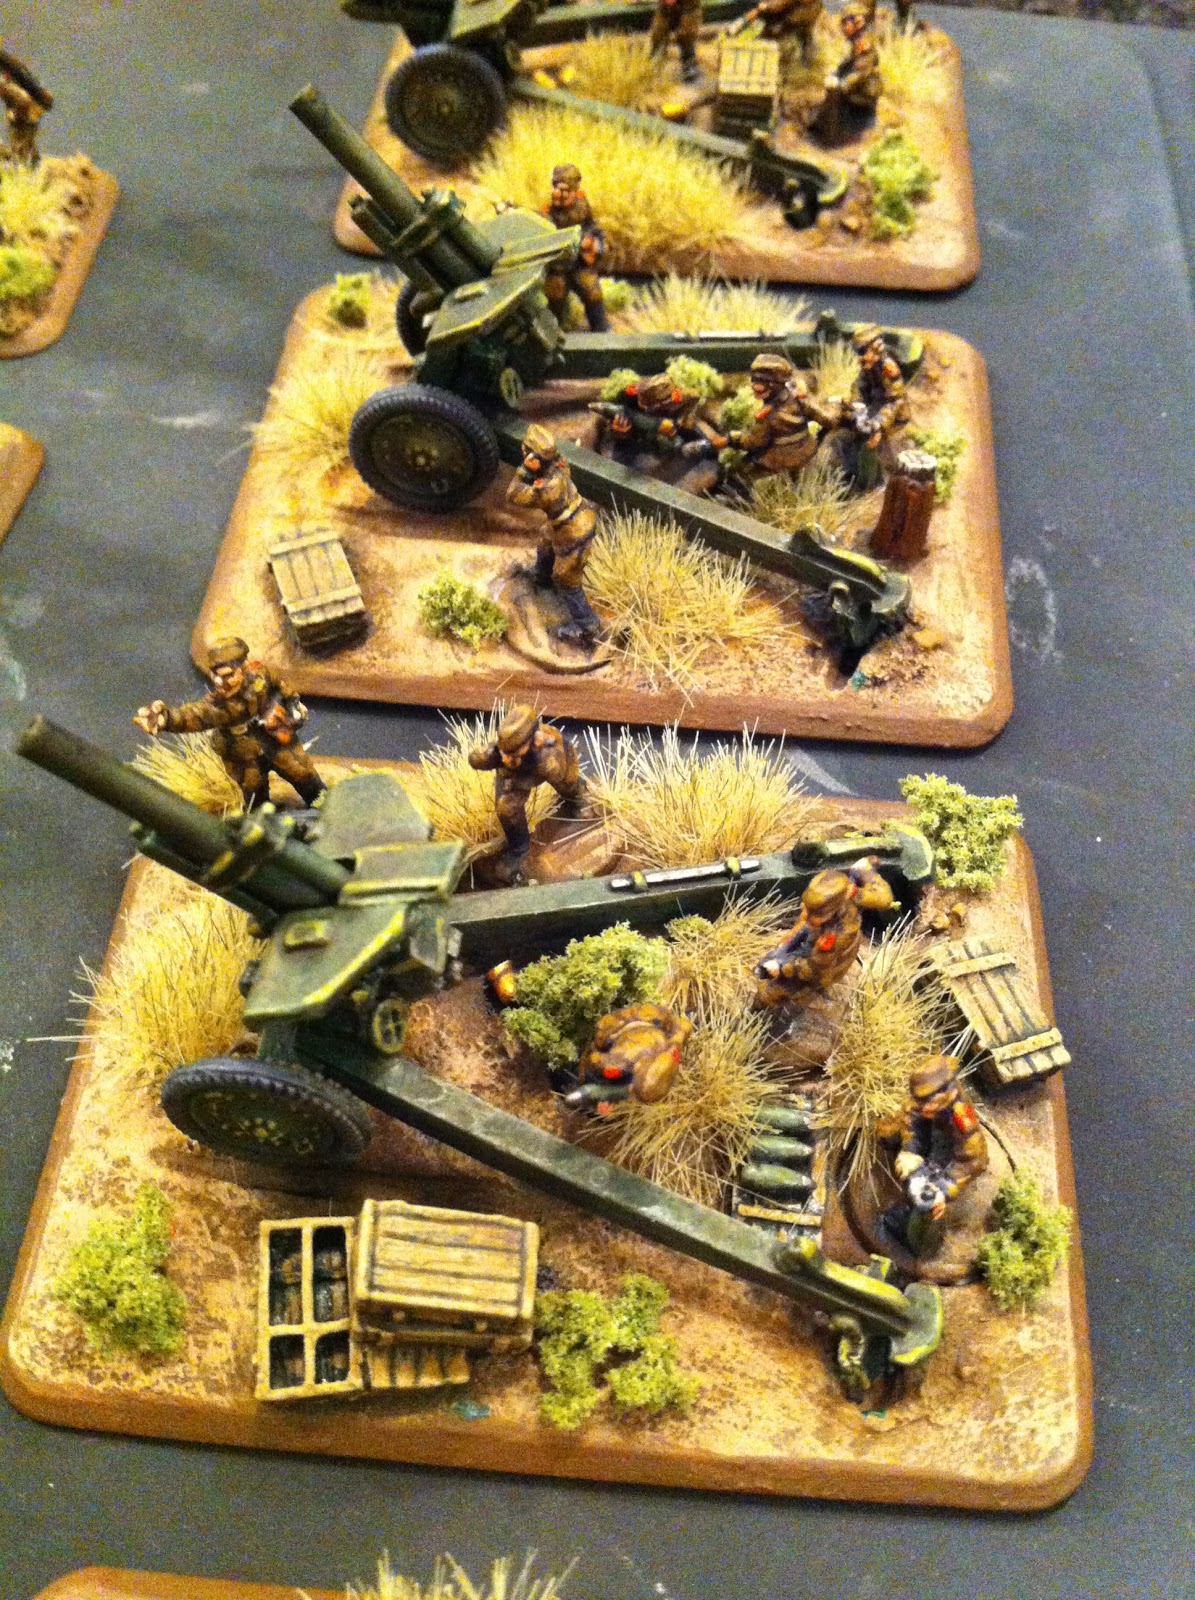
| Madhist Krupp gun, with overseer and Egyptian "volunteers" |
As the Madhist units wore away, the British tried to stick grimly to their battle lines, hoping to settle the matter with musketry. But Mike F in particular was hot rolling the morale saves. The finish was very close - with the Hussars and Highlanders gone, the British were one unit away from breaking. On the other hand, so were the Madhists! Who would claim glory in the Sudan?
 |
| The 10th Hussars ride to glory - and a break point |
As with all such systems, there was heartbreak in the command rolls for both sides. The Madhists could not quite finish the job, but they came close. Command rolls played a part. The British firing line won in the end, but just barely. It was very, very close, a great game by both sides.
Dallas brought out the movement trays for "War of the Ring" and they worked well for the British. I look forward to getting my own sabot-trays for these figures and playing more Black Powder in the future.
I really enjoy Black Powder. The rules are very quick, simple and very flexible. They certainly have a lot of similarities to Warmaster, but they are adjusted very nicely to get this style of game. The guys seemed pretty engaged with them. As I said above, it was only my second run through so I probably screwed up a few calls but overall I think we had the spirit of the game.
As you can see from the pictures, photos of the British are lacking - I am hoping Dallas will upload some he took when he has a moment. In the meantime, you can get a look at a similar game from Regina
here.
*********
Thanks for posting the report, Greg! I've uploaded the pics I took of the game with some captions...
 |
| The Mahdist battle line |
 |
| Mahdist cameleers |
 |
| Some of the frothing Madhists |
 |
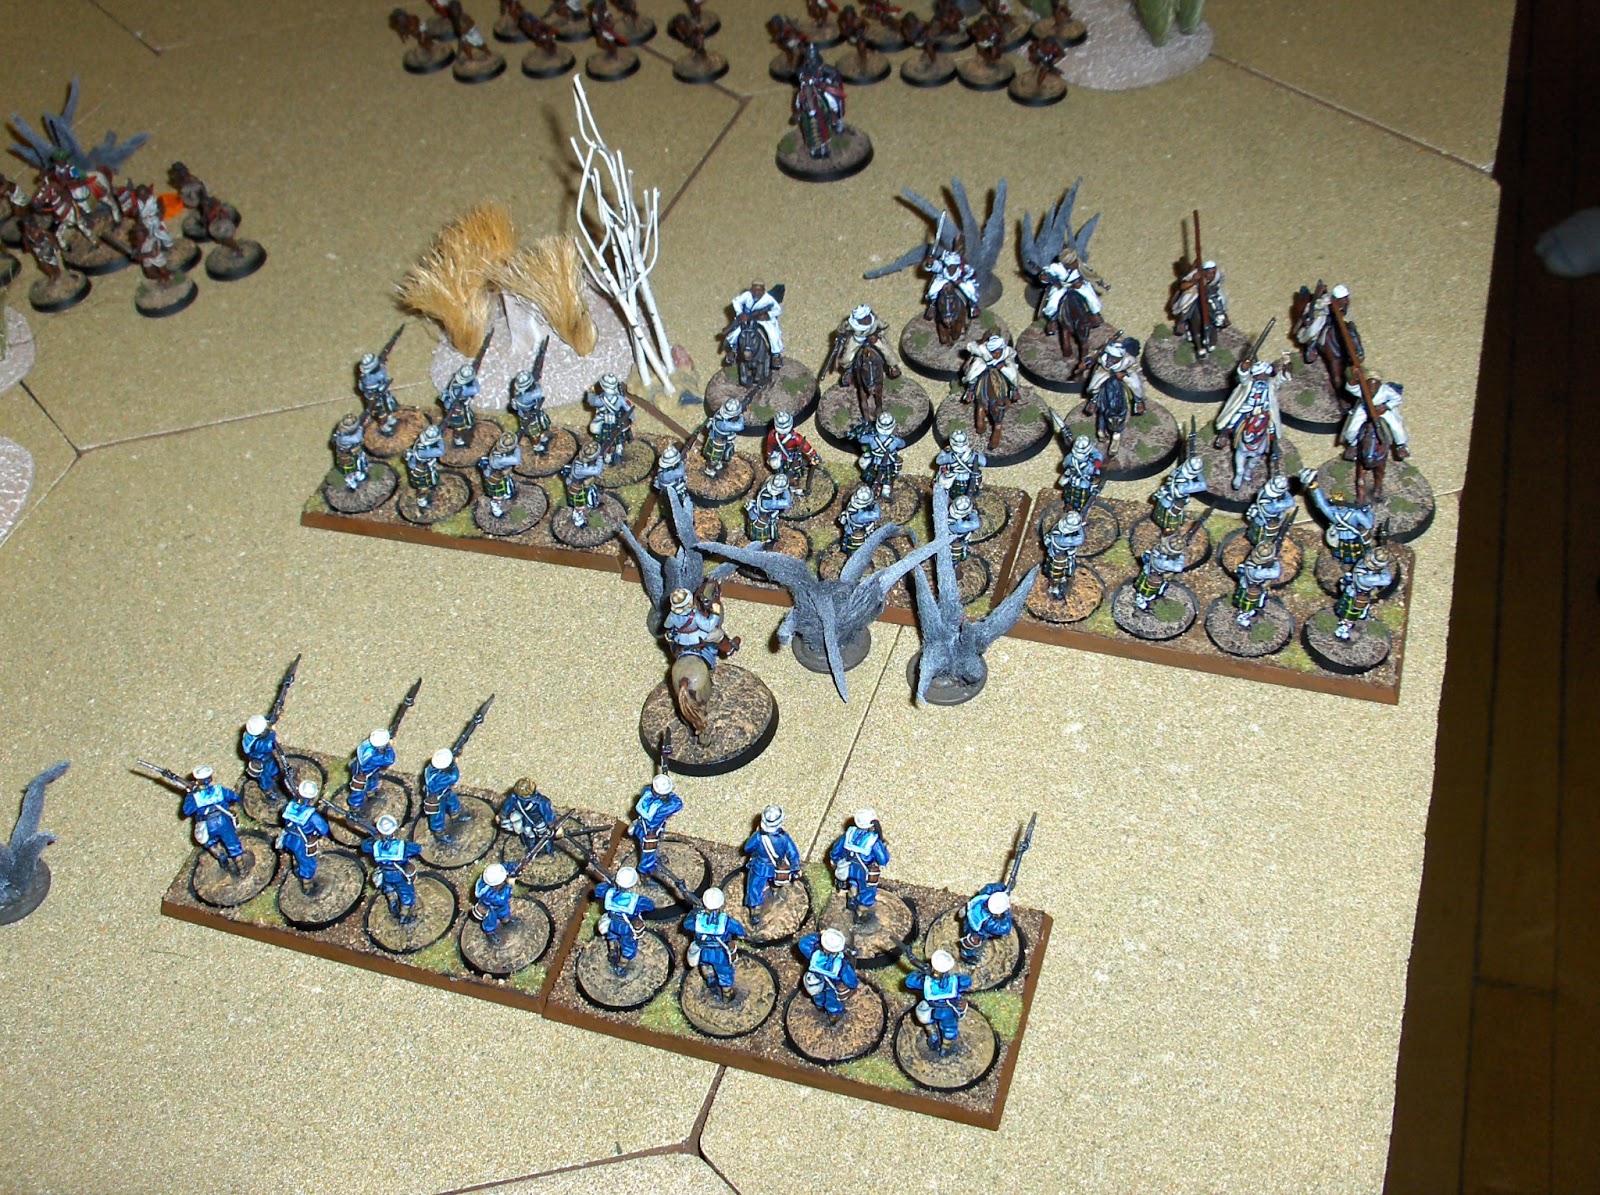
| British line formed up with Hussars on the left, Yorks and Lancs in the middle and Highlanders at right |
 |
| Yorks and Lancs, fitting well in the GW WotR movement tray |
 |
| Disrupted Mahdist mob |
 |
| Hussars hit the Mahdist right flank |
 |
| Mahdist mob about to evaporate; Hussars charge through into camelry at top left... |
 |
| Hussars slam into the Mahdist camelry, outcome is not so good for the horsemen |
 |
| Camels roll over the blown Hussars and move to threaten the flank of the Yorks and Lancs... |
 |
| Camels slam into the infantry - a nice co-ordinated charge by the Mahdists |
 |
Mahdists win the combat but the British withdraw in good reasonable order |
 |
| Highlanders are under pressure on the other flank |
 |
| Mahdist horsemen charge in... |
 |
| "Epic fail" for a failed order by the Mahdist boss... |
 |
| ...matched by a British blunder! |
 |
| Ultimately, British pluck carried the day - huzzah!! |