Saturday afternoon found Conscript Jim and myself running The Battle of Yavin - The Death Star Trench Run, using the very popular Star Wars: X-Wing Miniatures Game rules and miniatures, and using Dagobah Dave's Death Star Trench Run Mission, available here.
The Conscripts always run newbie-friendly games. Indeed, three of the players were playing their very first game of X-Wing Miniatures!
The players were divided into the following forces:
REBELS:
Gold Squadron (played by Alex)
(Gold Leader) Dutch Vander, R5 Astromech, Proton Torpedoes
Horton Salm, R2 Astromech, Proton Torpedoes
Gold Squadron Pilot, R5 Astromech, Proton Torpedoes
Red Squadron, "A" Flight (played by (Michael)
(Red Leader) Garven Dries, R5-K6, Proton Torpedoes
Rookie Pilot, Proton Torpedoes
Rookie Pilot, Proton Torpedoes
Red Squadron, "B" Flight (played by Natasha)
Luke Skywalker, Elusiveness, R2-D2, Proton Torpedoes
Biggs Darklighter, R5 Astromech, Proton Torpedoes
Wedge Antilles, Wingman, R5 Astromech
IMPERIALS:
Black Squadron (played by Jason)
Darth Vader, Push the Limit, Engine Upgrade
Black Squadron Pilot, Draw Their Fire
Black Squadron Pilot, Wingman
Obsidian Squadron (played by Mark)
Howlrunner, Squad Leader
Obsidian Squadron Pilot
Obsidian Squadron Pilot
Obsidian Squadron Pilot
Training Squadron (played by Jeff)
Academy Pilot
Academy Pilot
Academy Pilot
Academy Pilot
The Imperials also ran the Death Star's Turbo Lasers: 5 turrets on the surface, and 6 emplacements in the Trench Zone. The Rebels could shoot at the Turbo Lasers, and at 3 Power Nodes, with varying game effects. Any Imperial generic pilot that was shot down just came back in their deployment zone during each turn's End Phase, representing reinforcements.
We made a few changes to the printed mission and rules:
- The playing surface area was 3 feet wide by 6 feet long. Both sides' Deployment Zones were reversed from the printed materials. The movie Star Wars clearly indicates that the Rebels came in from the east side of the trench.
- There was no points limit; each side got the listed forces (we had available some more ships if any more folks had shown up, including Porkins and 2 Red Squadron Pilots, and Chewbacca in the Millennium Falcon and Han acting as a gunner).
- Pilot cards, skills, upgrades, and maneuvers were consolidated onto printed sheets for the players, on which they recorded their Speed and Maneuver each turn. We've found that for convention games this greatly reduces tabletop clutter.
- The Trench Zone stacking limit was kept at 3 small ships per side. However, only those ships wanting to fire torpedoes at the Auxiliary Exhaust Port needed to enter in the Trench Zone Entry Area to the south: anyone else (on either side) could drop into the Trench Zone at any point to dogfight.
- To indicate performing a Drift maneuver in the Trench Zone, the player just marked their speed and maneuver on their sheet and added the word "Drift".
- Generic Imperial pilots that were shot down were redeployed during the End Phase.
- During the End Phase the Countdown Clock was advanced by 1 if during the turn at least 1 Imperial ship was destroyed. Then, the clock's number was subtracted by one as usual.
Each side were assigned forces, and then the players secretly conferred about whose ships would be entering the Trench.
Below, looking south, the Rebel players moved their ships toward the Trench, under the watchful eye of Jim, who really helped the game move along at a good pace.

The Imperials then showed up next turn, screaming onto the table at maximum speed.
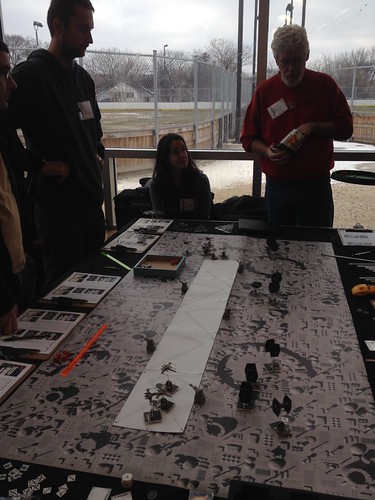
Below, looking north, Red Leader and his two wingmen went after a Power Node, also drawing fire away from Gold Squadron's Y-Wings.

Gold Squadron dropped into the Trench Zone. (I can be seen at the far end of the table, wearing my "Red Five" tee shirt from TeeFury.com.)
Meanwhile, at the northern end of the table, Luke and Wedge were shooting up Turrets and Power Nodes. Biggs, bravely drawing fire away from his childhood buddy, paid the ultimate price as he was gunned down by 4 TIE Fighters.
After nailing a Power Node, Red Leader was shot down by a pair of TIEs on the right of the photo, while his wingmen shot down another Imperial.
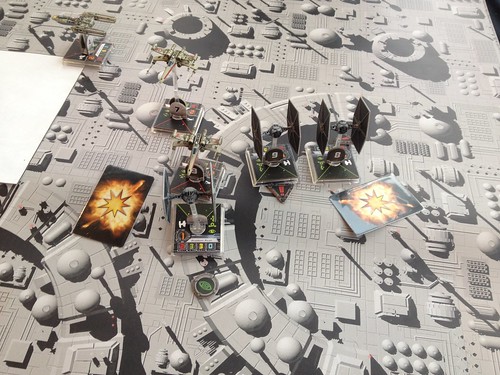
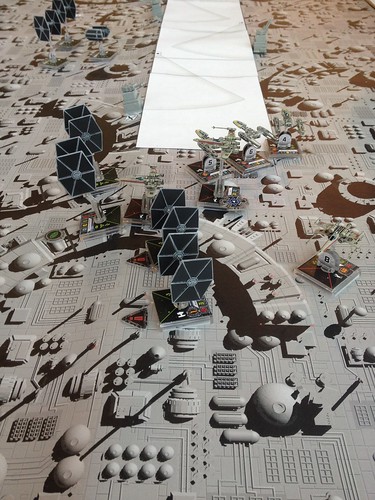
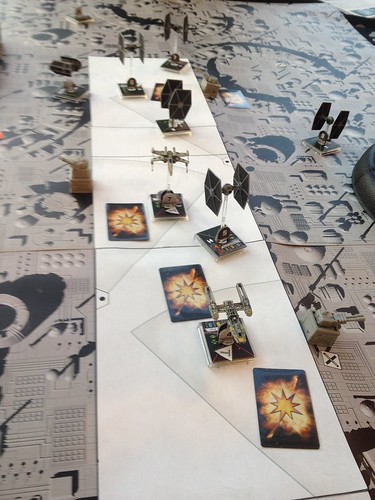
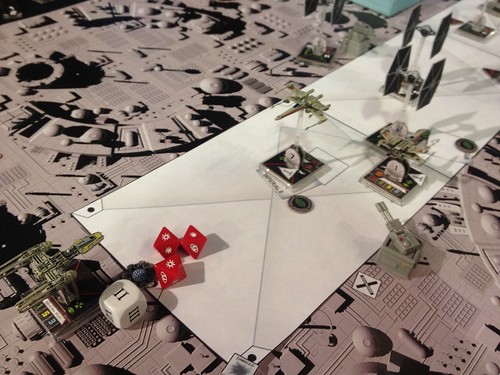
Gold Squadron commenced their attack run, set upon by a pair of TIE Fighters.
Gold Leader was the first of Gold Squadron to fall. In the backgorund, Darth Vader flies south.
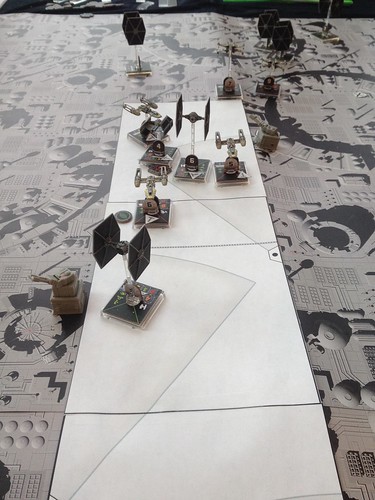
The slow Y-Wings made their way up the Trench, beset by TIEs and Trench Turbo Lasers. The Imperials decided to keep the Trench Zone guns firing, despite the danger to their own ships. They considered the risk worthwhile.
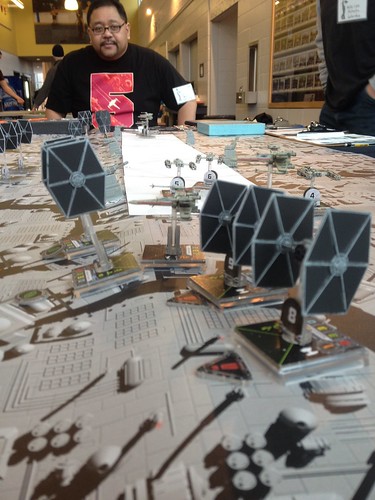
Utter carnage as Horton, an X-Wing, and a couple of TIE Fighters go down. The last of the Rookie Pilots also dropped his X-Wing into the Trench Zone.
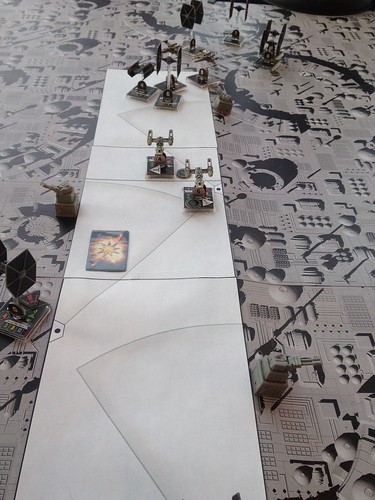
Wedge got nailed by a TIE Fighter, then Luke dropped into the Trench; he was too close to fire at the Exhaust Port, but he could lay fire into those pasky TIE Fighters! The Imperials played things cagey, pulling fighters out of the Trench and dropping others in.
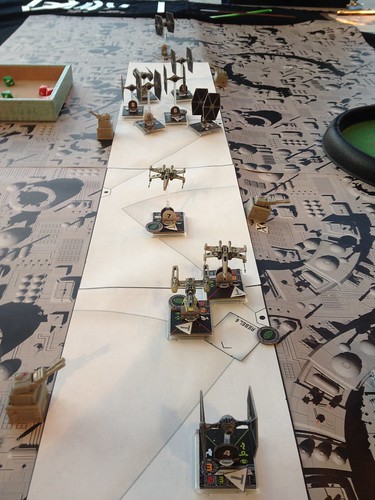
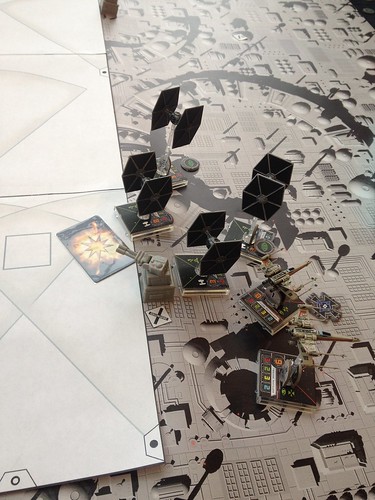
The Rebels were now reduced to only three ships, all of which were in the Trench. The two X-Wings cleared a path for Gold Squadron's sole survivor, shooting down both Howlrunner and one of her escorting TIE Fighters.
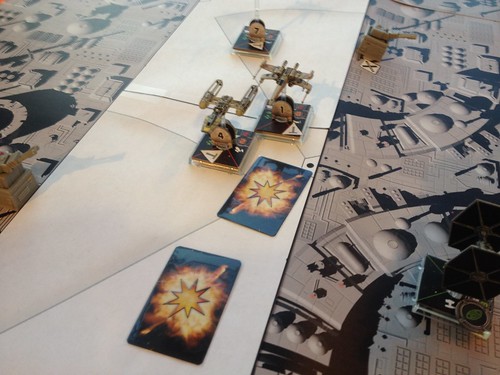
With 3 turns left, and only two ships able to fire at the Port, the Gold Squadron Pilot fired his torpedos. He was only able to take down a single shield!
"Negative, Negative. It just impacted on the surface."
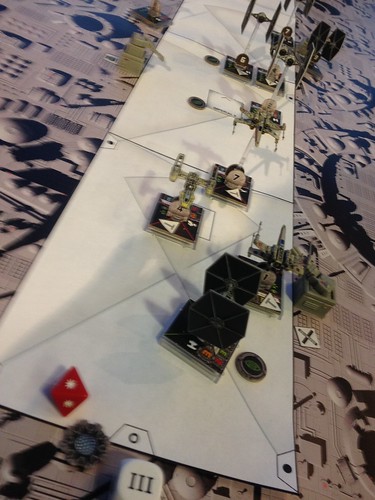
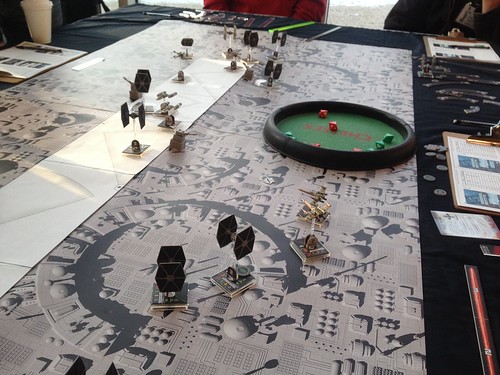
Luke pulled a U-turn to joust with Darth Vader, who was Stressed to the max.
Only two turns left in the game, and only the Rookie Pilot was able to get a targeting solution. Though inundated with shots from 3 Imperials the Force was strong with the Rookie, who evaded every blaster bolt!
With the fate of the Rebellion riding on a single throw of the dice, the Rookie fired...
"It's away!"
Two Critical Hits blasted through the ray shielding, causing an explosive chain reaction that destroyed the Death Star! I always love games that are decided with the final dice throw.
The following photo is of all the Trench Run participants; from L-R: Mark, Jason, Alex, Natasha, Jeff, and Michael.

The Rebel players (Natasha, Alex, and Michael) won the game, and some single blister packs of X-Wing Miniatures that I provided as prizes.
The players seemed to have a fun time. Also, during the game several passersby walked up to the table to watch, immediately recognizing the scenario.
***
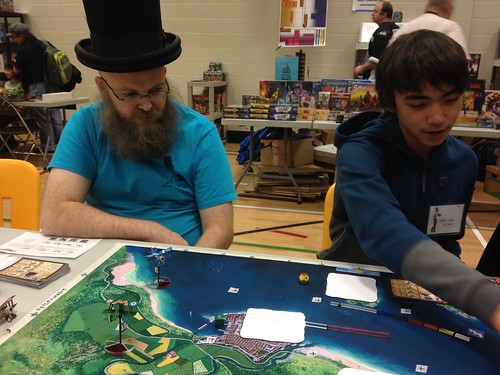
During JimCon I was also introduced to a new WWI air combat game, Dawn of Aces.
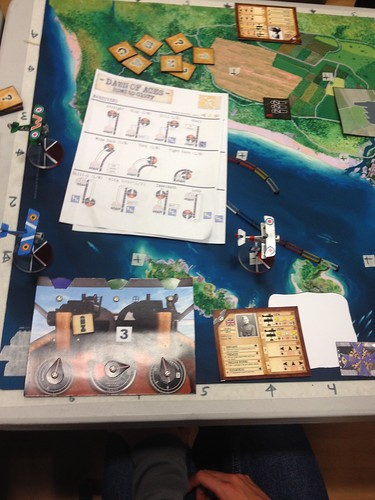
Pilots are based on historical fliers. Each plane has its own control panel, to keep track of damage, ammo expenditure, and fuel use. Players choose from an available pool of manuvers, with speed depending on a coloured rating for each aircraft/engine/ manueverability combo. Players move in random order each turn, with special events also randomly occuring. It is definitely better to move last.
Below are some of the components for the game. The demo planes are all very nice paper models made by the game's designer, Sam.
Wil ran me through a quick intro game, where my single Albatross DIII went down after a bloody engagement against a pair of Allied fighters. Meanwhile, Sam was at the next table, running a big game.
I look forward to playing this game again!
5 comments:
Nice game!
And nice tee, I have the same one :-)
Nice job Dave, looks like you guys had a great time!
Great game Dave. There is something about this scenario that seems to lend itself to drama on the final die roll.
Thanks for a great game and sweet write up!
What an epic finale!
Post a Comment