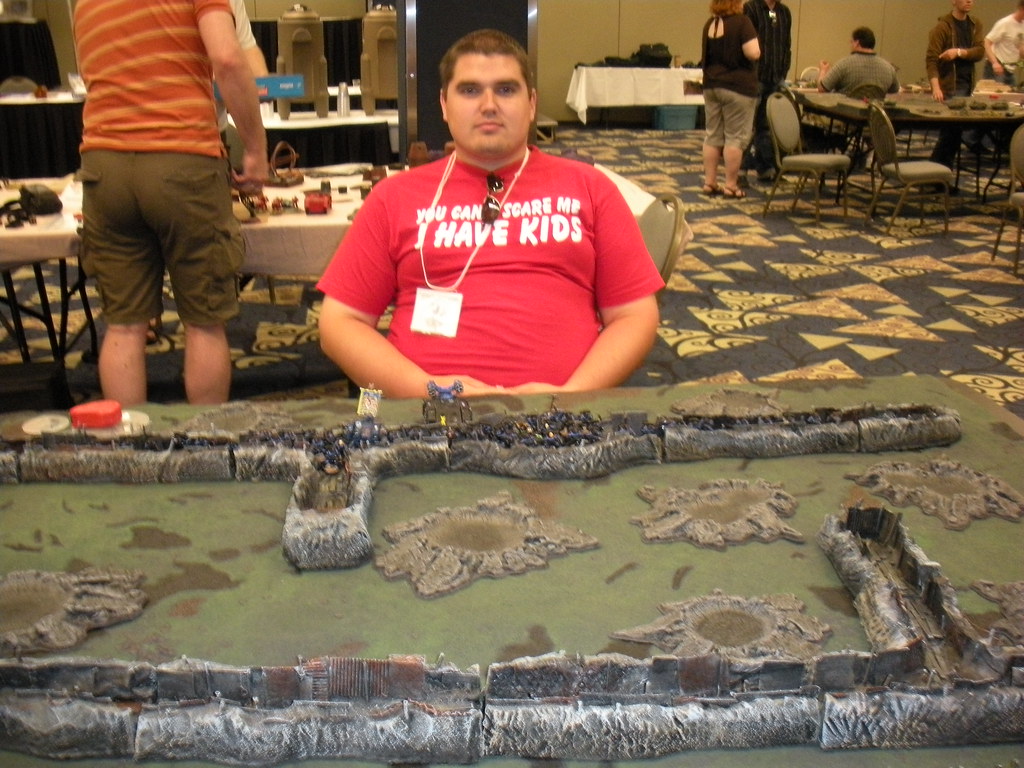
Trench warfare in the 41st Millennium.
This game was against William and his Space Marines:
- Commander
- Tactical Squad w/ Missile Launcher and Flamer
- Tactical Squad w/ Missile Launcher and Flamer
- Tactical Squad w/ Missile Launcher and Flamer
- Tactical Squad w/ Missile Launcher and Flamer
- Tactical Squad w/ Lascannon and Flamer
- Scout Squad
- Dreadnought w/ Assault Cannon, DCCW and Storm Bolter
- Terminator Squad w/ Heavy Flamer
- Whirlwind missile tank
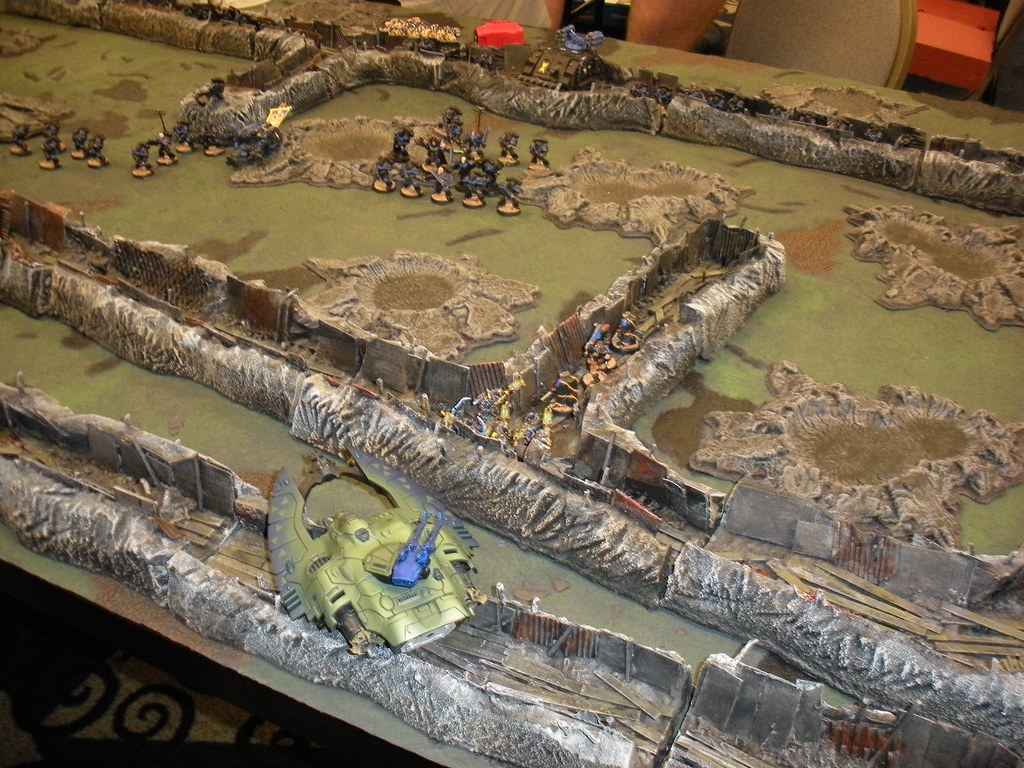
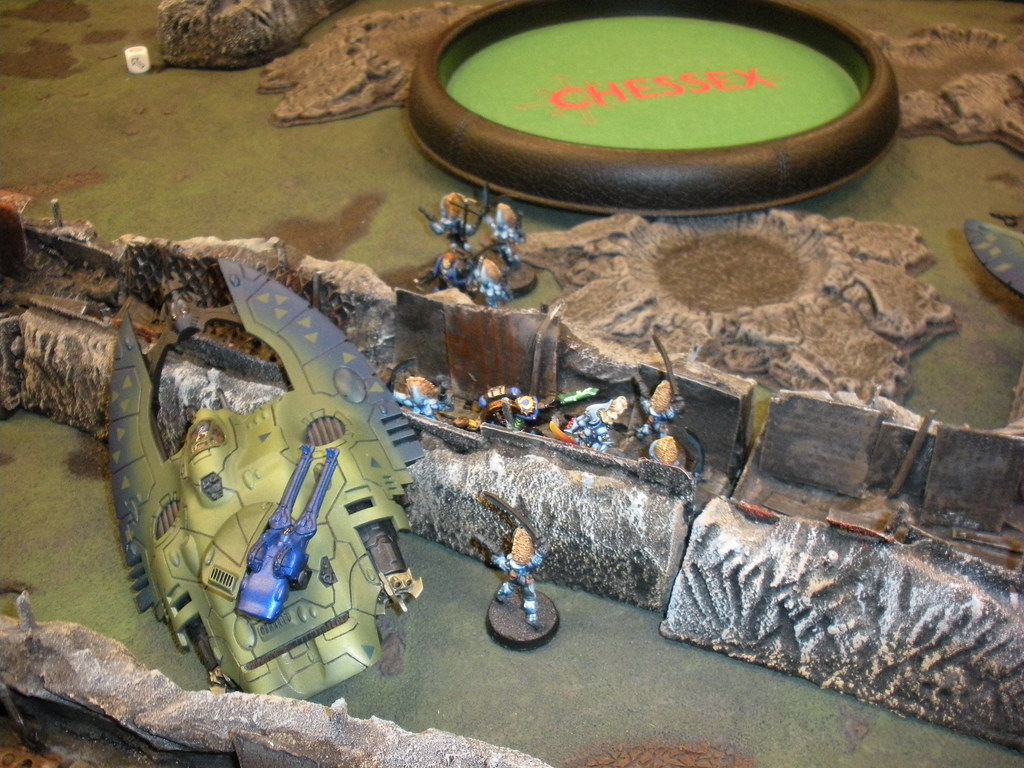
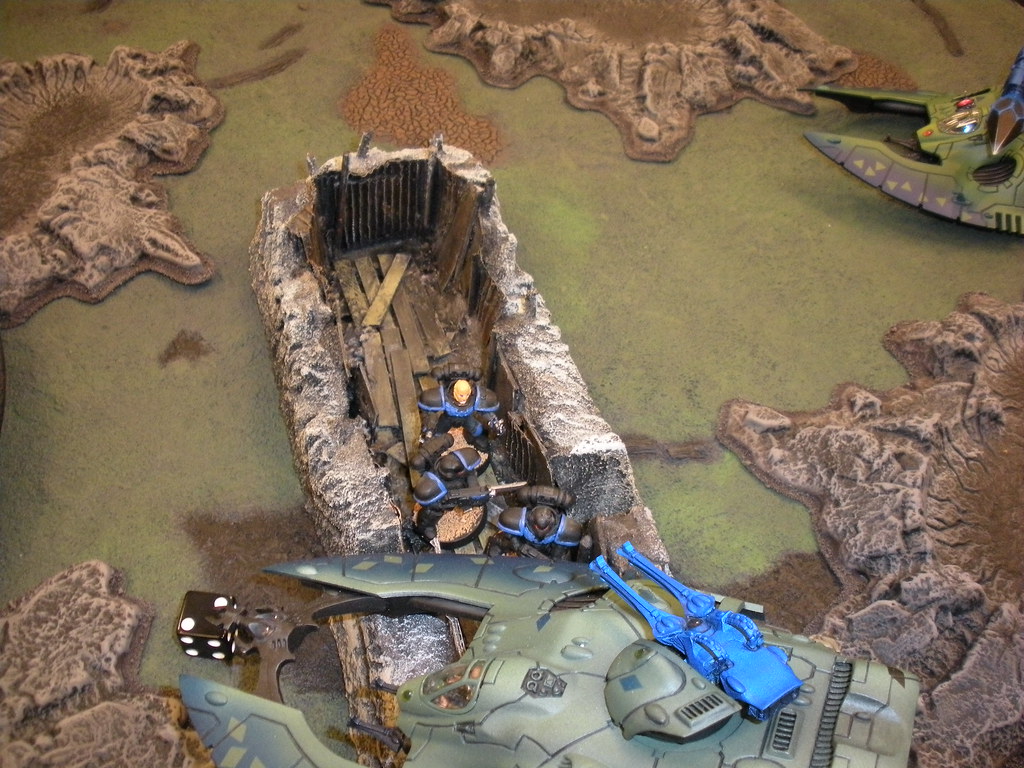
The table was out of a World War One nightmare. One side had a single trench line. The opposite side had a double trench line. Both sides' trenches had saps dug well into No-Man's Land. (In WWI, short trenches called saps were dug from the front-trenches into No-Man's Land. The sap-head, about 30 yards forward of the front-line, were then used as listening posts.) The trenches were good going, and provided a 3+ cover save to infantry inside them, against fire from outside. Everything outside the trenches was a muddy blasted moonscape, Difficult Terrain everywhere. We concluded that the shallow muddy shell holes would provide minimal protection - 4+ cover save.
The trenches were modeled with a lot of detail, including the wooden duck boards designed to keep out the wet. However, the trenches weren't fully "figure-friendly." Even in the bottoms of the trenches, figures were very tippy.
Objective: Score Victory Points for every unit in the enemy deployment zone. Scoring Units counted double VPs. Night fighting was in effect for the entire game. Each side had a single Star Shell, which they could choose to call in as a reserve. It would illuminate the entire table for a turn.
William set up first, forming 5-man Combat Squads from his 10-man Tactical Squads. He set up all his forces in and behind the trenches to the north.
I declined to set up the Swordwind, to keep those MLs and the LC away from the skimmers. This could backfire later, since it might prevent Scoring Units from getting into play fast enough to get into the enemy deployment zone. William infiltrated a Scout Squad into the trench sap on the Eldar half of the table, in the southeast table quarter.
This was going to be a good, tough game. By forming combat squads William could use proper "bounding overwatch": every 5-man fire team with a heavy weapon could stay in their trench, providing covering fire for the 5-man assault teams armed with bolters and flamers. The assault teams would score VP's basically as if they were full-sized. The Space Marines had a good position for their forces. With the Southern trenches having two lines, the Marines would get into the first line trench and gain cover much faster than infantry coming from the south side slogging north.
My only hope was to try and defeat these small assault teams in detail, then try for an end run with an Avenger squad to score points at the end game.
The Star Shells would only help William's forces, since he had so much long-range firepower. There was no way I was intentionally going to use the Star Shell issued to the Eldar forces.
For the first two turns, the Space Marines formed fighting columns that rose out of their trench and moved into No-Man's Land. The Dreadnought followed the infantry over the top. The Scouts moved down the sap a little, just short of the trench.
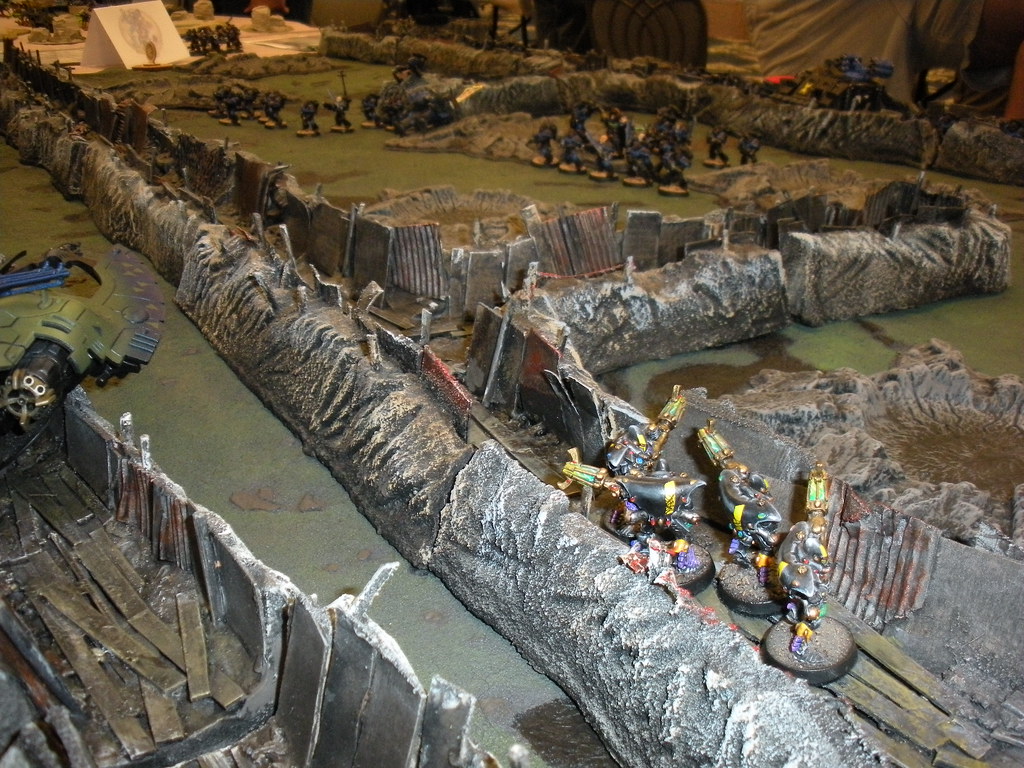
Not much arrived once the Eldar reserves became available. The Dreamweavers teleported into the trench, right in front of the Scouts. The Blade Dancers and their transport skimmer, Fencing Master, moved on in support. The Companions, riding Ancient Whispers, came on to the west. I kept the skimmers close to the south table edge, to keep them out of night fighting range of the Space Marine heavy weapons.
The Warp Spiders shot down all the Scouts. As they used their second jump to the east down the trench, they rolled doubles and a Spider was lost to The Warp.
The Space Marines pushed on. A Combat Squad got into the trench line to the west.
A Terminator Squad landed in the muck just east of the sap where the Scouts fell. They shot up the Spiders, killing two more, but the latter's morale held.
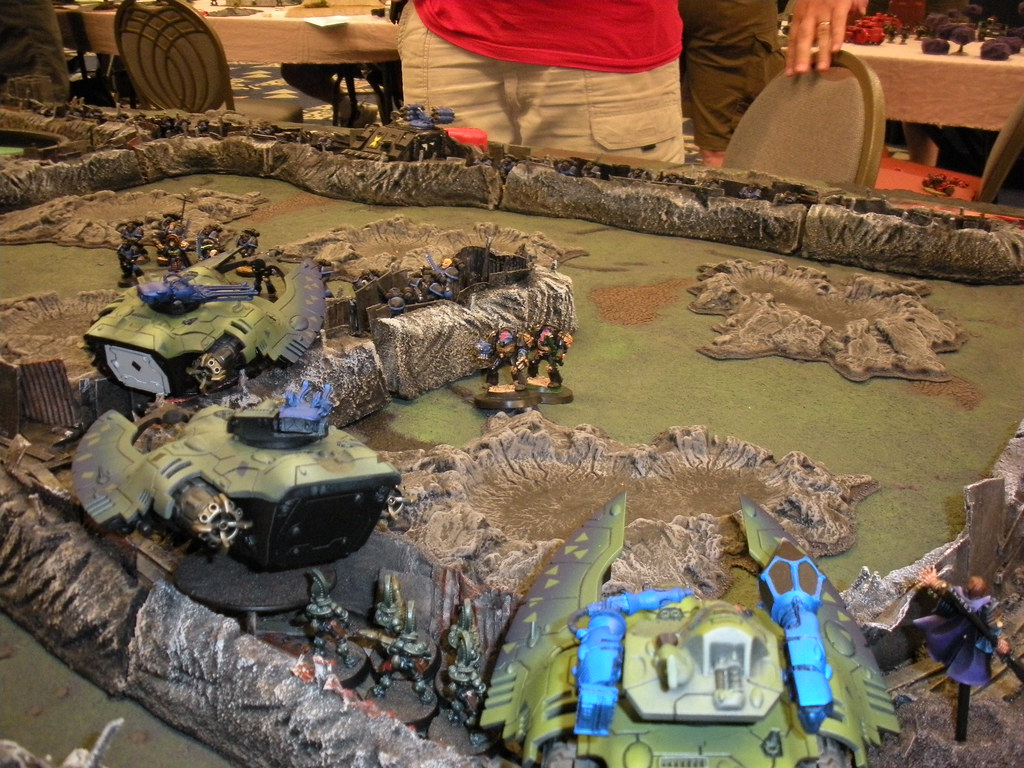
The Autarch moved on to the west to support the Avengers already on the table. The Banshee Serpent moved up to the sap. The Fire Dragons moved onto the table. Fate's Tears then dismounted into the trench, unlimbering their Fusion Guns. The Fire Prism, War Prayer, and the Farseer moved onto the table to the southeast, to give support to the effort against the Terminators.
The Avengers dismounted and Bladestormed the Combat Squad, killing most of them. The Autarch survived his Difficult Terrain tests and dived into the trench, killing the last of them. The Dragons burned down three Terminators; all other fire against them was ineffective.
Another Combat Squad and the Dreadnought climbed into the trench to the west. The Space Marine Commander and his two Combat Squads ran into the trench line. Another Combat Squad made it to the sap in the east. The Terminators moved a little west, to get away from the Dragons.
The Autarch was wounded by close range bolt pistol fire. long-range Marine firepower was negated by the darkness. The Marines got the Autarch stuck in close combat, to avoid his lance's charge.
Eldar fourth turn. The Farseer Doomed the Terminators. The Blood Redeemers (the second Avenger squad) finally showed up, moving flat out up the easternmost flank. The Fire Prism moved to its left, capstoning it from most of the Marine firepower. The first Avenger squad, out of ammo, mounted up and their skimmer moved into No-Man's Land to the far west, hoping to split up the Marine firepower. The Banshee Serpent remained motionless, to block the Marine advance down the sap, and the Banshees dismounted, to bring their pistols to bear.
Shuriken Cannon fire into its rear managed to destroy the Dreadnought. The Fire Prism landed a focused shot on the Terminators, killing them outright.

The Autarch killed some Marines in close combat, but was killed in turn, leaving a couple of Marines alive in the trench to the west.
Shuriken Cannons reduced the Marines in the trenches in the centre. The Banshees fleeted then assaulted, managing to contact both Combat Squads and the Commander. After the combat was resolved, The Commander and one Marine were left alive, locked in combat with eight Banshees (the Banshees just north and south of the trench were actually located on the trench lips - wobbly model syndrome).
William had vainly been trying to call in his Star Shell. It finally arrived at the top of the 5th turn, illuminating the bloody wasteland. In the harsh magnesium light, a missileer was able to draw a bead on the Wave Serpent to the west, blowing it up. The Combat Squad to the east assaulted the Banshee's Serpent, stunning it.
Bottom of the fifth. Time was being called, so we had to wind up our last turn. The Dire Avengers tried to run north through the mud, away from the wreckage of their Wave Serpent. They didn't get far:

(I made the crater and wreckage to provide a "destroyed vehicle" marker, as a result of my previous tournament experience in May.)
Peacemaker, the Avenger Serpent, managed another series of Difficult Terrain tests, and moved into the Space Marine deployment zone.
The Fire Dragons, their Serpent and the surviving Spiders gunned down the last of the Marines in the sap. The Fire Prism could finally see across the table, due to the Marines' Star Shell. War Prayer landed a focused shot on the two Marines in the trenches to the west; they failed their 3+ cover saves. In the close combat phase, the Banshees wiped out the last of the Marines in the southern trench lines.

At game's end, the only unit in an enemy deployment zone was the Blood Redeemers. This was a very hard-fought battle. Every unit in the Swordwind pulled its weight. As it was, the battle's outcome still turned on several single sets of die rolls, such as the "Hail Mary" shot by the Fire Prism against the entrenched Marines.
Result: Eldar Victory
Click here for the sixth and final game.
No comments:
Post a Comment