Friday, March 18, 2011

Wings of War: Battle over the Trenches

Last night I ran Wings of War for some fast WWI air combat action. We first played a quick dogfight to get everyone up to speed on the rules. Afterward, we played the first mission in the Knights of the Air campaign system.

Mission 1: Battle Over The Trenches: Each side reveals the newest weapon in their arsenal – the airplane – and attempts to seize the initiative. The side that wins goes on the offensive.

Type: Dogfight

Sorties: 2+

Victory Conditions: Mission Points. At the end of each sortie, calculate each side’s Mission Points. The side with the most points wins that sortie. After all sorties have been flown, the side that has the most victories wins the mission.

Fallback: Replay

Setup: Mission should be played length wise on a 4’x6’ table. Each side has a 24 inch deployment zone. The trenches begin 24 inches in from both ends of the table. This leaves 24 inches of No-man’s Land in the center of the table.


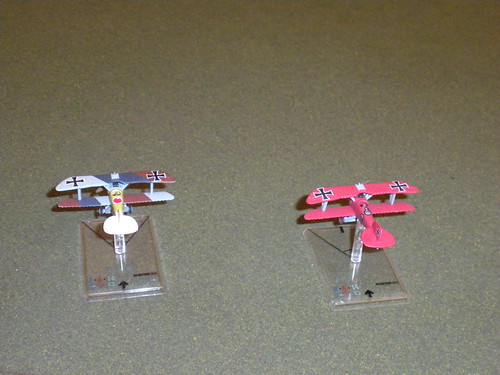
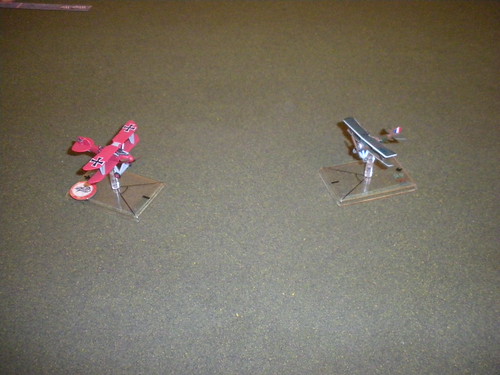
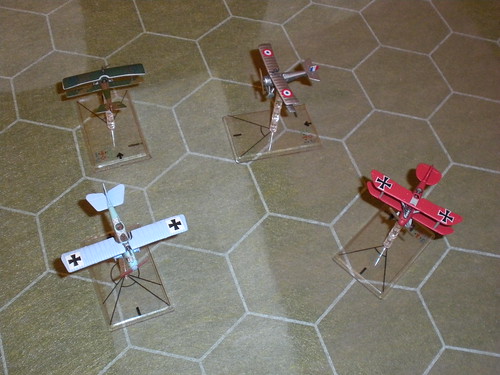
Below, MikeA and BillC played Die Fliegertruppen, setting up two Albatross DIIIs in the nearer (eastern) section of the table.

DSCN2503

Brian and Indo flew a pair of Aéronautique Militaire Nieuport 17s, seen in the farther (western) zone.

DSCN2504

Mike and Bill flew in a loose formation westwards, looking to scrap with their French counterparts.

DSCN2505

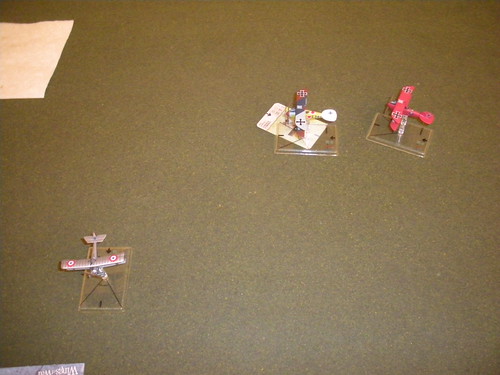
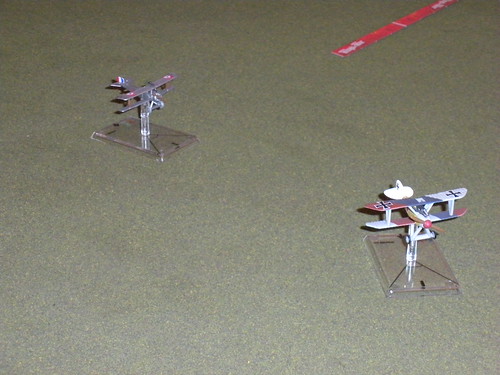
Mike and Bill turned south, Brian turned north to meet them, and Indo flew on east toward the German lines.

DSCN2508

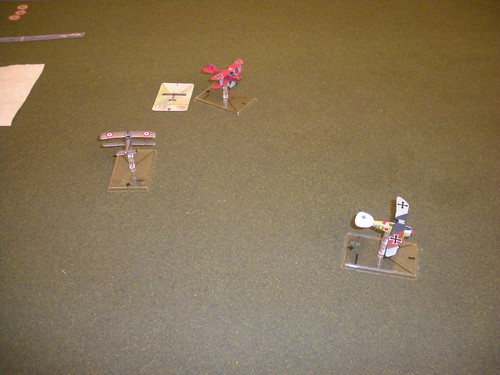
Indo Immelmanned and flew back west to help out Brian, who was locked in a turning fight with Bill's red Albatross. Mike performed a large, slow turn, nursing damage from the first pass.

DSCN2509

Brian decided to concentrate on Bill, and Indo sunk his teeth into Mike, breaking up the fur ball into two distinct dogfights.

DSCN2510

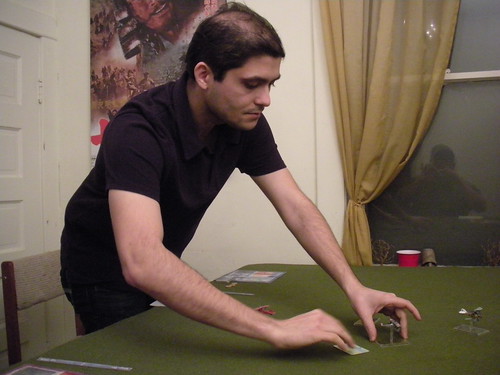
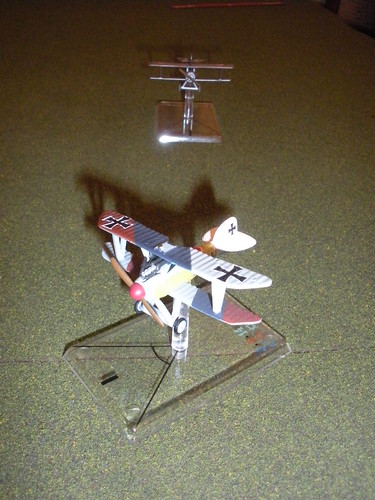
Below, Indo moves his plane into a deflection shot on Mike.

DSCN2511

Like mounted knights of old, Bill and Brian headed straight for each other, all guns blazing. Brian's deadly marksmanship set Bill's plane on fire...

DSCN2512

...then another burst at point-blank range sent Bill's Albatross spinning down into No-Man's Land.

DSCN2513

Meanwhile, Mike decided to head for his own lines. He had suffered considerable damage, and was now outnumbered 2-1. However, Indo had other ideas...

DSCN2514

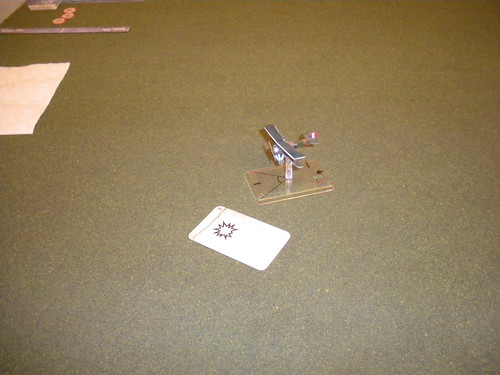
At the extreme range of his guns, Indo managed a final burst that forced Mike to crash land just within the German front line trenches.

DSCN2515

Mission Results: The French were able to pull off a decisive win.

Campaign Results:
  • Bill: shot down in No Man's Land; suffered 2 wounds, but managed to evade capture and return to his squadron
  • Brian: one victory (Bill's Albatross DIII)
  • Indo: one victory (Mike's Albatross DIII)
  • Mike: shot down over own lines; unwounded
Since they won, next game the French will be able to choose to play one of the following missions:
  1. Mission 2a: Enemy Troop Movement: Providing intelligence for the ground war is of the highest priority, HQ has tasked the air service to locate vital ground targets along the front lines.
  2. Mission 2b: Dawn Patrol: Maintaining air superiority is critical for the ground war, HQ has tasked the air service to fly routine patrols along the front lines.
Wings of War is a very fast and clean system. There are better simulations out there (for example, Aces High), but WoW is easier to grasp and allows new players to get involved right away.

Thanks to everyone who played.

Thursday, March 17, 2011

Thursday Game: Wings of War

Wings of War, January 21, 2010 #1

Tonight's game will be the first of the long-gestating Wings of War campaign. The game will be set in 1916, pitting men and machines of the French Army Air Service (Aéronautique Militaire) against those of the Imperial German Flying Corps (Die Fliegertruppen des deutschen Kaiserreiches).

Each side reveals the newest weapon in their arsenal – the airplane – and attempts to seize the initiative. The side that wins goes on the offensive for the next game of the campaign.

We shall be using the Knights of the Air campaign system for Wings of War. The system uses the rules from Famous Aces and Watch Your Back (including the Special Damages, Aim, Tailing, and Blind Spots For Rear Guns optional rules), plus we may use our home brew Limited Ammunition rules.

Tuesday, March 15, 2011

Dragoon(ing) along

Just a short update on my continued efforts to finish that initial roster of 25mm Napoleonics I started last July. Curt and I are doing really big units in the "grand manner" style. To help keep us motivated, Curt has launched his own spring thaw challenge. I had finished off my first three infantry units, some command, some skirmishers and (eww) artillery. Now I'm stuck into the hard part (for me) - cavalry!

Our cavalry units are 24-figures strong. I am close to half-way on my first cavalry project, a unit of Austrian Dragoons. The figures are from Foundry. Here are a couple of pictures of the progress so far.


I'm starting to get into a bit of a groove with the cavalry, but I can't quite bang these out like I can with the infantrymen. Practice helps, however, and each night I complete another one or two troopers is a good one! The picture below is a testament to my lack of project focus - you can see a bunch of 40k stuff in various stages of completion in the background.


Helpfully for me the Austrian Dragoon uniform has a lot of similarities to the uniforms of the Austrian regular infantry - white coats, coloured facings, yellow and black puff (I'm sure it's not called a "puff", but whatever*) on a black helmet, etc. I can't wait to get these guys all finished and based, and at the current rate, that will likely be end of March. Every nervous Austrian commander needs cavalry to cover their flanks of their column (or just ride with them to check out a potential new summer palace), so it will be good to get some cav together for the scions of the sausage.

*PS - fellow Conscript Curt has informed the "puff" is actually called a "comb" - I'll remember that for the future!

Saturday, March 12, 2011

San Domingo, 1806

Last Thursday, I prepared a scenario for the sail ships inspired by the battle of San Domingo. It was the occasion to test a few rules tweaks, most of them taken from Wargames Illustrated n260, but also some of my own, including redrawing the ship display.The display is inspired by Kiss me Hardy!. Numbers in the hull indicate the number of die for gunnery. If damage reaches red zones, the ship must test in the end phase for striking colors. The big change is the suppression of the saving throw, making the combat resolution a little quicker. But let's go back to the scenario.

Leissègues' fleet had the mission to disrupt British shipping lanes in the Carribeans. During a stop in San Domingo, Leissègues decided to leave in haste the safety of the port when hearing the news that a British fleet was approaching. The British split their fleet in two squadrons in order to trap the French fleet. Stacy, briefly helped by Rob, was in charge of the French vessels, while Curt and Allan would share command of the British.

Here is the French fleet, cruising under the nice Caribbean sun, minding its own business. The fleet was lead by the Impérial, a giant 120 gun first-rate under the cmmand of Amiral Stéssy. The green tape represents shallow waters.

Trouble on the horizon! Admiral Allan forms his ships into a line of battle to engage the French.

Amiral Stéssy wanted to demonstrate that French sailors are not just decorative. He ordered a series of tacking maneuvers to confuse the British.

Boum! Boum! Guns are talking. Admiral Allan had his guns readied with double shots and it proved devastating on the Impérial.

More ships are being engaged in the exchange of fire. More shots on the French first-rate.

Hey, what is that black smoke? The Northumberland is on fire! And what is that ship on the horizon? It's Admiral Curt, finally joining the battle after some delays that will later have to be explained back in London.

Badly damaged, the Impérial found the situation hopeless. The French had the option in this scenario to try run aground instead of being captured. So Amiral Stéssy bravely headed for the island and got stuck in shallow waters where his flagship got wrecked.

Admiral Curt is closing in, eager to make sure his ships will be included in any future historical paintings of the battle.
And here is the final situation. A nice tableau of confusion, violence and destruction! Two French ships were grounded, one was captured and two were able to escape to an uncertain future.

I found the rules changes quite satisfying, although a few more adjustments could be made:
- Firing at masts seems futile. No British ships were dismasted as was usually the case after meeting the French. I will have to revisit the rules.
- The article in Wargames Illustrated proposed that the line of fire is blocked if there is a friendly ship anywhere in the firing arc, to encourage captains to adopt the line formation. The approval rate of the rule was quite low. I will have to rethink that one.

Curt wrote his view on the game in his blog.

Wednesday, March 9, 2011

Elysian Fields (of Fire)

Last Thursday Greg brought out his Valk-heavy 1500 point Elysian Drop Troop army out for a game against Hive Fleet Nostromo, my Alien-style Tyranids. It was simultaneously the first outing for Greg's gorgeous army and for my new-to-me "Stalingrad" resin terrain, this time standing in for the embattled Imperial planet Toxo IV.

Greg's Valkyries and especially his Vulture (Vendetta?) certainly brought the pain with twin-linked Punisher cannons (20 shots re-rolling misses?!?!) but we had similar luck with bringing on reinforcements... "what did we say? All at once. What did we do? One at a time." 

The game ended on Turn 5 as a draw as we both held our own objectives, uncontested. A couple more turns of play would have been interesting - I had an undamaged Trygon set to eat some Guardsmen while Greg still had some mobile troops in Valks flying around. But it was great to see his lads out and to use the new terrain. Regarding the latter, I'm all about cost amortization, so look for many battles to occur in the sump factories of Toxo IV, the ruins of Grozny, and the industrial area of New Putingrad, as well as in Stalingrad ;-)


Friday, March 4, 2011

"Just another bug hunt?" Aliens: 40K style.

Last week MikeF and I ran a game at Dallas' set in the Aliens universe. Mike had substantially completed several "Marine" figures from Gripping Beast that stand in exceptionally well for the characters from the movie Aliens. I re-based them, washed them with Deneb Mud (I should buy that stuff in gallon jugs) and touched them up a tiny bit. Mike re-based a bunch of "click game" Aliens figures for proper tabletop gaming.

I had also finished that old pewter(!) APC from Leading Edge. It can be seen in the photo below, with Conscript Frederick in the background.
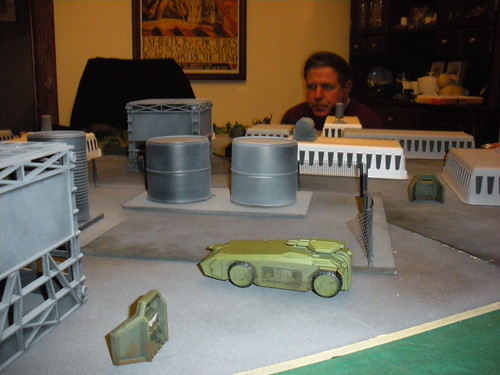
DSCN2481

For the game, we decided to set the scenario on a new planet colonized under the auspices of the Weyland-Yutani Corporation. Scientists from the Bio-weapons Division have made a breakthrough on site, but have then sent out an urgent S.O.S. A section of Colonial Marines was dropped in response. That initial section was ambushed by unknown xenomorphs, so the platoon's second section and their APC have been brought in to save their comrades' bacon. Barricades in the streets (from when the colonists futilely tried to put up a fight) limited the movement of vehicles.

For rules, we used Warhammer 40K, 5th ed. with one significant change - the firing phases have been swapped. This allowed the bugs to advance into charge range, with the chance to be stopped if the Marine firepower held up. So, the order of play was:
  1. Bugs move
  2. Marines shoot or run
  3. Bugs assault
  4. Marines move
  5. Bugs run
  6. Marines assault
The rules for the various factions follow.

Colonial Marines

A rifle squad consists of four Colonial Marines led by a rank lance corporal or above. Each squad may divide into two-man fire teams: the rifle team and gun team. The rifle team consists of a pair of riflemen assigned together on the 'buddy' system, each equipped with a M41A Pulse Rifle or a M240 Flame Unit. The gun team is made up of a rifleman with an M41 Pulse Rifle and a machine gunner carrying the automatic M56 Smart Gun. The squad leader may also carry a shotgun. Each squad has a member issued with a motion tracker.

Two or three squads, led by a sergeant or lieutenant riding in a M577 armoured personnel carrier, make up a section. Two sections make up a platoon. (In a drop operation, a UD-4L dropship is attached to each section from the aerospace company team.)

Colonial Marine: WS 3, BS 4, S 3, T 3, W 1, I 3, A 1, Ld 7, Save 4+
Platoon Sergeant: WS 3, BS 4, S 3, T 3, W 1, I 3, A 2, Ld 8, Save 4+

- Pulse Rifle: Range 24”, S4, AP5, Assault 2 or
--Underslung Grenade Launcher: Range 12”, S6, AP4, Assault 1
- Flame Unit: Range Template, S4, AP5, Assault 1
- Smart Gun: Range 24”, S5, AP4, Assault 4, Rending
- Shotgun: Range 12”, S3, AP-, Assault 2

M577A3 Armoured Personnel Carrier: Tank; BS 4; F 11, S 11, R 10; Capacity 13
- Particle Beam Cannon (turret): Range 36”, S7, AP2, Heavy 1, Blast, Twin-linked
- Gatling Gun (front sponson): Range 36”, S5, AP4, Heavy 3, Twin-linked

Weyland-Yutani Corporation (ウェイランド湯谷)
This conglomerate is involved in all aspects of space colonization and research. Its employees demonstrate a great willingness to sacrifice human life in the pursuit of profit.

Tech: WS 3, BS 3, S 3, T 3, W 1, I 3, A 1, Ld 7, Save -

Xenomorphs
Alien Warrior: WS 6, BS 0, S 4, T 4, W 1, I 6, A 2, Ld 10, Save 5+
- Rending attacks
- If defeated in close combat by a Marine, Marines in base contact with the dead bug(s) take an automatic S3 hit (acid splash)

One squad of Colonial Marines started in the northeast corner of the board, escorting the Weland-Yutani squint.
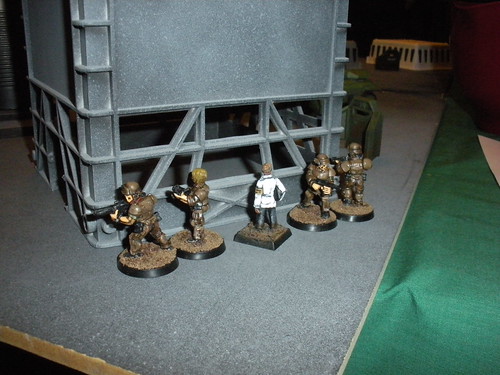
DSCN2482

Their disabled Leading Edge APC can be seen on the bottom of the picture below, as Frederick, Indo and Greg look on. Conscripts Frederick, Indo, Dallas and Perry played the various Marine units. Greg, MikeF, and MikeA played bugs. I ran the charts. The balance of the Marines would come in from the south table edge, including two full squads, a platoon sergeant, and their APC.

For the Marine reinforcements, Frederick contributed his 1996-era Galoob Action Fleet APC - a great "toy" that includes a full interior, a movable and stowable turret, and an opening hatch. (Good luck if you can find one now for less than $200).
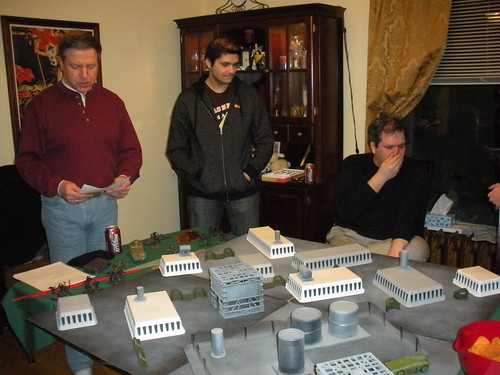
DSCN2483

Below, a squad moves cautiously, under the cover of the APC's armour.
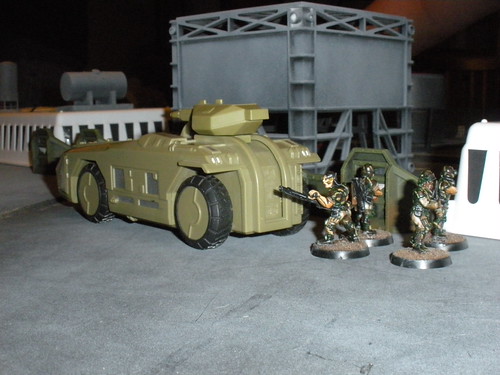
DSCN2487

Aliens came on as "blip" counters, simulating the movement detected by the Marines' sensors. Once in line of site, the blips were turned over, revealing a number between 0 and 5 - this was the number of actual bugs present. Killed bugs just went back into the general reinforcement pool; the Marines could never actually kill all the bugs.

Caption for the photo below: "Surprise!"
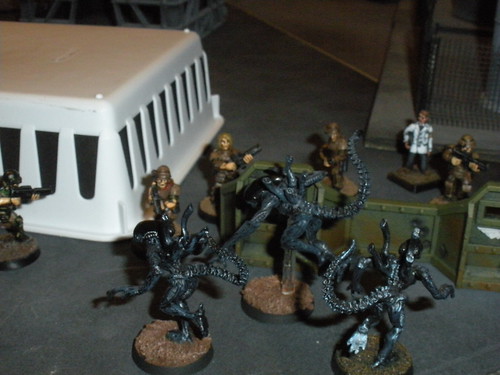
DSCN2488

The tech made it most of the way south, but the Marines got bogged down fighting bugs.
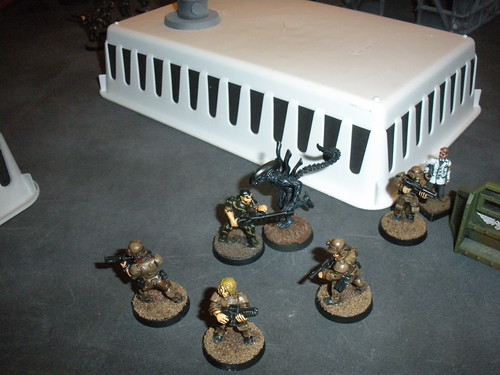
DSCN2490

Below is a shot from the final moments of the first game, as bugs swarm over the now-destroyed APC and the platoon sergeant vainly tries to come to the aid of the last of his Marines, a lone smart-gunner.
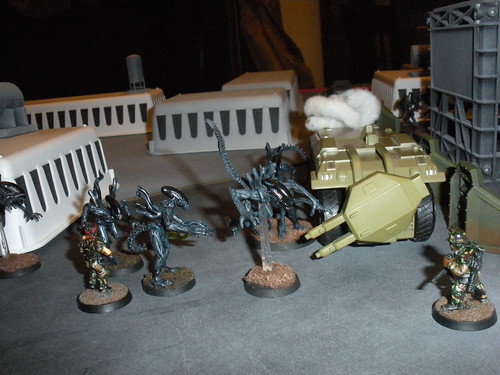
DSCN2493

The game went pretty fast, so we played the scenario again. We re-arranged how the bugs appeared, choosing three fixed spawning points in the middle of the east, north and west table edges. I stepped in for a Marine player who had to leave. The initial squad broke up, using their flamer dude to escort the W-Y tech geek. The other three died bravely covering their retreat south.
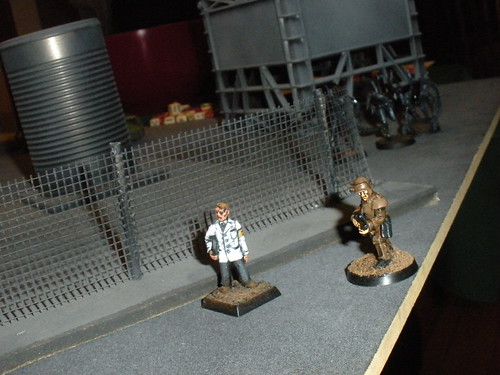
DSCN2494

Below: "Eat flaming death, xeno scum!"
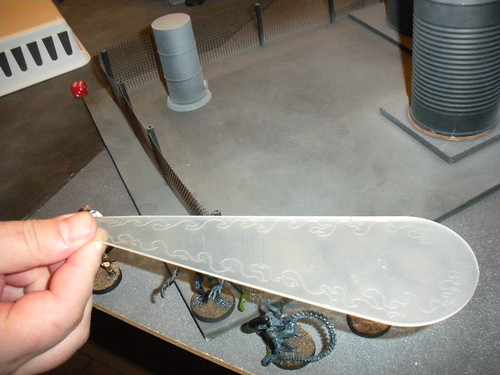
DSCN2495

Below, MikeA and Brian watch the retreat of the Marines.
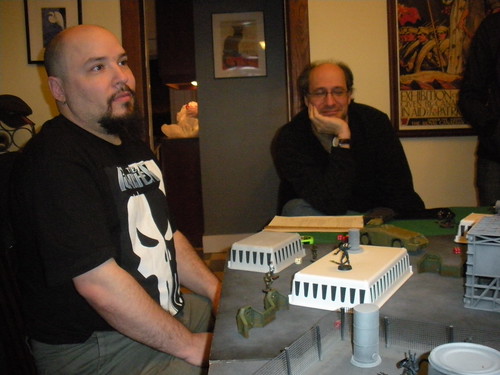
DSCN2496

That flamer guy was awesome, toasting maybe a dozen xenomorphs during the course of the game, before finally falling to a concerted alien rush.
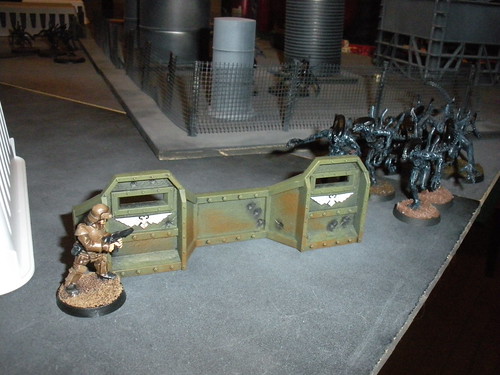
DSCN2497

The Marines split all their squads up, with the teams being able to cover each other with firepower, and allowing some of the squad to avoid being locked in close combat if the bugs got too close and were able to assault.

This time around, several Marines and the techie survived the fight and exited the south table edge with the APC, barely one move ahead of the closest bugs. Again, a very close game.

Below, in a staged and shopped propaganda photo after the fight was over, the tech can be seen entering a waiting APC.
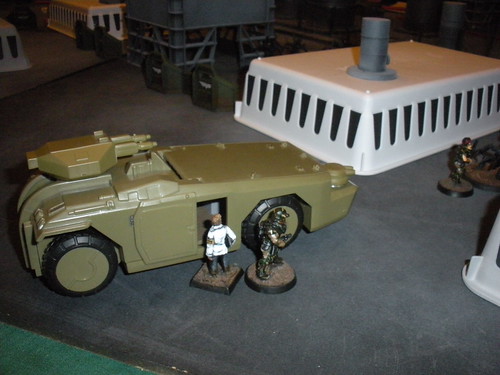
DSCN2499

Sadly, the tech's ultimate fate was probably on a dissection table in a secret Wayland-Yutani lab. They had to be able to smuggle biological contraband off world somehow...

The games were faced paced and a lot of fun. It had much more of a skirmish feel than the usual 40K game, due to the limited number of figures on the table.

Thursday, March 3, 2011

Ride of the Elysians


Tonight the Elysians will undertake their first full-blown 40k engagement in a 2000 point matchup against the evil Hive Fleet Nostromo.

The Elysians had a small test run in September of last year, but this will be their first game as an all-in detachment. While the standard fate of newly-painted models in their maiden game is well known, I am still pretty fired up to have these guys out for a run.


Let's mount up for Toxo IV, boys!


To mark the occasion, we will set the game in - where else? - good old Toxo IV! I'm sure the Elysians are not that excited to learn they will be deploying there, but orders are orders!

See everyone tonight.