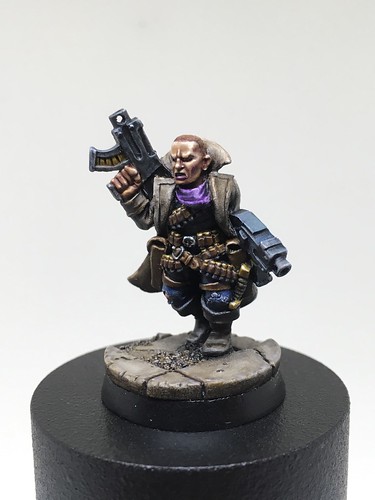

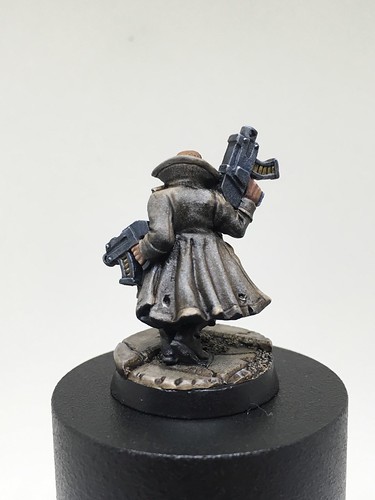
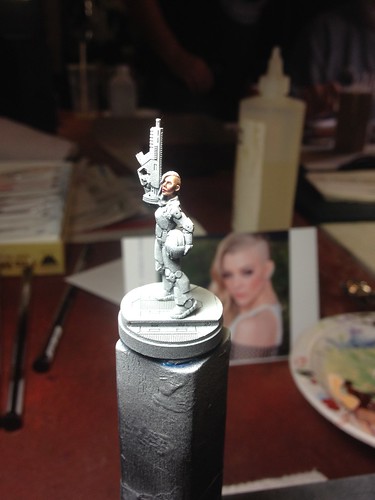
The face has a lot of character. Not bad for a 20-year old figure!
I already created the character sheet. He will be an actual hired gun, with the Gunslinger skill (fire both bolt pistols without penalty!), usable in the Necromunda league.
***
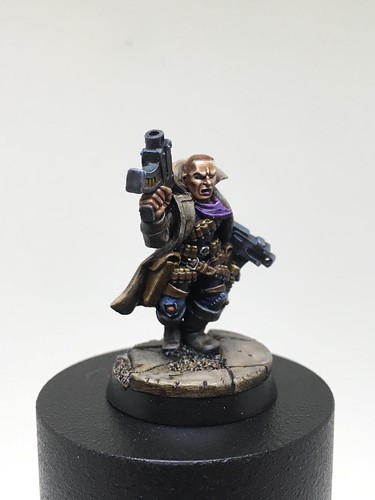
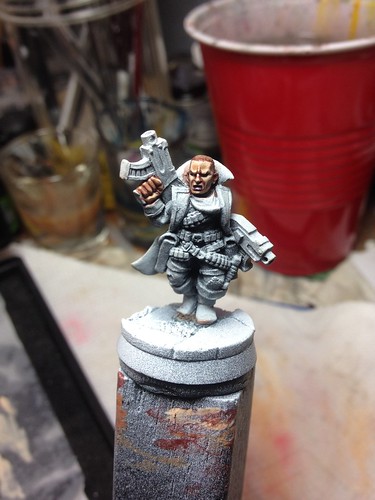
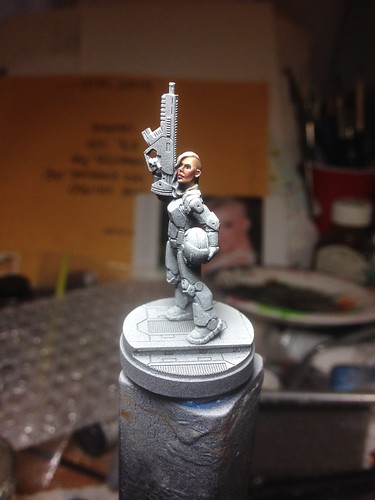
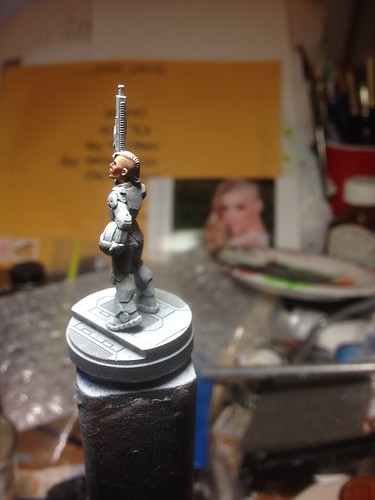
Edited to add: Here are some WIP shots of this and another figure, to show the multi-step flesh painting.
Below, after zenithal highlighting, with Vallejo acrylics for the face and hands painted on.
Below, the oils are laid in. Not a LOT of change, but note that some of the shadows are deeper, some highlights more defined, some transitions are softer, and the pupils and whites of the eyes are painted.

Below, Capt. Nee Sun, a 28mm character figure from Hasslefree, with Vallejo acrylics for the face. Note the photo of Natalie Dormer with her head shaved as Cressida from the Hunger Games, used as a photo reference.
Below, oils laid in. Note that I cannot seem to paint eyes with acrylics. Contrast is a little less, since this is a female figure and I wanted to soften some of her features.
The stubble effect on her shaved head was done with very thin dots of Winsor & Newton indigo oil paint mixed with Liquin, kinda patted and pushed around the flesh of her head with a clean brush.
14 comments:
Excellent brushwork
Nice work! He's one of my fav Necro sculpts...
Great paint work Dave, just excellent!
Outstanding work as always, Dave. Looking forward to the game tomorrow night.
Outstanding work! Oils for the skin? Obviously it turns out well, but it sounds hard...any chance of a tutorial on how to do that?
Superb paint job.
Cheers,
Pete.
@Lasgunpacker, I've been thinking about that. I will write a future blog post about it.
Short version:
I used zenithal highlighting (flat white airbrush downwards over black primer) to identify highlights and shadows;
I used the Vallejo Face Painting Set paints from a wet palette to lay in the basic skin tones for the face and hands;
then, I used very thin layers of oil paints (sometimes mixed with Liquin to smooth paint flow) to soften the flesh colour transitions and punch up the highlights and shadows.
So the oils are a wash, or actual painted layers? Do you seal the acrylic paint before applying the oils?
Very interested in this, as skin looks great!
@Lasgunpacker, the oils are not washes. They are thin, translucent layers. Sometimes, I will apply a dot of colour, then use a clean, dry Winsor & Newton series 7 #000 brush to feather the paint into its surroundings. It's analogous to the highlighting and blending steps when applying stage makeup. Generally, I work from dark to light.
Yes, I sealed the acrylics with Testors Dullcote, so the oils won't be absorbed. If I make a mistake, I can take off the oils with a clean brush loaded with a bit of thinner.
Once a particular effect is "right", I will lightly spray another coat of Dullcote. So the figure has maybe 5 or more thin layers of Dullcote on it, as each portion was completed (face & hands, shirt and paints, coat, kerchief, cartridge belt & holsters, cartridges & knife hilt, guns...).
The final protection is a couple of coats of Tamiya semi-gloss spray (I used Testors until they discontinued it), with maybe a light dusting of Dullcote.
I have added a few WIP photos to show flesh tones painted with acrylics and then oils.
Lovely work Dave!
Wow, thanks Dave! Very interesting, and quite good results. I look forward to your tutorial, but in the meantime I will ponder some oils next time I am at a hobby store...
You'll want artists' or professional quality tube oil paints from the art store. Student's quality does not have pigment ground fine enough.
Outstanding stuff!
The key to faces appears to be lots of very thin layers..... I really should try that instead of the old base/wash/highlight as that finish is superb.
Kudos on the patience to spray so many layers of varnish too.
Post a Comment