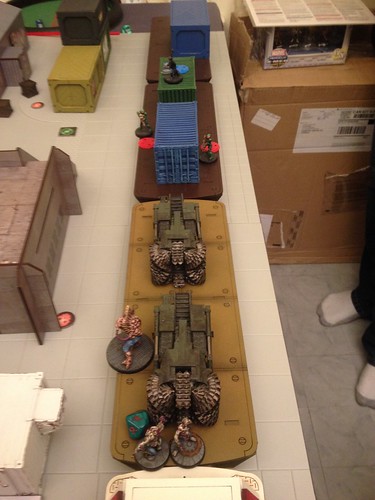
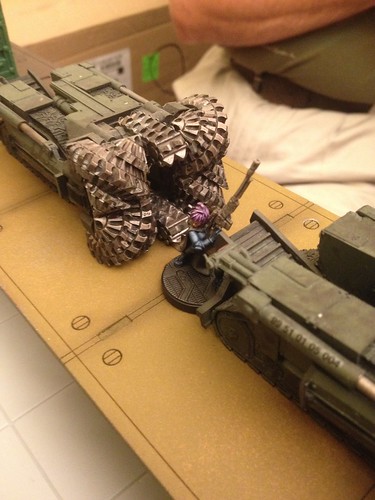
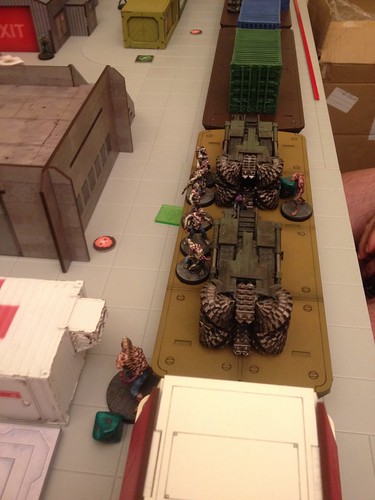
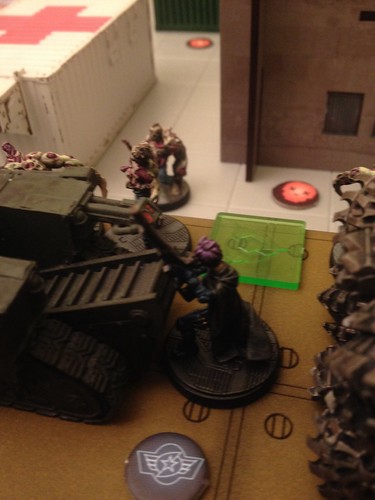
I love the Sicaran hull and having a normal one already, I just had to get the other version of it, where the driver is obviously trying to compensate for something. The gun is a huge neutron laser and makes up most of the tank, and the fluff explains that it is the largest weapon on any tank in this class.
The gun spits out multiple strength 10 AP 1 shots, so it should help against the land raiders and super heavies that are starting to show up in our 30k games. On top of that anything that is hit by the gun (even super heavies) can only fire snap shots the following turn. Even better yet, because this is a Sicaran hull it is a fast vehicle so can move 12" and still fire 2 weapons at full effect (mind you as soon as the big gun fires, the sponsons are snap firing anyway since it is an ordinance weapon), or if it chooses not to fire, can cover 24" in a turn. This means it can get where you need it on the table quickly.
To help ensure that the main gun stays alive a bit longer, I mounted the optional sponson mounted lascannons. Even if the main gun is knocked out, at least it can still do something.
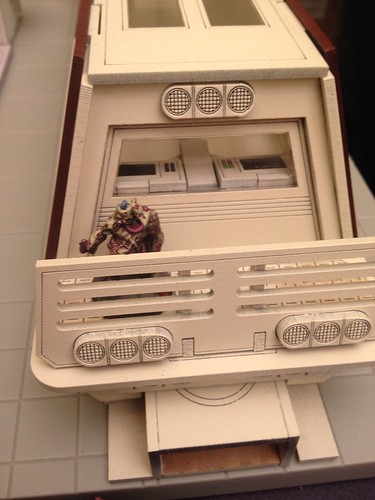
Next of the new vehicles is the Fire Raptor, which in my mind is very reminiscent of an A10 tank killer with two huge guns under nose and I could not pass on one, and it doesn't hurt that it turns out to be really good in a game.
I built the kit with the landing gear out so that it can sit flat on the table to be used as terrain, even when not used in a game. I have not figured out a flying stand system for this beast though as it just does not seem stable enough on a GW flight stand for me. I can use one, but will probable build in some kind of magnet system and a larger base so that I feel better about this expensive and fragile model sitting 8" above the table.
The guns on this flying gunship truly shine, and it should excel at multiple things in games. The chin guns can spit out 7 shots that are strength 6 AP 3 so should help thin out all of those Legion Marine squads. The rest of the armaments on it are a little less deadly being all AP 4, but putting out a lot of shots. It has 4 single shot rockets and two side turrets that each have a reaper autocannon battery (4 strength 7 twin linked shots each), and each turret can target whatever they chose, they are not limited at firing what the main guns are targeting. This should allow it to help support my ground forces and open up some Rhinos with all the strength 7 shots so that my infantry can get at the squishy contents.
I have been asked about my painting method in the past, since it is very different than my normal 40k clean style, so I figured I would explain a bit. Firstly, I am doing all of my Death Guard as grungy and dirty as I can while still keeping them resembling their white and green official colours. The reason for this is that I really love the first few Horus Heresy novels and the loyal Death Guard that are led by Captain Garro in them. I picture my force as part of Garro's force that was on Isstvan III either during or landing shortly after the Warmaster Horus scorched the planet in his attempt to wipe out the loyalist members of the legions there. Almost everything on the planet was destroyed by his attack and what was left was badly damaged, and everything that came down after the strikes was subject to all the dust, corrosion, and fires going on, and then went through the vicious fights that took place.
To accomplish this look, I did a bit of investigation and found a REALLY simple method. In fact it is so simple, and looks so good (at least in my opinion) that I wonder why the hell I spent so much time trying to paint vehicles in the typical GW clean sharp method.... This method takes way less than 1/2 the time, in fact probably about 1/4 the time, and looks better (again my opinion).
Step 1) Assemble and prime your vehicle. I primed these with Vallejo German Dark Grey airbrush primer as it gives a ver good dark colour for the chips (a dark almost black grey but with a hint of brown and green). I then gave some quick random shots of a rust brown to some edges and recesses where I knew I would ensure some chips where. (total time to prime and hit with rust - 15 min)
Step 2) Spray the whole model with a coat of either AK Heavy Chipping Solution or AK Weathering Solution. I used the heavy solution around the edges and the weather on large flat surfaces. Then set it aside and let it dry completely over night. (total time - 15 min)
Step 3) Next up I spray the whole model with my base colour and any accent colour (the green in my case, which in my anxiousness to get these done, I forgot and then had to go back mask areas, put another layer of chipping solution and and then put the green on) and then set it aside and let it dry for at least an hour or two. (total time - 15 min)
Step 4) Now comes the fun part. Either use a spray bottle with water or a large brush with water and wet down an area to start working on. Let it soak for about a min to soften the paint and then just start rubbing any area you want to show wear or chipping with a stiff brush. Paint will start coming away in a very random and natural way. The more you rub the more comes off. just keep moving around and working areas until you are happy with them. (total time for chipping - between 20 min and an hour depending on how you work)
Step 5) Time to put your decals on and then make sure you take some areas of them and pick them away so that they look worn to match the rest of the vehicle. I then clear coat the whole vehicle to prep it for the next step. (total time - depends on number of decals maybe 30 min)
Step 6) Back to some AK solutions for the grim look. Now I go to some AK Streaking Grime and AK Rust Streaks. These are enamel based solutions that make streaks really easy, but make the earlier clear coat step necessary. All I do is put a drop of the paint on each chip, or in crevasses or on sills and then let is sit for a bit (15-30 min). Once the paint has had time to dry a bit, it is time to take a soft brush and some odourless thinner or white spirits and brush down over the dots of paint you put on. They will start stretching down and forming streaks. If you pull them too far down you just wait a bit and then brush up with some more thinner. You can keep working the paint back and forth until you are happy with how it looks. I like leaving it a bit rough, then grabbing a stiff bristle worn out brush and do it again to break up the streaks and make them look grainy like real rust or dirt runs.
Step 6b) What is shown above is one coat of Streaking Grime, and then I went back and added little bits of the Rust Streaks and repeated step 6. (total time for 2 colours of streaking - roughly 2 hours)
Hopefully, this all comes across clearly. I may sound complicated, but honestly it is super simple and very fast. If there are any questions, please ask. Total WORK time for priming through streaking on both the Sicaran Venator and Fire Raptor was roughly 4-5 hours. Once all of that is done, then I go back and paint all the details and then add pigment powders to dirty it all up even more. These finishing steps take about the same time as the weathering, so total time for 2 really big vehicles was less than 10 hours. Which in my mind is pretty damn fast compared to what I used to spend to paint vehicles and I used to despise painting vehicles, and now I love it, so it's pure win. Now, if only putting the Fire Raptor together wasn't as much of a pain the .... as it was, or I would get the troop transport version to go along with this one.
Anyway, sorry that the post got so long, I hope you find it interesting, and thanks for reading it (assuming you got this far).
Now, time to get another game of 30k in!


