LegioCon 2015 took place this past Saturday at the St. James Legion here in Winnipeg. As in previous years, the Conscripts were invited to put on a participation game at the convention. This year, I brought out my new Great War trench terrain and set up a WWI game - more on which below!
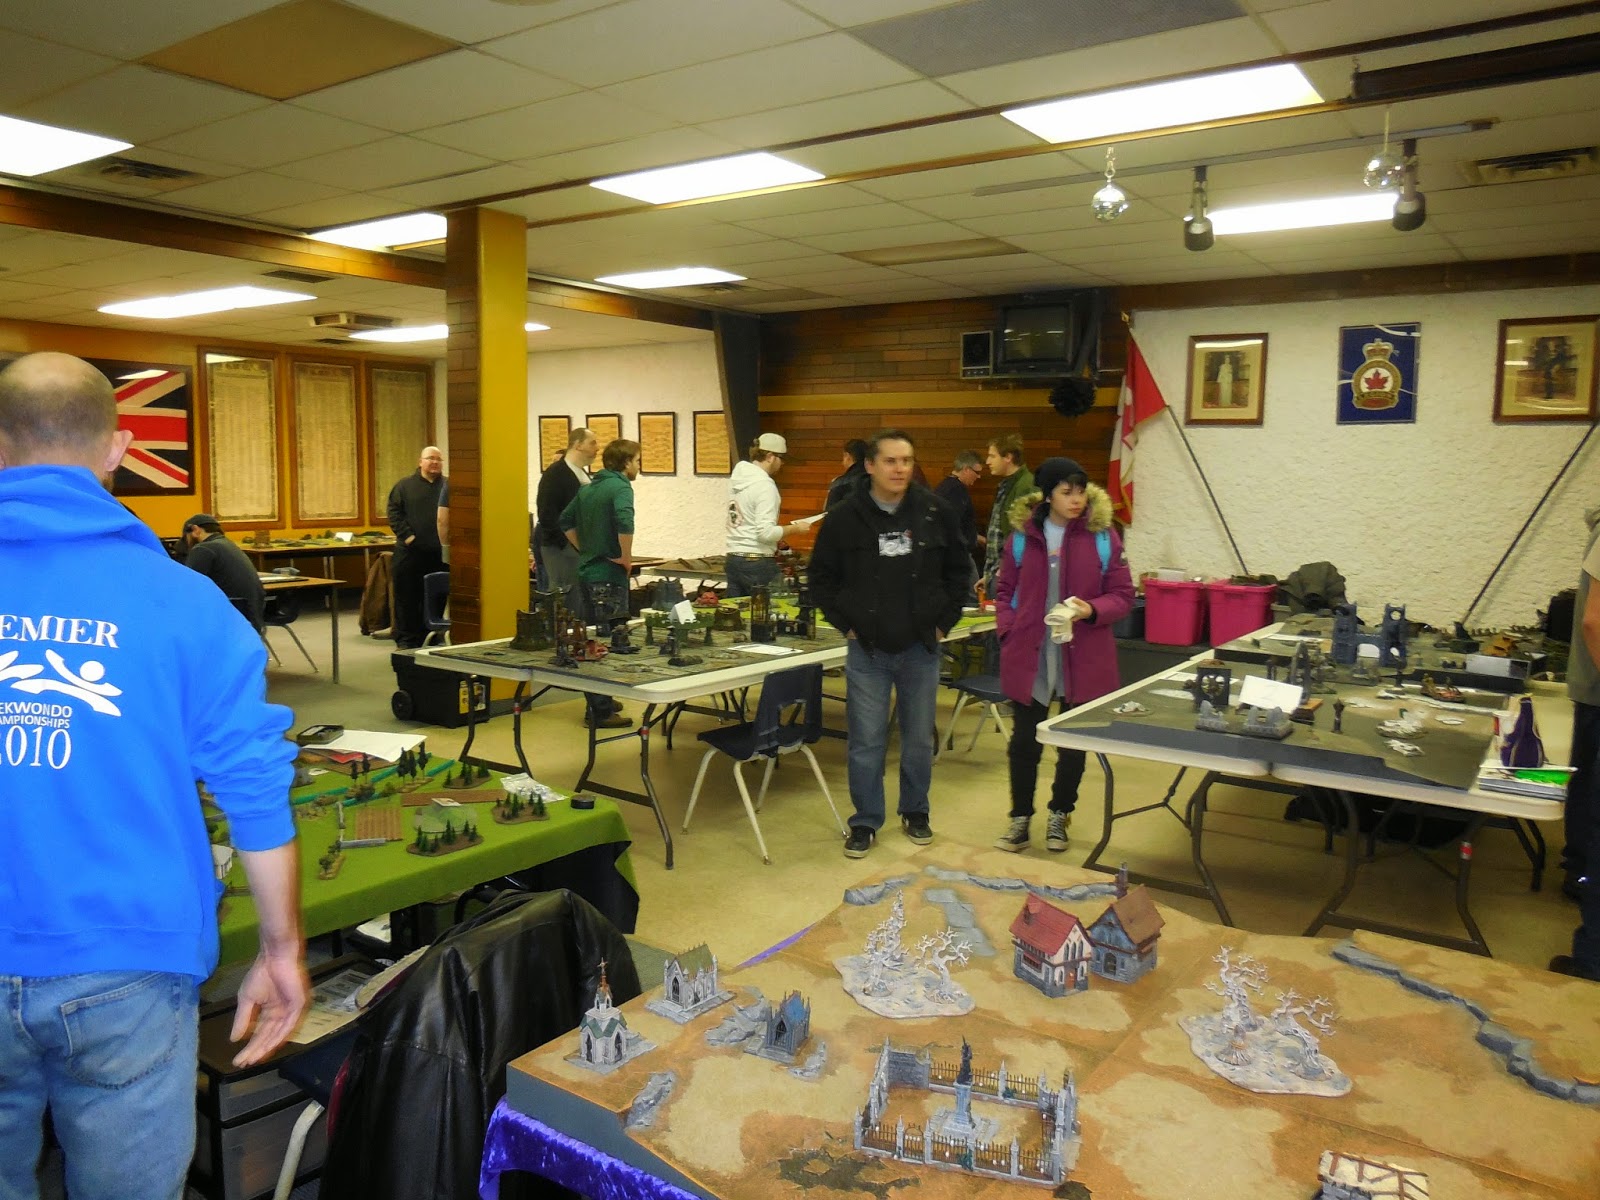
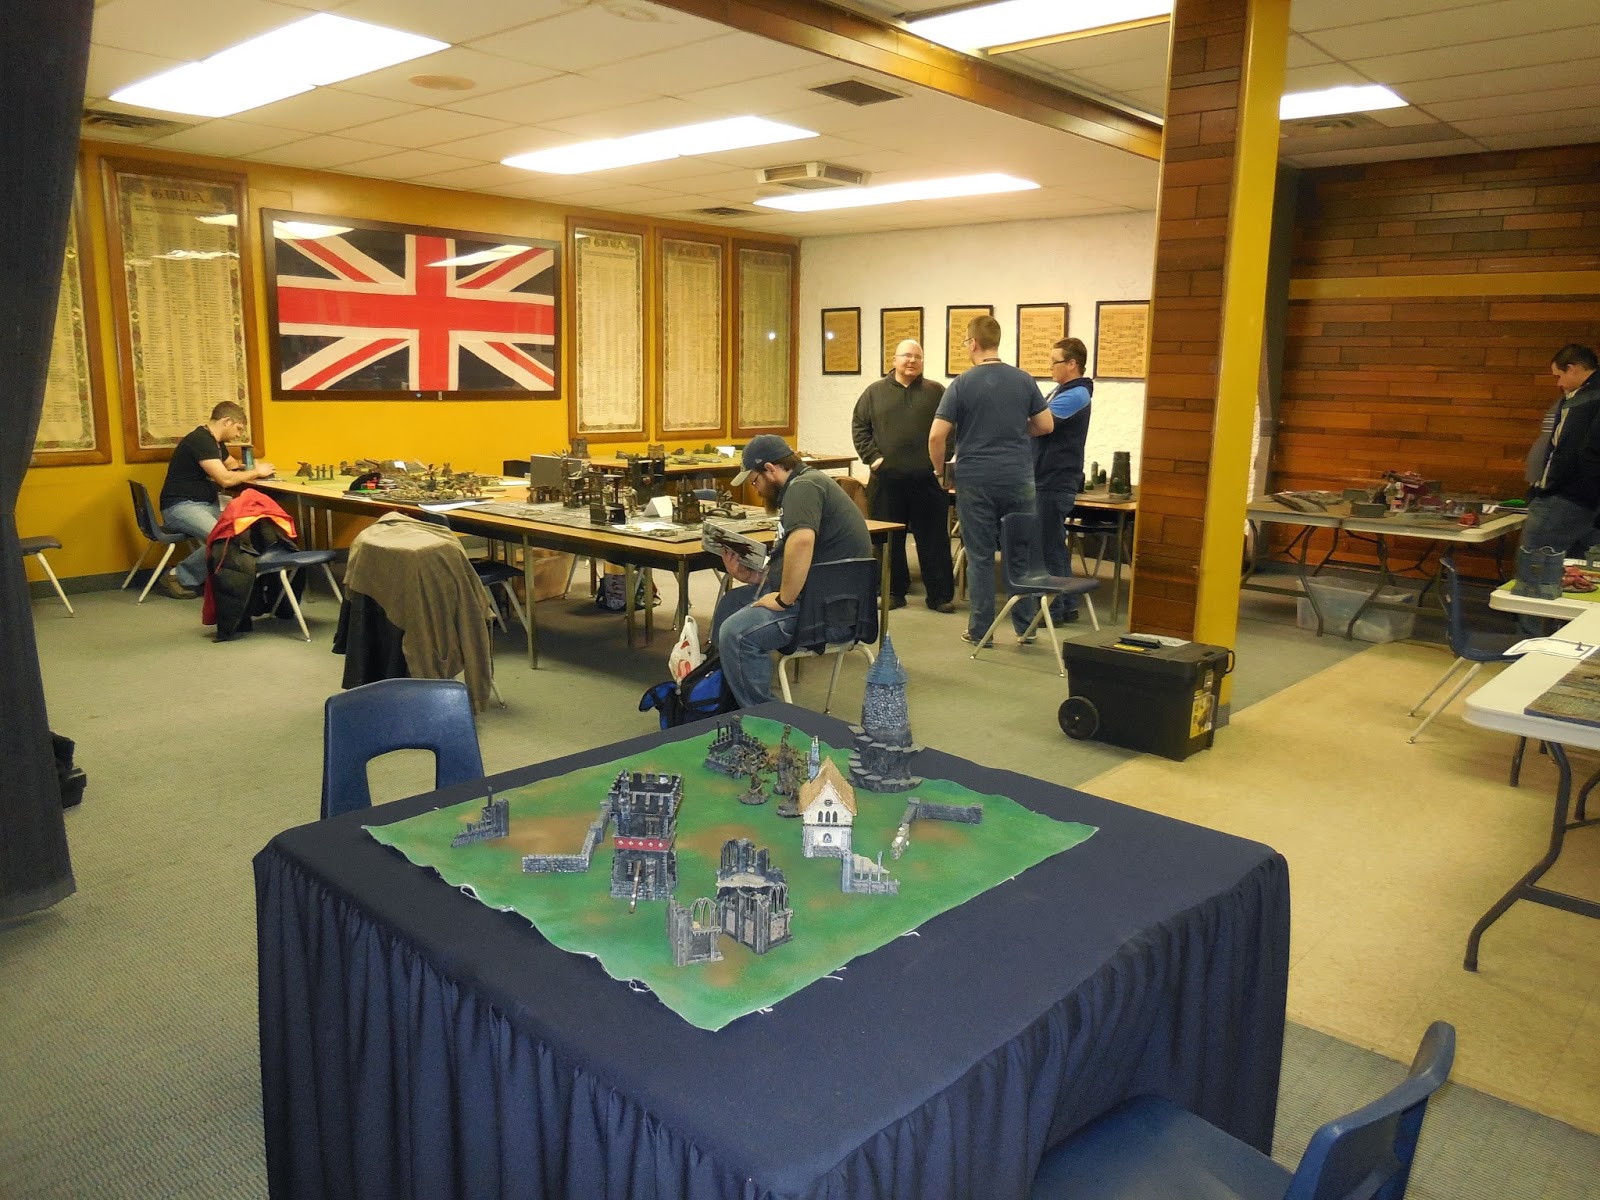
The Legion is a cozy venue for gaming and was absolutely chock-a-block with games and gamers. Lots of 40K, but some historical stuff too.
Mark, manager of the local GW store, helped organize the convention and as you can see, was going a mile a minute all weekend.
One cool feature of the convention was a "gamer's buffet", where you could get a 30-minute taster of various games from an experienced player. The games included 40K, WHFB, Flames of War and Infinity. Neat idea.
Conscript Jim was also involved in organizing.
Members of the Manitoba Model Soldier Society put on miniature painting demos throughout the weekend.
Here's a period we don't see all the time around here: English Civil War in 15mm.
Check Your 6! game in progress - Pacific War action.
This table was outstanding - rural France for a 20mm WWII game using home rules. There are several terrain ideas here that I'm happily pinching for our games.
A side room was used to display models and figures entered for judging.
Some really nice work on display.
Now to our game! I set up a modified replay of the first WWI trench game we played on the terrain, still using Warhammer Historical's "Great War" rules. Here are the German defenders - the Battalion commander, two companies of two 8-man platoons each, two MG08s, a 77-mm field gun, a trench mortar, a "T-Gewehr" anti-tank rifle team, and a sniper. A "beute" MKIV tank and platoon of storm troops come on in reserve.
The British: battalion commander, two companies of three and two 9-man platoons, two Vickers MGs, an 18-pounder gun, a scout platoon, and a Highlander platoon, plus two MKIV tanks. A cavalry squadron of three 7-man troops plus squadron commander are in reserve, ready to break through as needed.
German gun placed in the "Holland stellung".
MG08 team emplaced in a shell hole.
The game commenced with a preliminary bombardment by the British, the only effect of which was to eliminate a section of barbed wire, albeit in a key position! The British then commenced their advance across No-Man's-Land.
Unfortunately for the British, the Germans were able to seize the initiative and take the first turn, opening up with machineguns and cannon all along the front.
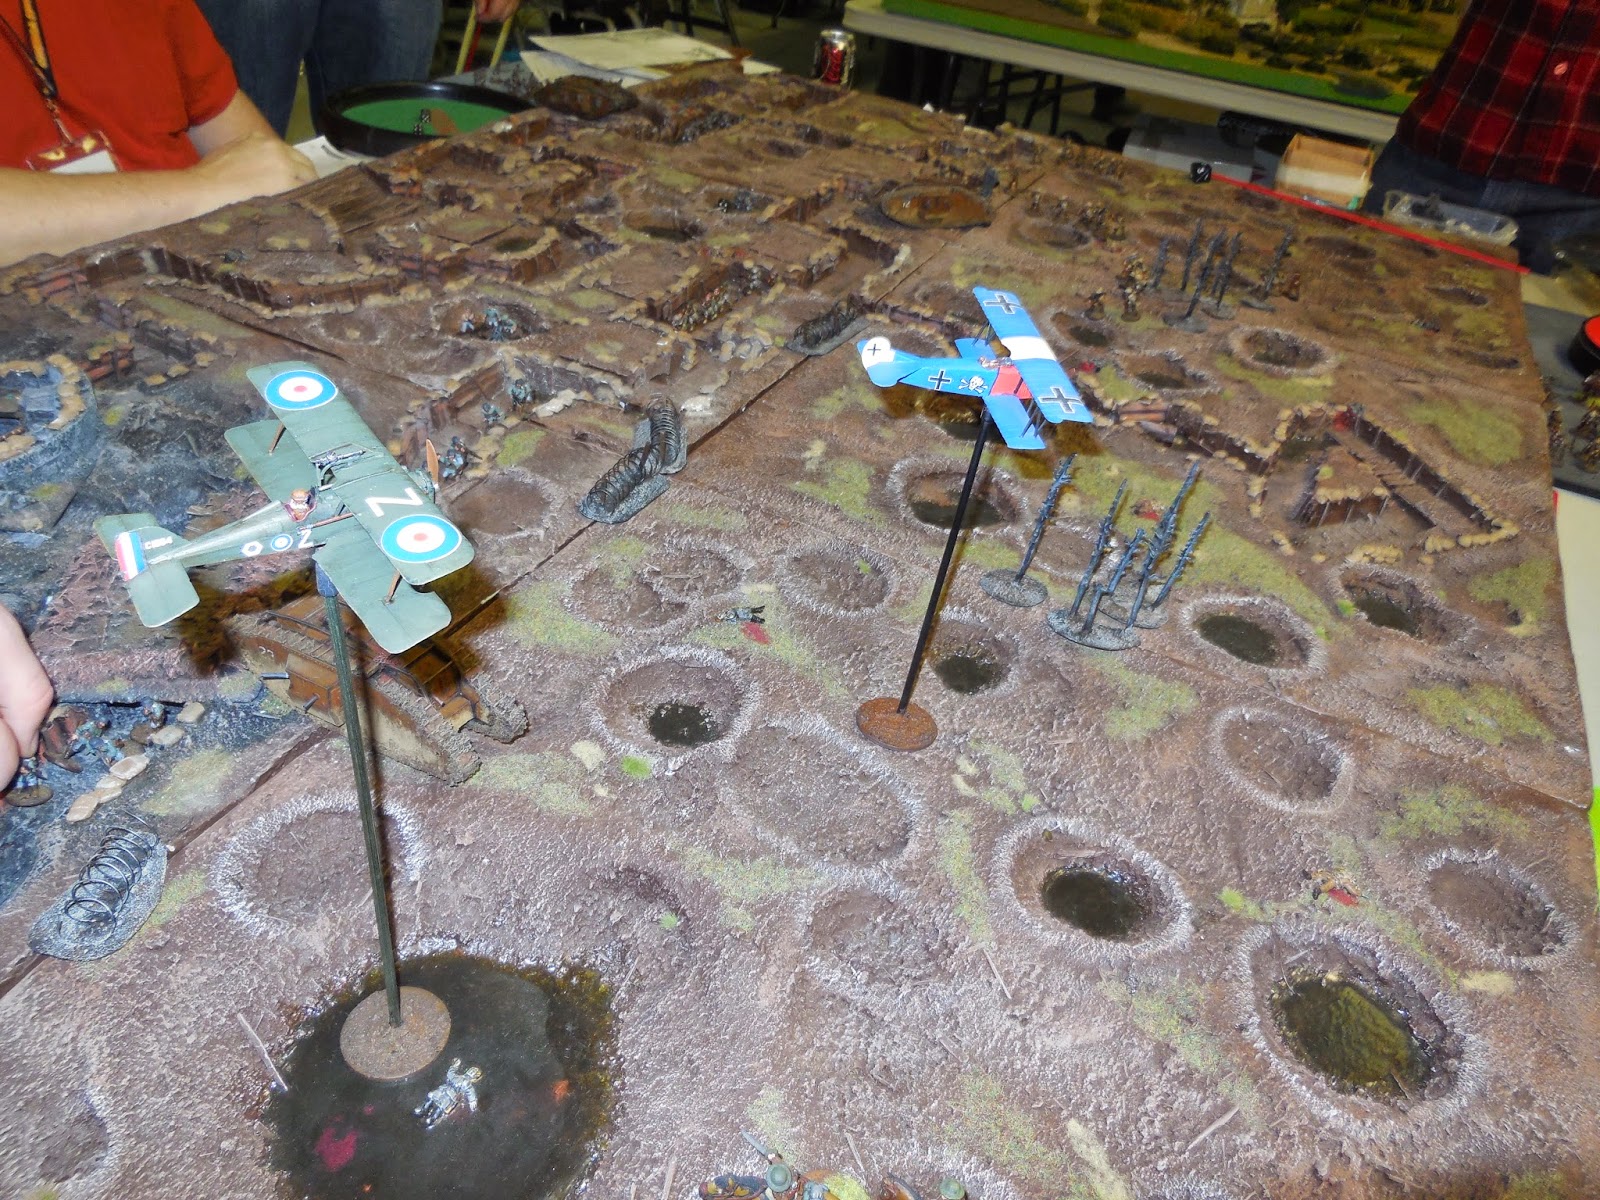
Fokker D-VII chases an SE-5a over the trenches. I put the planes out for an additional bit of eye candy.
Far above the mud and the blood...
The British took advantage of the long sap to run their Scouts and Highlanders into the heart of the German defences. The Scouts are pictured here about to assault a German platoon.
Firing revolvers and flinging grenades, the Scouts overcome the Germans and wipe them out! Close combat in these rules is bloody indeed, and the side with the higher Initiative value has a huge advantage when they can catch the other side out of cover. But look out for the platoon at top centre - the following turn they leapt up and gunned down enough of the Scouts from an enfilade position to cause them to bottle out and run.
Meanwhile, the cavalry has come on from reserve and pick their way across the cratered landscape, towards a gap in the German lines.
On the British right, the MKIV suffers a minor mechanical mishap but lurches into the German trench zone, its 6-pounder cannon and machineguns concentrating on a German MG nest right beside it. The last gunner miraculously survives the onslaught, only to be gunned down by a Tommy from an enfilading position.
In the centre, the Highlanders follow up the doomed Scout platoon and assault the remaining Germans. Highland steel proves decisive as the defenders are slaughtered to a man.
Under fire from the German field gun, the cavalry works forward, with losses...
In the skies above, the hunter becomes the hunted...
Highlanders consolidate their victory in the front-line trench.
The surviving cavalry have the green fields in sight, but the crew of the 77-mm gun in the "Holland Stellung" may have other ideas for them...
The game ended in a (rare) victory for the attackers - but not a cheap one. The British got several units into the German trenches, but several had been reduced to only a couple of models and had stuck around only thanks to excellent Leadership tests. One of the tanks had been damaged and the German MKIV was still operational, together with the storm troop platoon at full strength. But the requirements for a British victory had been fulfilled.
I had made a few changes to the scenario from last time; most significantly, moving the British start line to 12" onto the table. I also allowed a preliminary bombardment (per the Great War rules) and slightly reduced the number of German reinforcements. These helped the British side quite a bit, but we were denied the grisly War Horse-like spectacle of cavalry charging machineguns, at least.
I think the guys had fun and I had a good time running the game. My thanks go out to Conscripts Greg, Dave V., Frederick and Cam(!) for playing, as well as to convention attendees Bob and Mac. LegioCon is always fun, especially since there is a small, inexpensive cafeteria and bar directly downstairs from the gaming venue. Thanks again to the organizers (Bryan G., Mark T., Garth B. and Conscript Jim) for a great job in organizing and for the invitation to bring out our game.
See you next year!
The Fawcett Avenue Conscripts are a group of table-top wargamers who get together on Thursday nights to enjoy some gaming, some beer and a few chuckles courtesy of our hobby.
Monday, February 23, 2015
Friday, February 20, 2015
Sedition Wars Project mini-update: TheXLC Pre-printed MDF Terrain
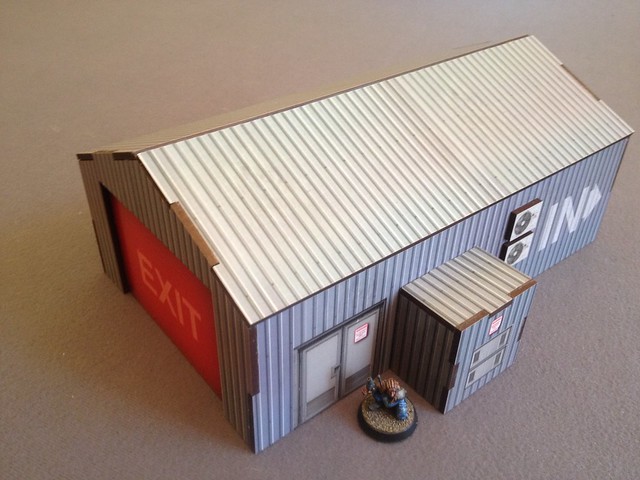
I just received from TheXLC my rewards from their November Kickstarter project. I received two building kits made from 3mm thick, laser cut MDF: a vehicle workshop, and an admin building.
Their terrain comes pre-printed and ready to assemble. They developed a technique where they print onto a substrate, laminate it to a 3mm MDF panel, apply a protective covering, and then laser cut. This allowed them to produce printed components without scorching to any of the printed surfaces.
The other night I assembled the vehicle workshop. The kit consisted of 16 MDF parts. It came with exploded diagrams for assembly. The model building went together easily; the parts fit well, and I only needed white glue. The hardest part was peeling off the protective covering. One has to take care not to also remove the printed substrate. The tip of a very sharp knife should suffice.
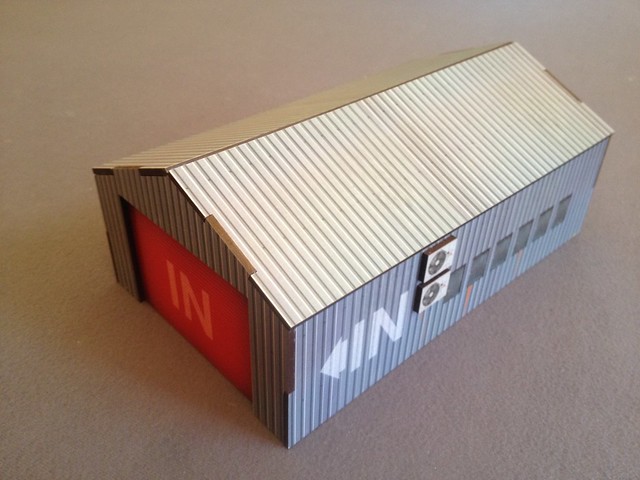
Below, a 28mm GW tank crewman and a resin truck from Old Crow are shown for scale. The building itself measures 250mm x 183mm x 106mm.
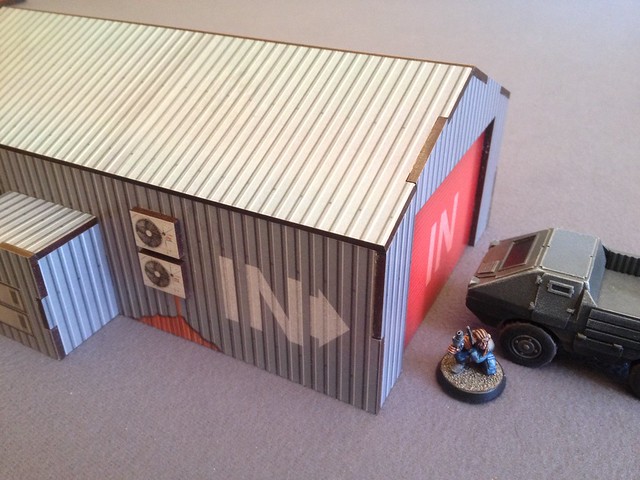
The printed details are nice. The corrugated siding is rendered clearly. There is some shadowing around the garage door edges, rust stains from the AC units, broken/missing pieces of siding, and appropriate warning signs. The windows and doors are all scored, so you could cut them out very easily if you wanted to.
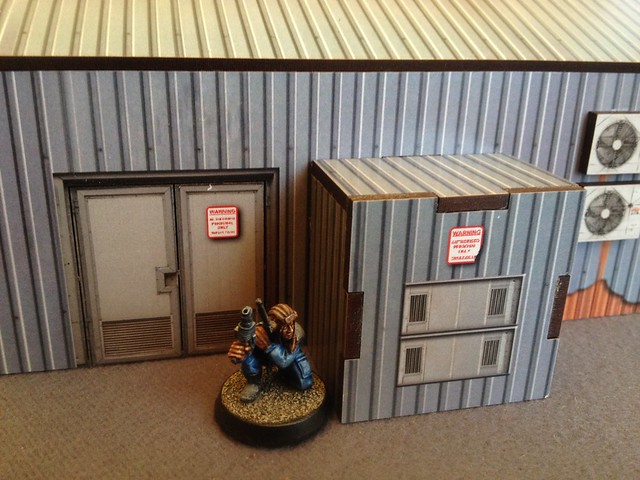
The only real downside is the lack of printing on the edges where the MDF is keyed together. Not a bad trade off, considering that you don't really need to prime, paint and weather the model.
The manufacturer recommends that one leave the roof unglued if you want to use the interior for gaming, which interior comes already primed gray! For this particular kit, there would not be enough structural integrity, so I glued the two roof pieces on. There is no floor, so you could still place figures inside the building during a game, especially if you used light card or construction paper to outline the floor plan.
I could add some more highlights, weathering, and do something about those scorched edges. Even as-is, I think the model makes a neat addition to my growing collection of terrain for modern and sci-fi skirmish games.
Monday, February 16, 2015
Forgeworld Titan Crew
When you have a Titan I guess you'd better have a crew as well. So awhile back I'd ordered Forge World's resin Titan crew. Interestingly for GW models, they come with integral bases cast right on!
So here they are - the Princeps (centre) and two Moderati. I pinched the colour scheme from that used by another enthusiast, found on the Internet (thanks man!) I think the red sets off the red on their Legio Metalica Titan nicely.
The Forge World models are lovely indeed (as you'd expect for the price) and they turned out nicely. They'll be handy for a scenario where they have to cross a hostile table to mount up in their ride, or in a similar game.
Forgeworld 40K Arkurian Stormblade
We all love the resin crack produced by our friends at Forge World, but sometimes you can luck into some of that resin-y goodness without taking out a second mortgage. So it happened last summer when I found a local chap selling this Arkurian Stormblade model on the local kijiji buy-and-sell site. The model was mostly assembled and painting started but it needed a bit of work. We arrived at a price that was about half of a new one and the deal was closed. I got it home, fixed what was broken, primed it black, and it sat on my shelf for a good 8 months :-)
Being that this is our long weekend here I resolved to finish the model up. I basecoated it dark grey, then brushed it up with a lighter grey, painting the lascannon turret weapons and sponson heavy bolters with Leadbelcher. I named it "Cyklop" after an A7V tank in German service in WWI. (My Shadowsword is named "Wotan" for the same reason)
I'd also mudded up the tracks with artist's gel medium basing stuff to match the muddied look of my Shadowsword. Mud was brushed up with Dryad Bark and Mournfang Brown.
Just for some visual interest and to break up the expanse of grey, I decided to paint in a white aerial recognition stripe for this Titan-killer. Note the exposed powerplant.
Rear 3/4 view shows the massive exhaust stacks. Try passing California smog checks with those!
The auto-shrine is visible in this shot as well.
I really like the massive... presence of the GW super-heavies.
Cross tactical marking also matches the Shadowsword. I used a decal from a 1/72 WWI airplane kit and filled in the white background with paint. Death's head is from the Tamiya 1/48 StuG III kit.
Paintwork was heavily chipped with a sponge. The stripe was weathered first with Codex Grey chipping, then with a mix of black and Dryad Bark to represent deeper chips. Lenses painted and glossed in standard technique.
View from the business end.
Powerplant close-up.
Here are the two super-heavies together. It'll have to be a big game to accommodate these two, but we have plans...
Monday, February 9, 2015
Afternoon Project - Imperial Bastion Lascannon
You know how you have stuff hanging around from projects? Well, this bit was left over from the Imperial Bastion that I built in, oh, about 2013. I finally got sick enough of seeing it in the terrain drawer that I decided to take an hour or so and just paint the dam' thing. It was even already primed!
Basecoat Castellan Green and Leadbelcher. Highlight with a mix of Castellan and Camo Green. Wash with Agrax Earthshade. Apply decals from bits box, apply sponge chipping with a mix of craft black and Rhinox Hide. Chip lightly with Leadbelcher.
Paint lenses in the usual way, spray with Testor's Dullcote. Apply gloss 'Ardcoat to lenses. Done.
I actually really like this model, simple as it is. It'll be great for a sentry gun or the like in a Rogue Trader game, or as part of the Imperial Bastion model or an Aegis Defence Line.
Subscribe to:
Comments (Atom)

