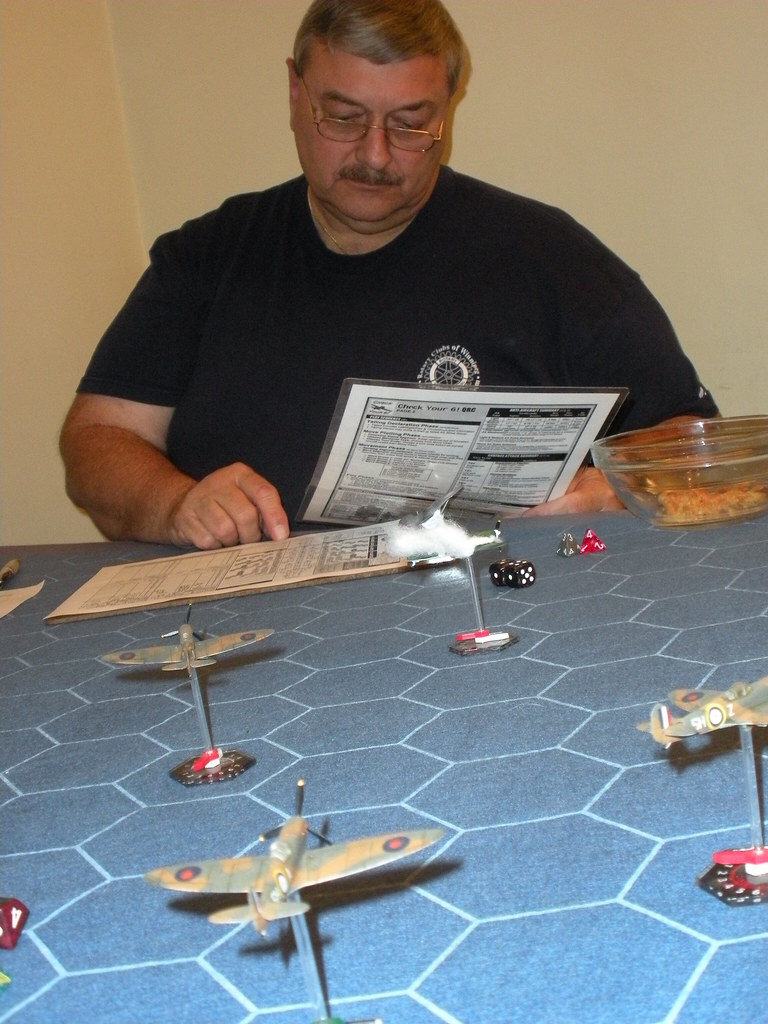
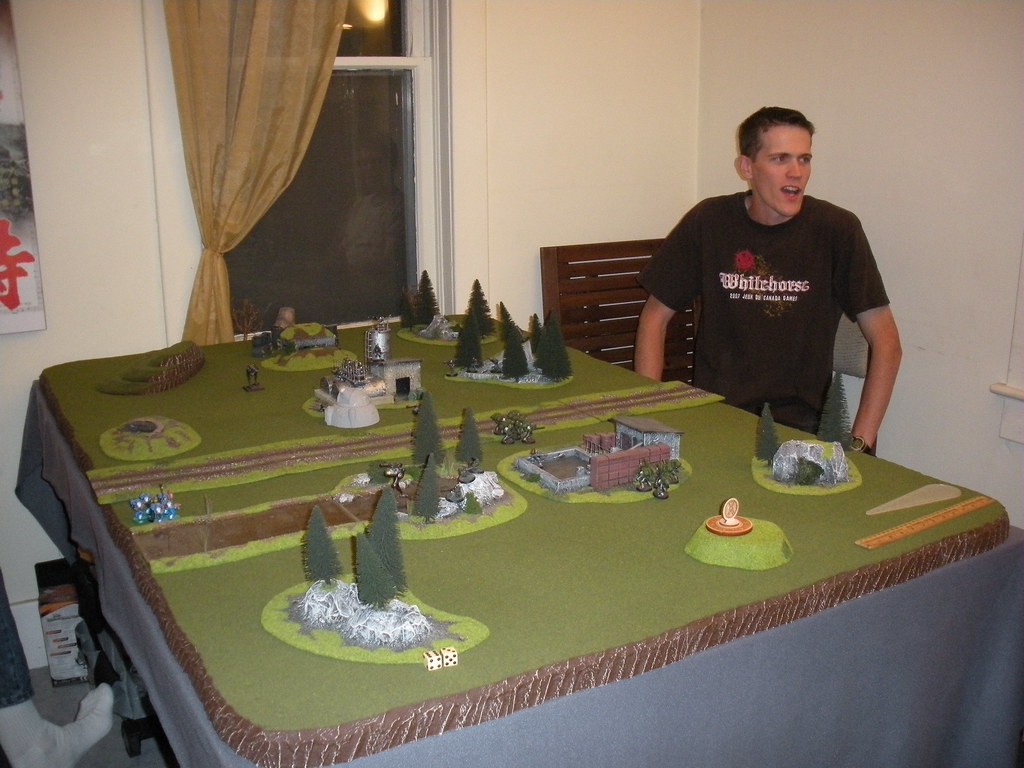
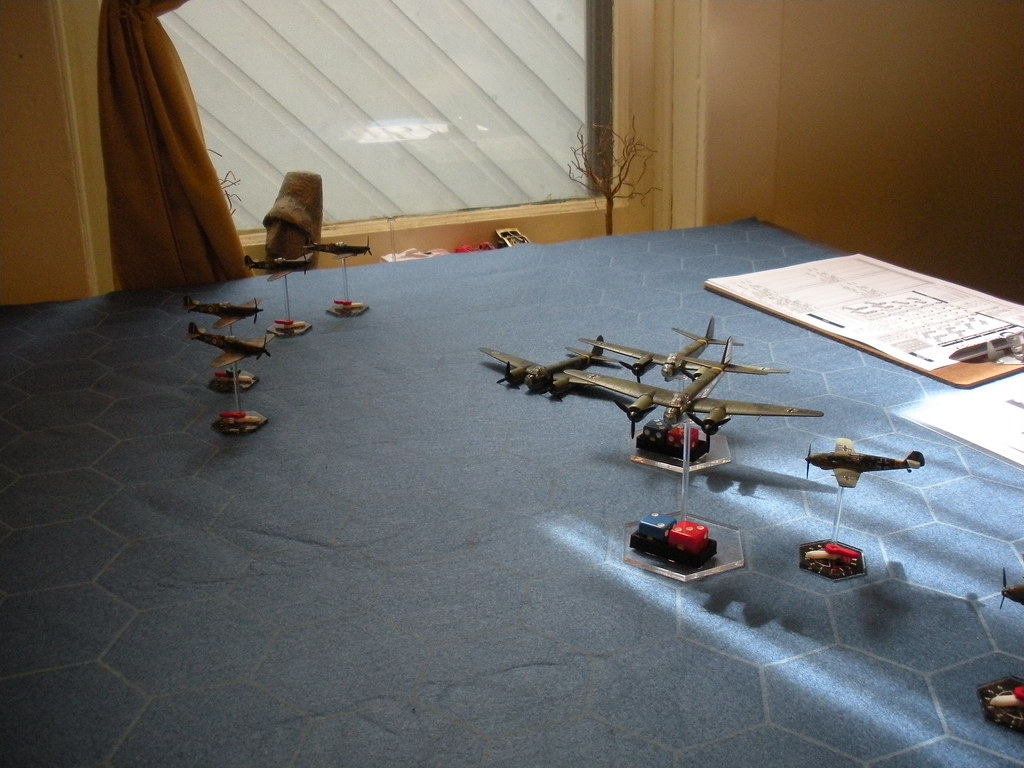
The table had the contents of a crashed spaceship scattered about, with woods, craters, some ruins and ridges all around. To win the scenario a player's forces had to merely hold more objectives than their opponent - there were 6 large containers randomly scattered about.
There was also on-table the spaceship's pilot, who counted for battle points in tournament play but here in a friendly game merely added colour to the proceedings. The pilot moved a random distance each turn, away from the nearest models; he would fire his pistol (ineffectually, as it turned out) at the closest target. He could be captured by being defeated in close combat.
The containers could be picked up by any model with "hands" moving into contact in the movement phase. Holding a container disallowed that model from shooting. The container would be dropped if the model's squad broke, or if the model's squad was assaulted.
When first picked up a container might explode on a roll of "1" on a D6, with a S7 AP4 large blast marker. That would really wreck an Eldar Aspect Warrior's afternoon!
My Eldar Swordwind:
HQ
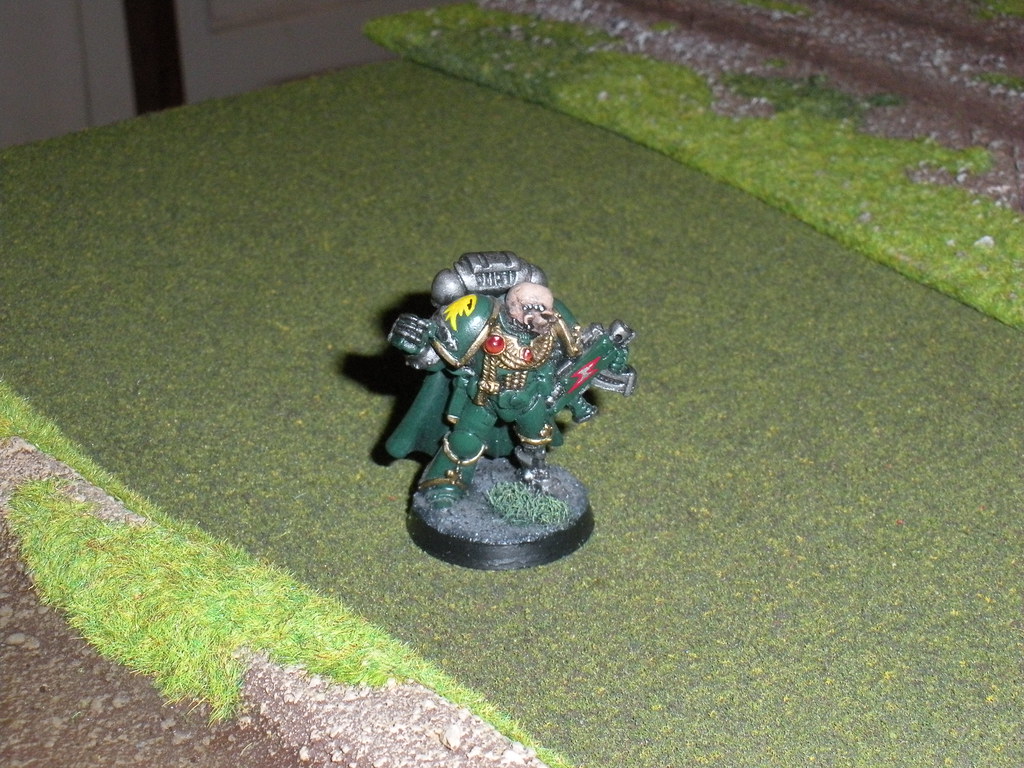
Sword-of-the-Lord - Farseer, Doom, Eldar Jetbike, Runes of Warding, Singing Spear
Warrior of Surprise - Autarch, Eldar Jetbike, Fusion Gun, Laser Lance, Banshee Mask
TROOPS
Companions - Dire Avengers x 10
- Far-Darter - Exarch upgrade, Bladestorm, 2nd Avenger Shuriken Catapult
- Ancient Whispers - Wave Serpent, TL Shuriken Cannon, Shuriken Cannon Upgrade
Blood Redeemers - Dire Avengers x 10
- Pious - Exarch upgrade, Bladestorm, Diresword and Shuriken Pistol
- Peacemaker - Wave Serpent, TL Bright Lances
ELITES
Blade Dancers - Howling Banshees x 10
- Angelic Rhapsody - Exarch upgrade, Executioner
- Fencing Master - Wave Serpent, TL Shuriken Cannon
Fate’s Tears - Fire Dragons x 8
- The Kid - Wave Serpent, TL Shuriken Cannon
FAST ATTACK
Breaking Waves - Shining Spears x 3 (sorry, two of the jetbikes have unfinished bases...)
- Winter's Knight - Exarch upgrade, Star Lance
Dreamweavers - Warp Spiders x 5
- Soul Hunter - Exarch upgrade, Dual Death Spinners
HEAVY SUPPORT
War Prayer – Fire Prism
Total: 1699 points
Opponent: Chris' Chaos Space Marines(IIRC):
Chaos Champion w/ demon weapon riding a Juggernaut of Khorne (giving a possible 18 close combat attacks!)
Winged Demon Prince with Warp Time
Demon (summoned)
Chaos Terminator squad w/ TL bolters and power fists (Champion rode with them)
Khorne Berzerker squad w/ Rhino APC
Chaos Space Marine squad
Heavy Weapon squad w/ 4(!) heavy bolters
Heavy Weapon squad w/ 2 missile launchers and 2 lascannons
Havoc squad w/ plasma guns and jump packs
The objectives were placed across the board. Two were just outside the deployment zone on the southern long table edge (deployment was 12 inches in from the long table edges), three near the northern deployment zone, one near the middle of the western (short) table edge, and the pilot was placed mid-table.
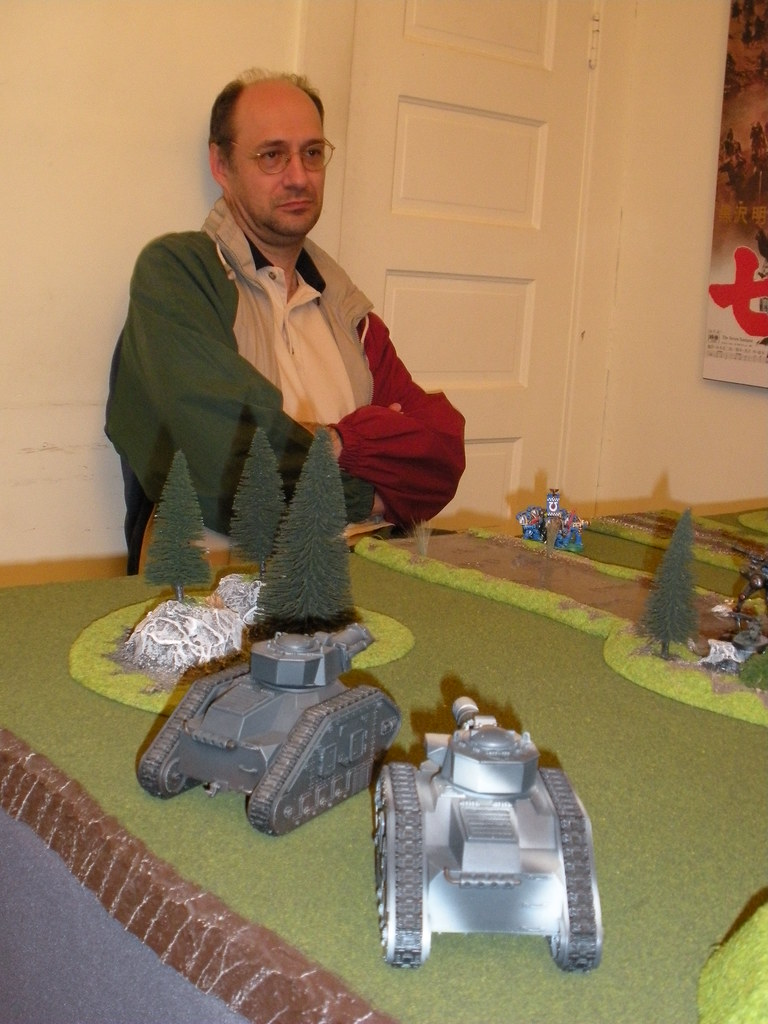
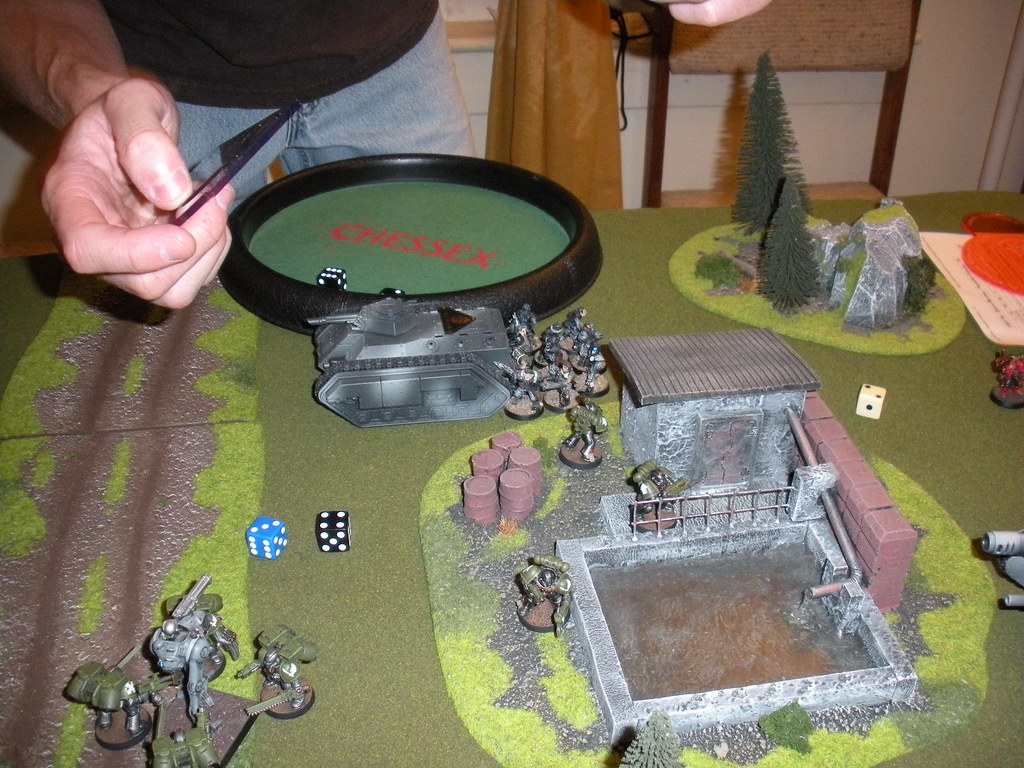
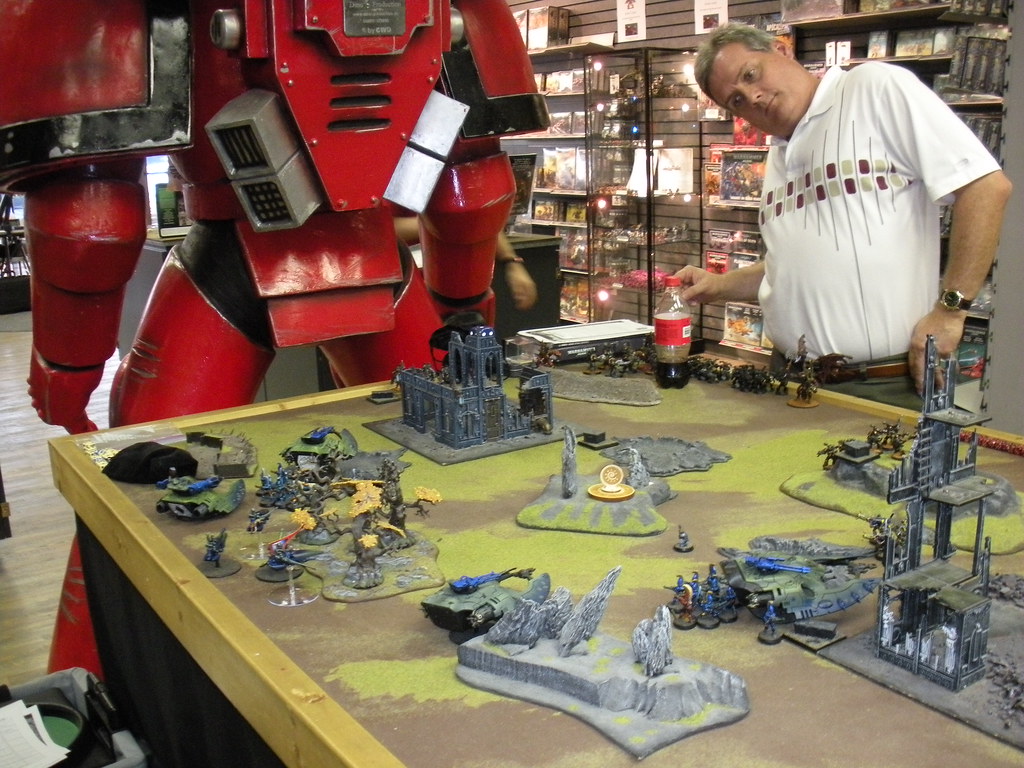
Only Troops could set up. The Eldar won the roll so chose to go second. Chaos went first and set up the Chaos Space Marine squad and a dismounted Khorne Berzerker squad with their Rhino close by, all in the northern deployment zone. The Eldar set up two Dire Avenger squads, keeping everything else off the table in reserve. The Warp Spiders would deep strike (I wanted that downed pilot; more on that later). The jetbike Autarch joined up with the Shining Spears.
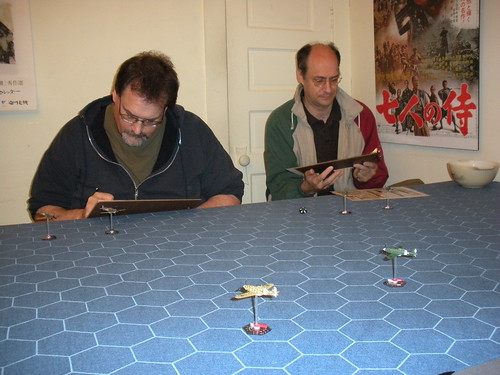
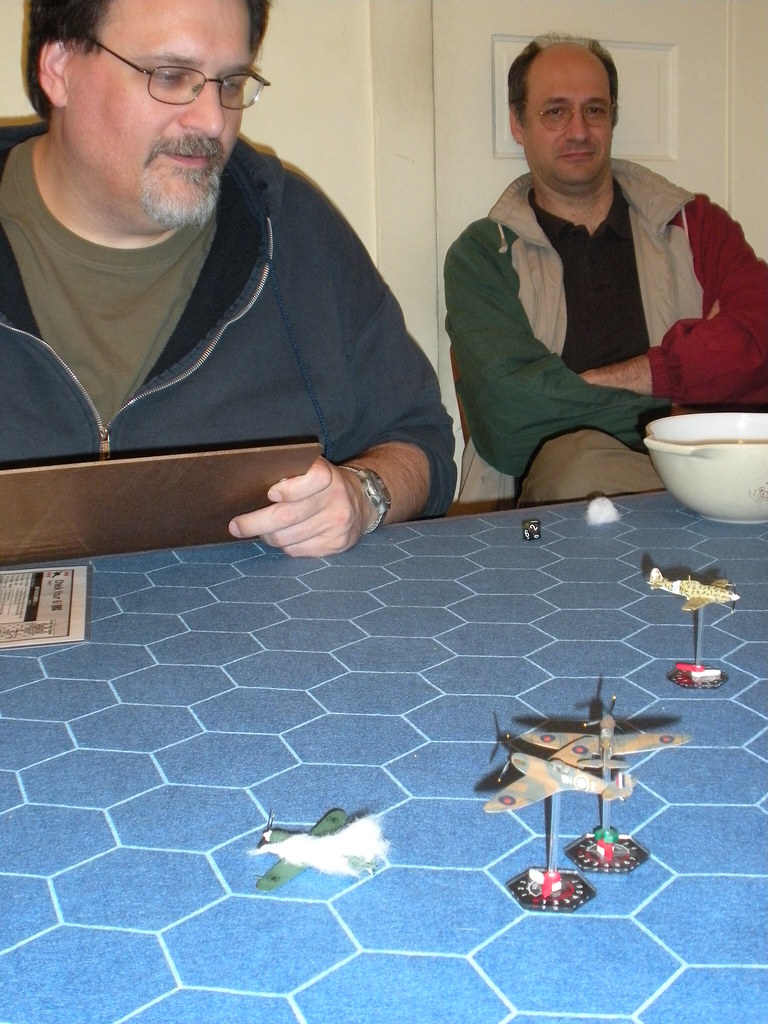
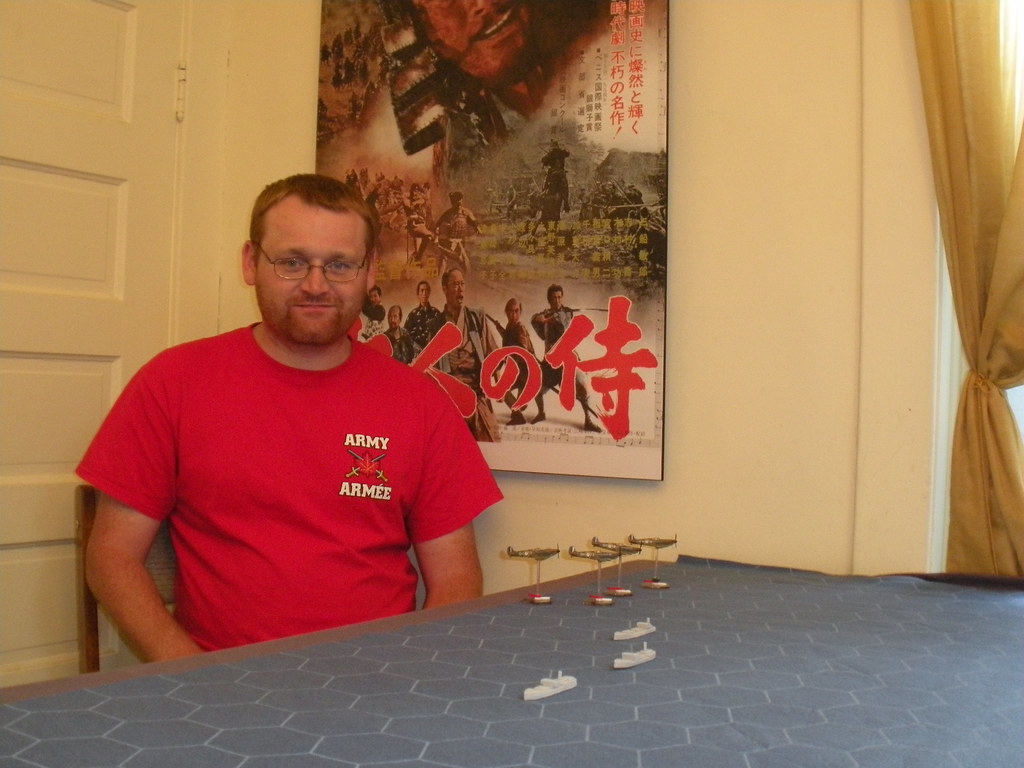
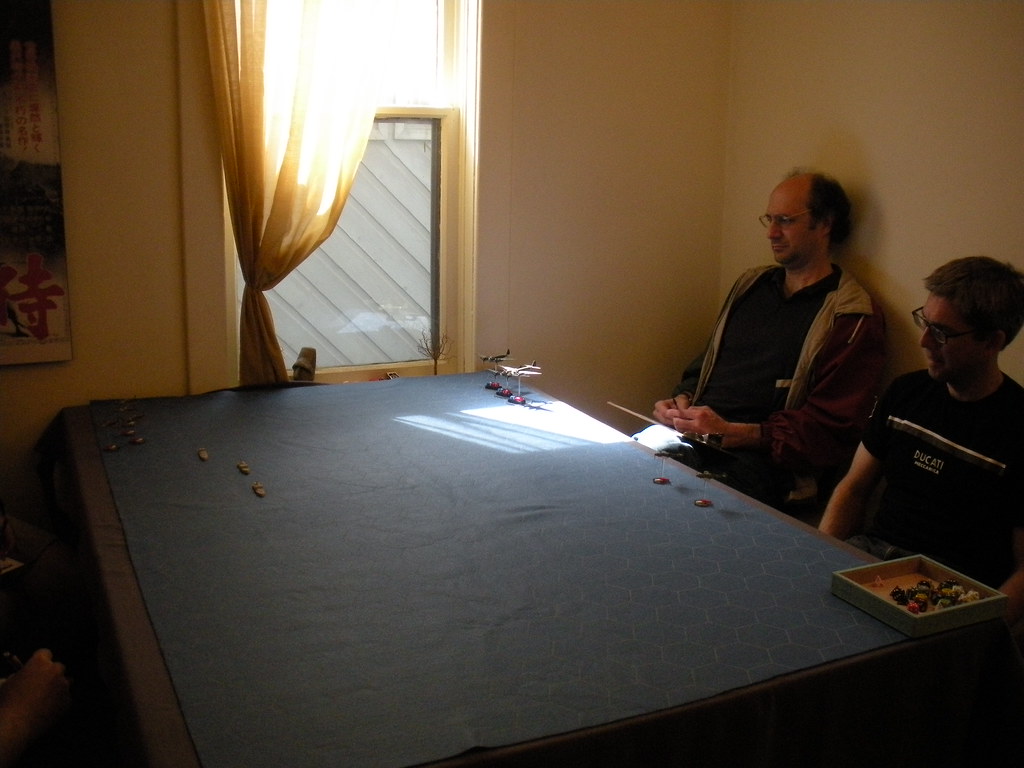
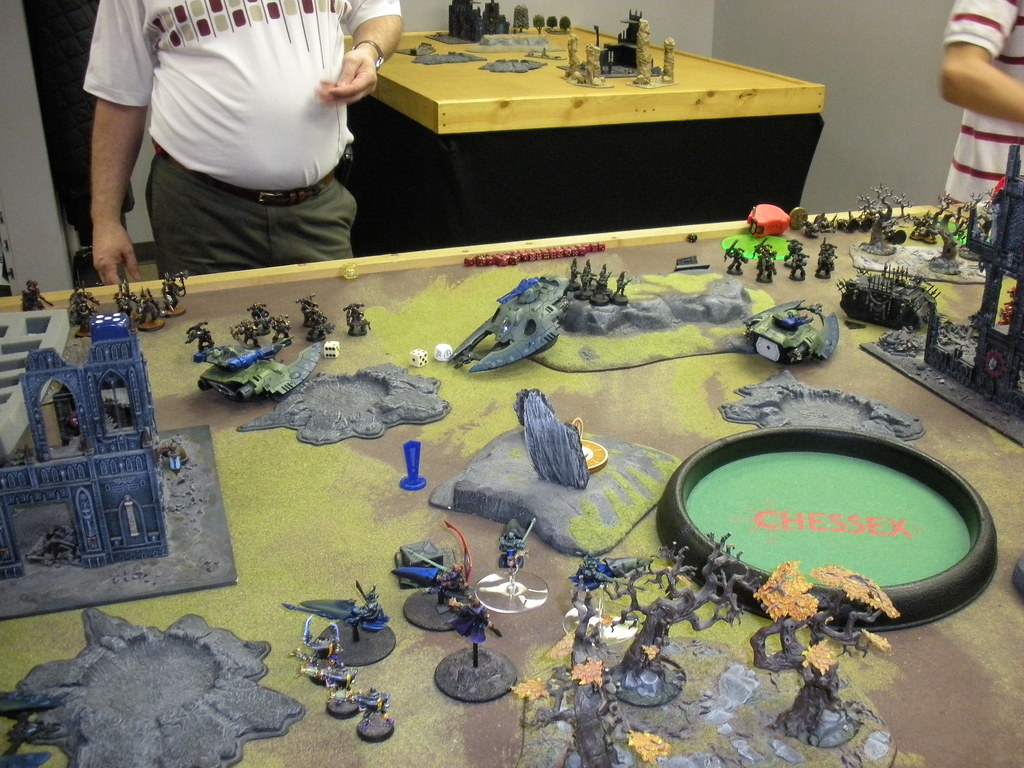
In the photo below, Chris can be seen contemplating his tape measure.
(Click the photos for larger images.)

The pilot ran for the Eldar table edge, away from the Chaos Space Marines.
Reserves started in the first turn on a roll of a "5" and had a slight possibility of coming in from the short table edges. Some of the Chaos forces had their dark gods' favour, and the Havocs came in from the western table edge to seize a container, which failed to explode.

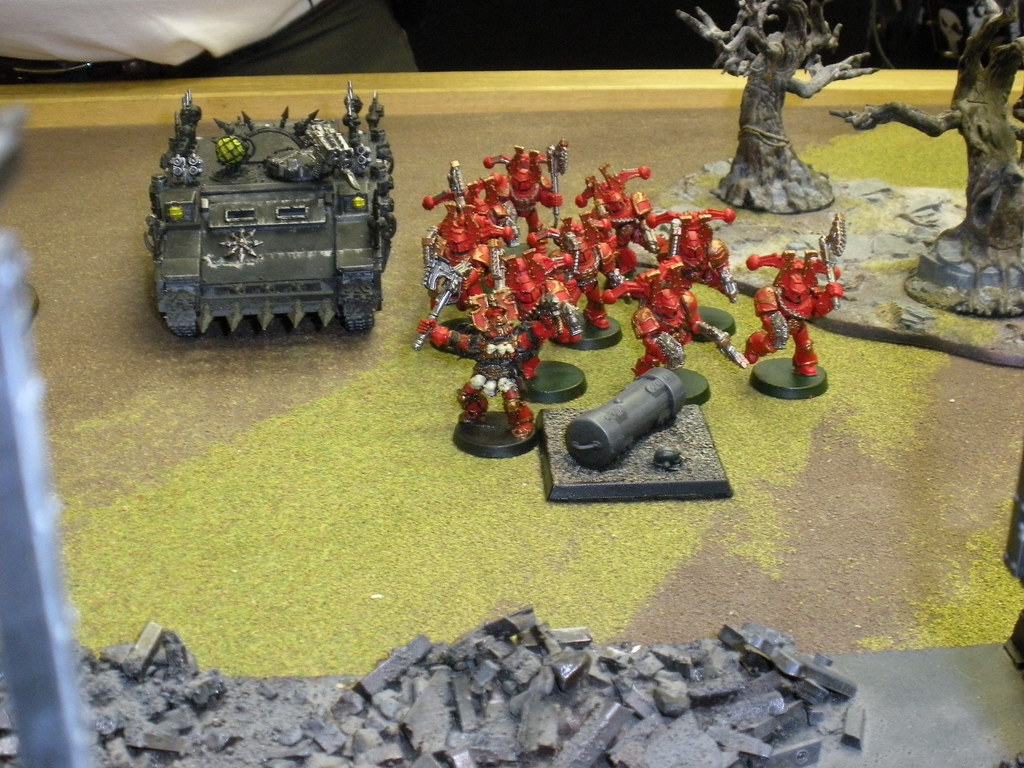
The Berzerkers seized the easternmost objective near the Chaos deployment zone.
The Chaos Space Marines seized a third container.
Score: Chaos = 3 containers, Eldar = 0 containers
In the Eldar turn, the Autarch/Spears, mounted Fire Dragons, Fire Prism and Warp Spiders all showed up. The Fire Prism and bike reinforcements came on in the southwest table quarter, the Dragons stayed mounted in the centre. The Avengers dismounted from their respective Wave Serpents and seized two objectives. Concentrated shuriken cannon and prism cannon fire killed 4 Havocs, but their morale held.
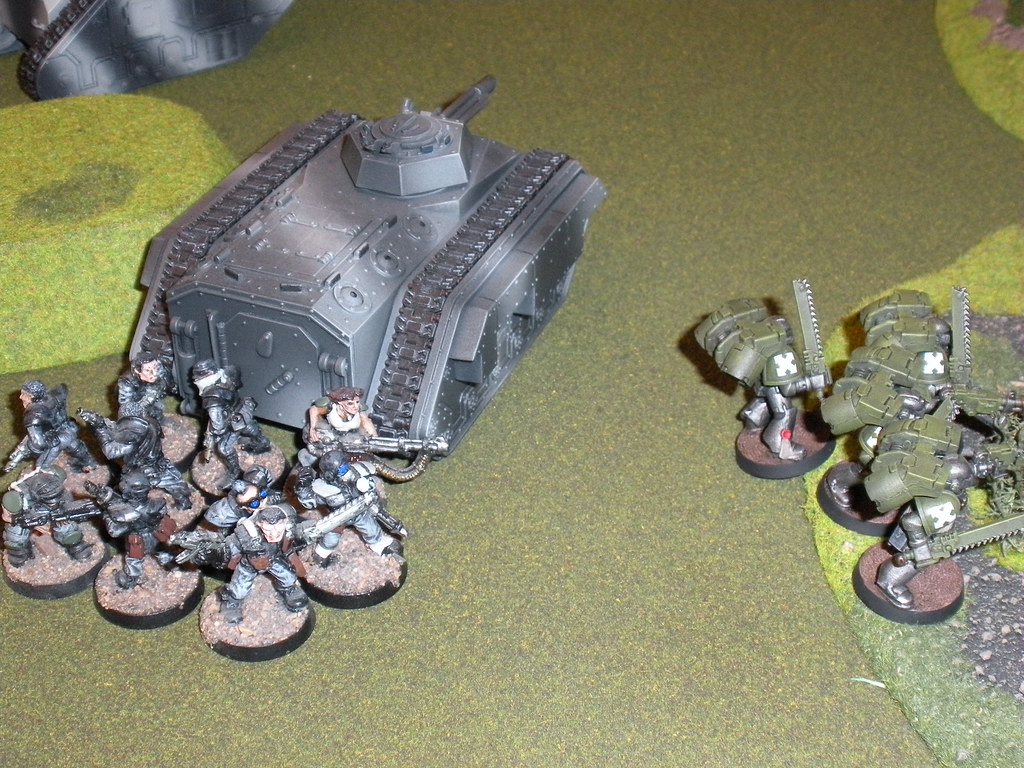
The Spiders had deep struck northeast of the pilot (I managed to roll a "Hit" and stick for a change). The Spiders shot and immobilized the Chaos Rhino, which was stuck for the rest of the game. They used their second assault jump to move south and west, herding the pilot toward the Eldar lines as, under the rules of the scenario, he would move away from them.
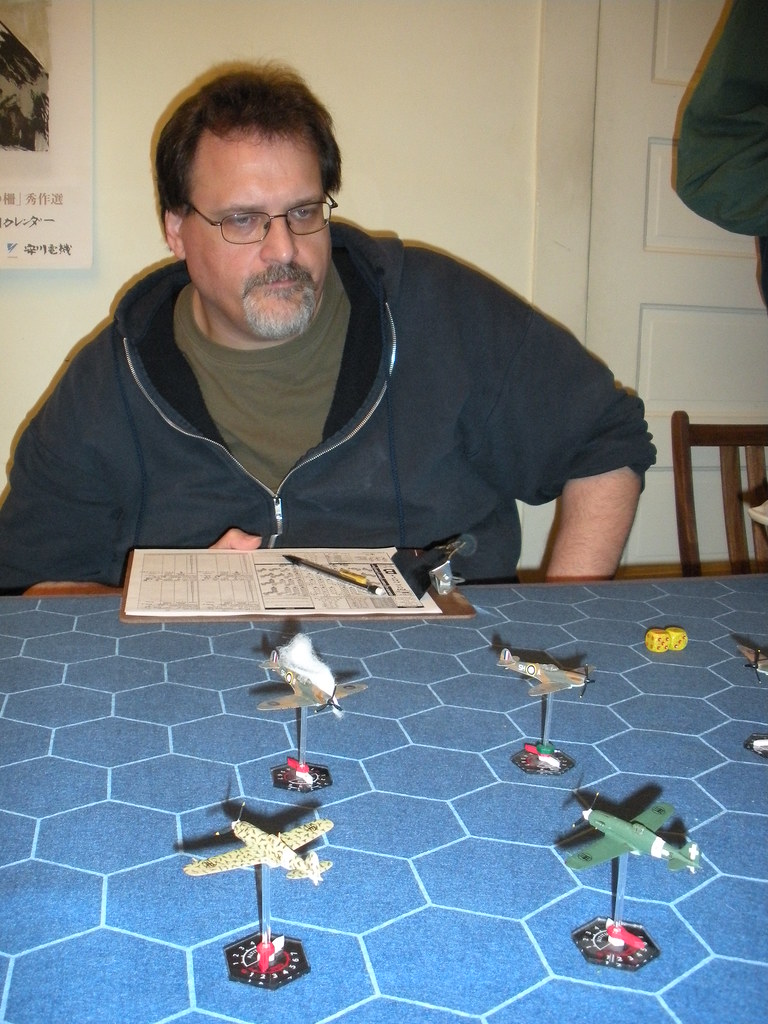
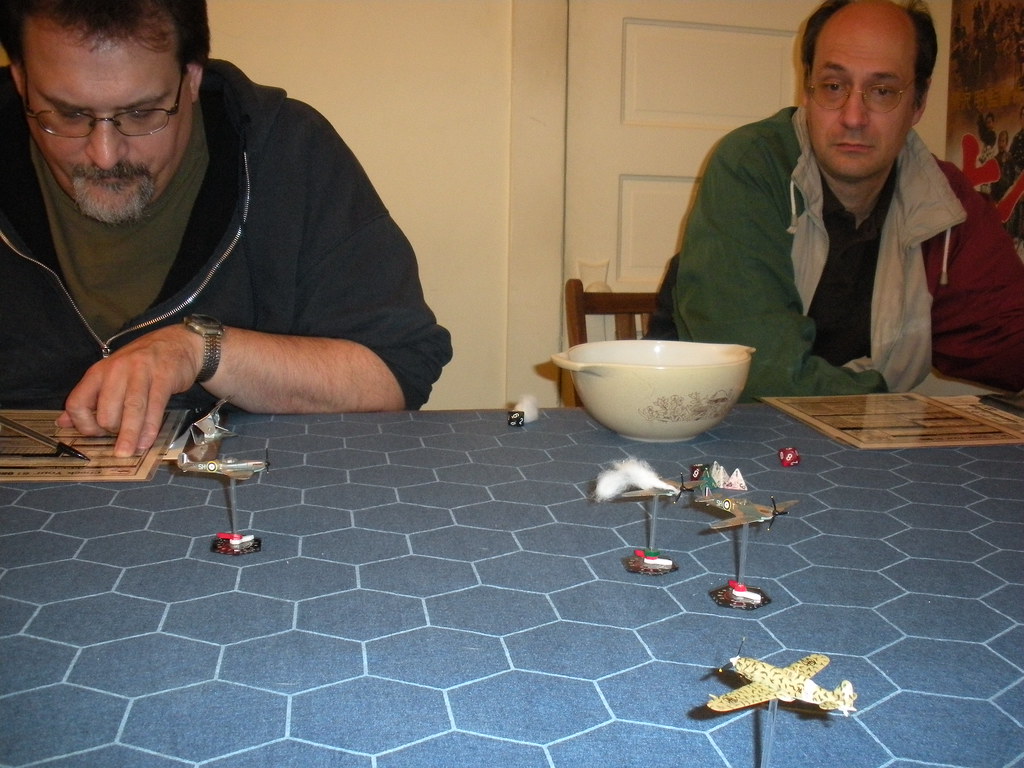
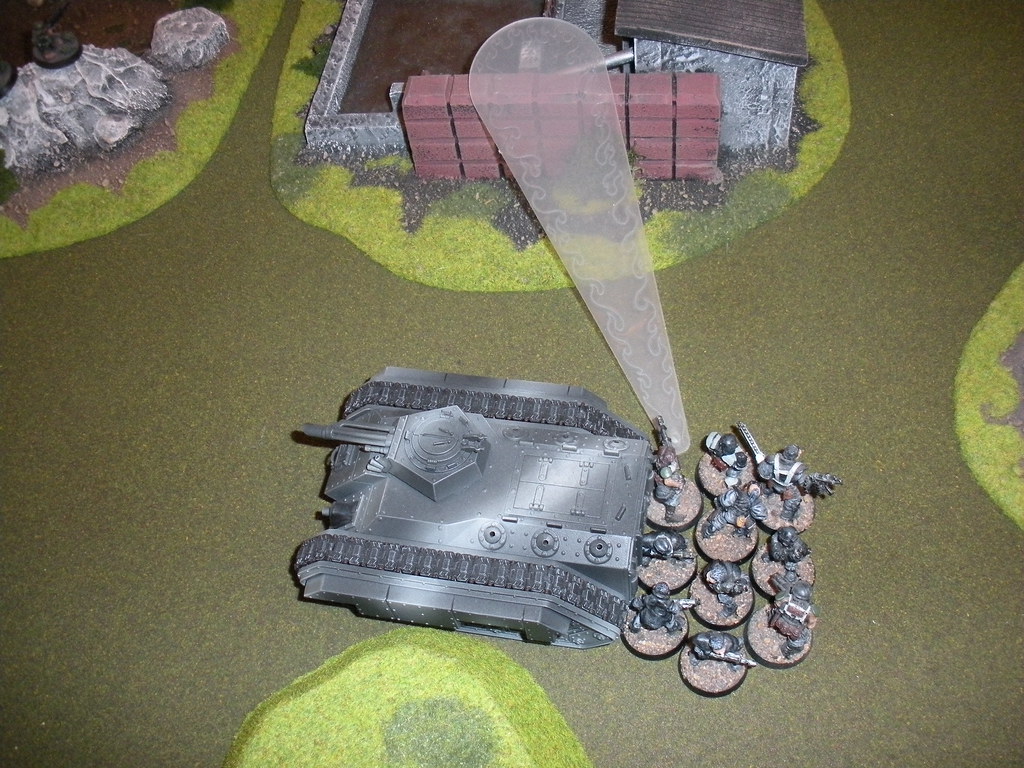
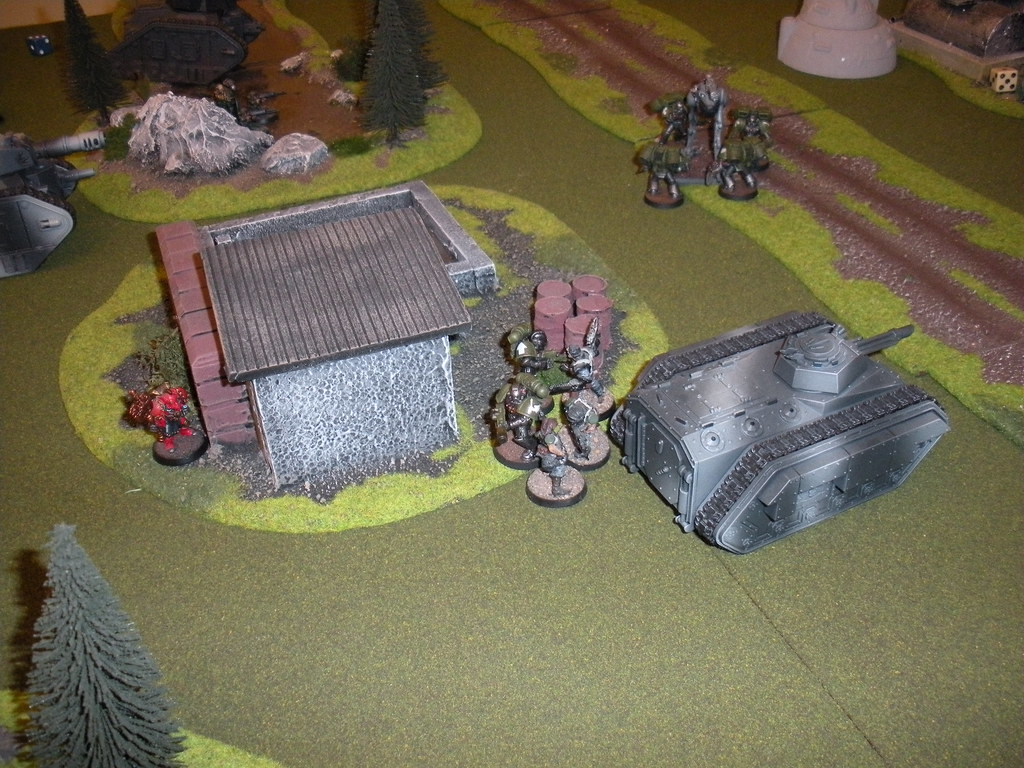
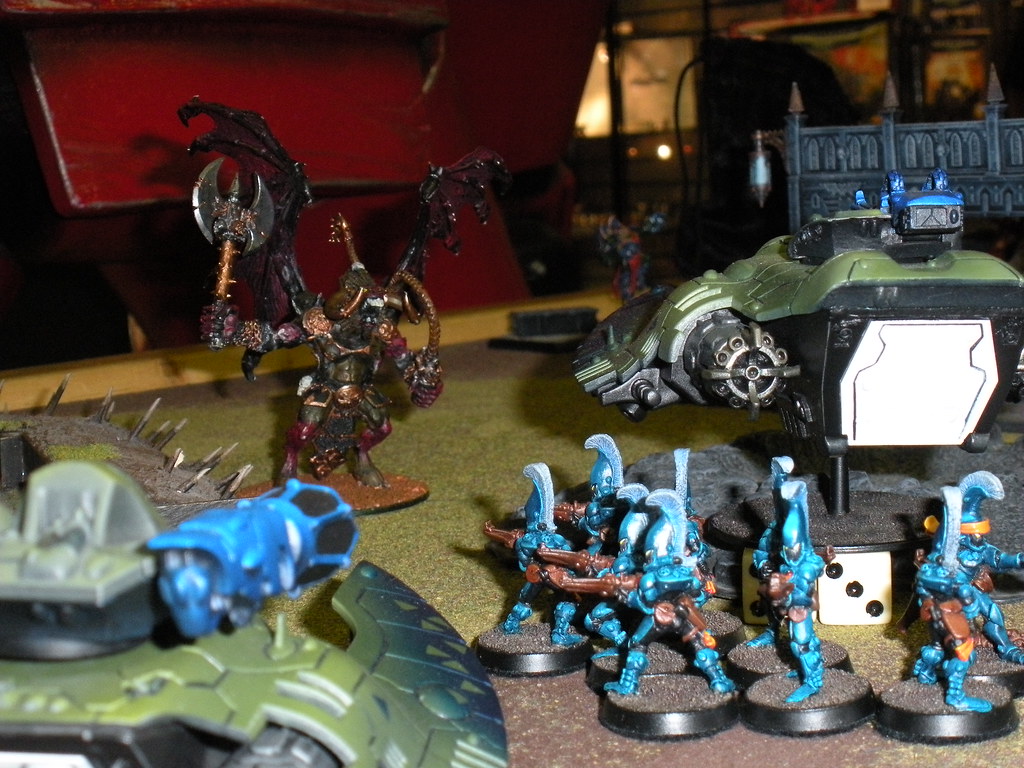
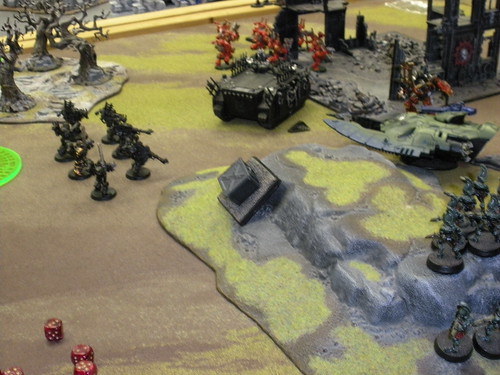
In the photo below, the pilot can be seen crouching in the foreground. To the right, the Warp Spiders can be seen after their deep strike. In the background, the Chaos Space Marines contemplate the objective they've seized.
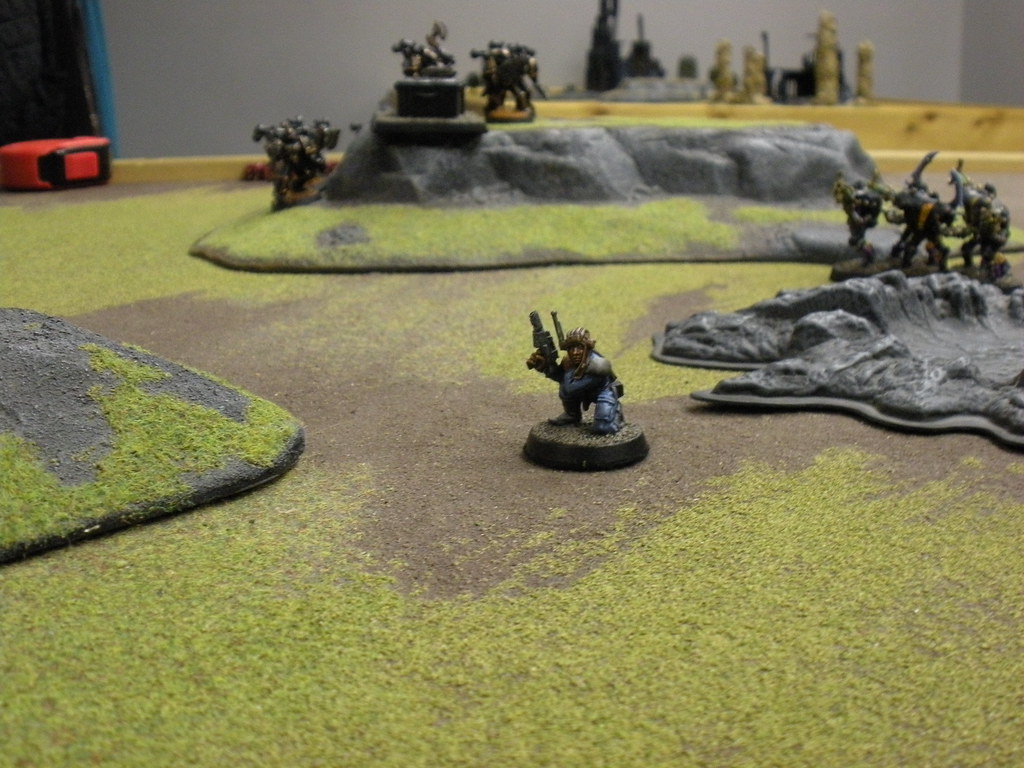
Score: Chaos = 3 containers, Eldar = 2 containers
The Chaos Space Marines and the surviving Havoc moved back north a little, away from the action. The Berzerkers moved towards the ruins located to the south of them, to gain cover.
Only one Chaos unit showed up from reserves. The winged demon prince appeared on the western board edge. Chris had a couple of options open to him. He could reinforce the lone Havoc holding an objective, or he could attack the bunched up Eldar. No guts, no glory, eh?
The demon prince tried to assault though bad going, rolling a "5" - he was short of contacting a Dire Avenger by maybe a couple of millimeters, so he failed to move at all during the assault phase. Uh-oh, incoming...
During the Eldar turn, the Warp Spiders jumped to a position just east of an unattended objective. The mounted Banshees showed up, moving up the midfield. The Farseer decided to show up, coming on near the southern table edge to support the Banshees. The Fire Prism advanced and shot at the Chaos Space Marines, killing a couple.
The two Dire Avenger squads loaded their objectives into their Wave Serpents, which moved off west and south, respectively.
Note that this was a calculated risk. Under the scenario rules, the model holding a container could pass it into a vehicle, where it would take up a passenger space. This was good, since the Eldar could keep the objectives under tank armour. However, if the vehicle was destroyed, the unattended (that is, uncarried)prize would ALSO be destroyed. The safest option would have been to have a squad carrying a container mount up.
One Avenger squad advanced south towards the pilot.

The two-gun Exarch Avenger squad moved to join the now dismounted Fire Dragons and the Shining Spears in an extended firing line facing the demon prince.
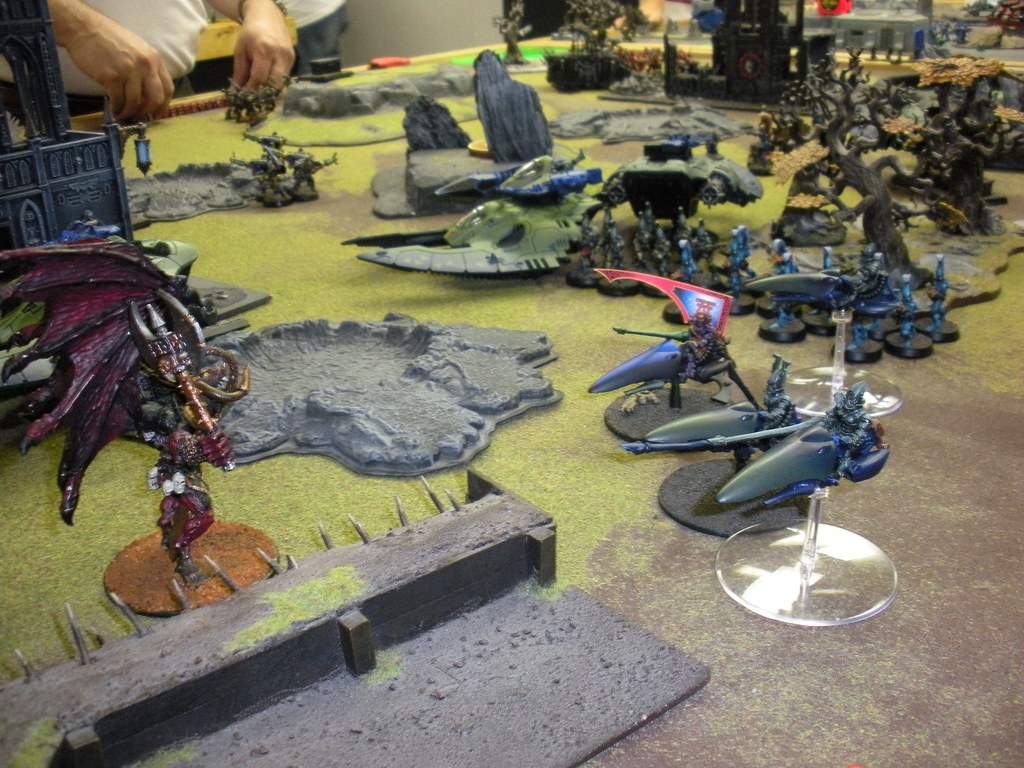
After the Autarch and the Fire Dragons finished firing their Fusion Guns, the demon prince's physical body was utterly destroyed, its essence banished back to the Warp.
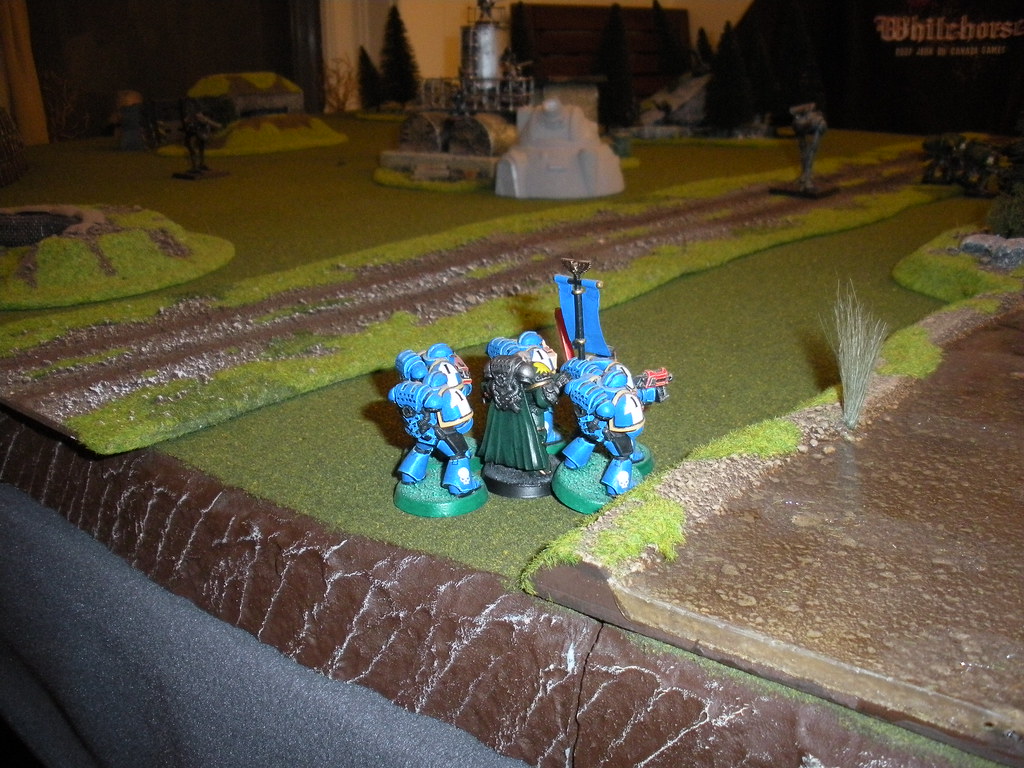
As the turn wound down, the Blood Redeemers assaulted and captured the downed pilot.
Score: Chaos = 3 containers, Eldar = 2 containers, plus the pilot
The following turn the Chaos forces, true to form, only received one squad from reserves, the lascannon/missile squad, who moved on in the northeast table quarter. The Berzerkers dug-in in the ruins to the east. The lone Havoc jumped northwards, behind the ruins to the west.
The Farseer joined the rest of the jet bikers in the centre, and the mounted Banshees pushed north - both these units were offered as bait to take fire off of the objective carrying Serpents. Meanwhile, the two Avenger squads mounted up with their various prizes and hightailed it south and west.
The Warp Spiders teleported northwest to both grab an objective and put fire on the Havoc. The lone Havoc was cut to shreds in a cloud of mono-filament wire, leaving his container unattended.

Score: Chaos = 2 containers, Eldar = 3 containers, plus the pilot
The next couple of turns progressed at a rapid pace as the last of the Chaos reserves made it onto the table. The lascannon squad ignored the tempting Eldar bait and tried to down an Avenger Serpent - however its energy field and cover negated all hits.
The demon in reserve appeared amongst the Berzerkers. The champion on the Juggernaut and his Terminator guards moved on in the northwest and seized the objective left by the fallen Havocs. The second Chaos heavy weapon squad moved on next to them and gunned down a couple of Spiders, who broke and dropped their container. The Autarch then moved to seize hold of the discarded container as the Spiders rallied.
The Fire Prism advanced deep into the Chaos zone, killing some Chaos Space Marines
The mounted Banshees and Dragons advanced northwards. The Avengers withdrew towards the relative safety of the southwest table quarter.
The Fire Dragons dismounted and blew away the Chaos Space Marine squad.
Score: Chaos = 2 containers, Eldar = 3 containers, plus the pilot
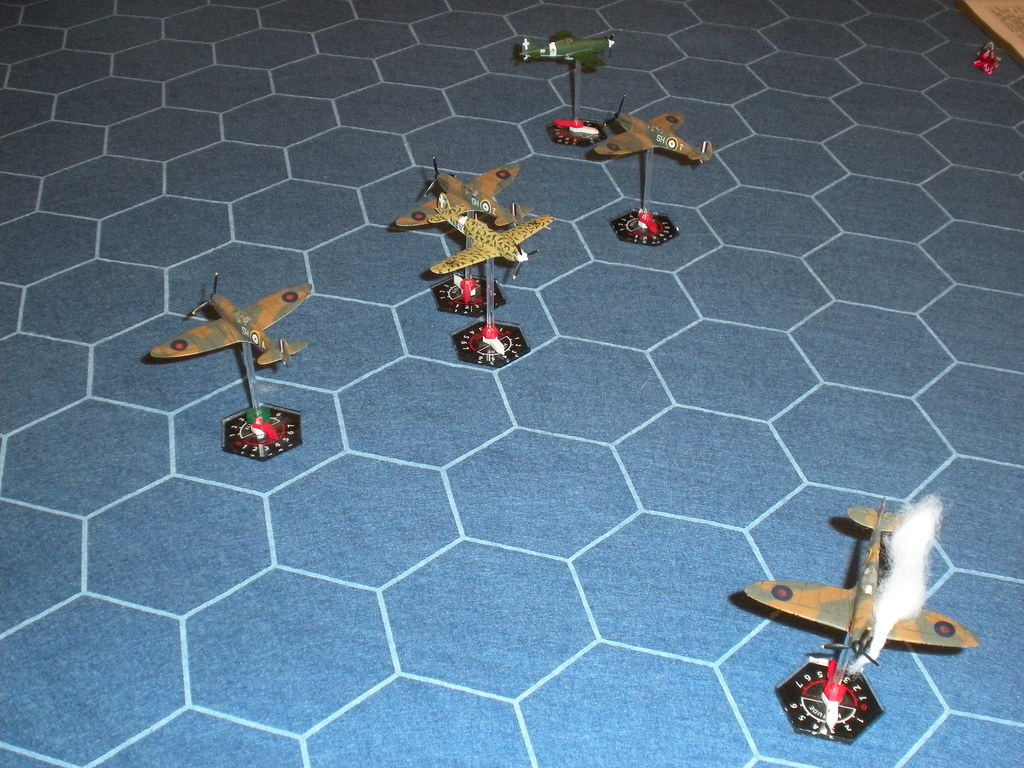
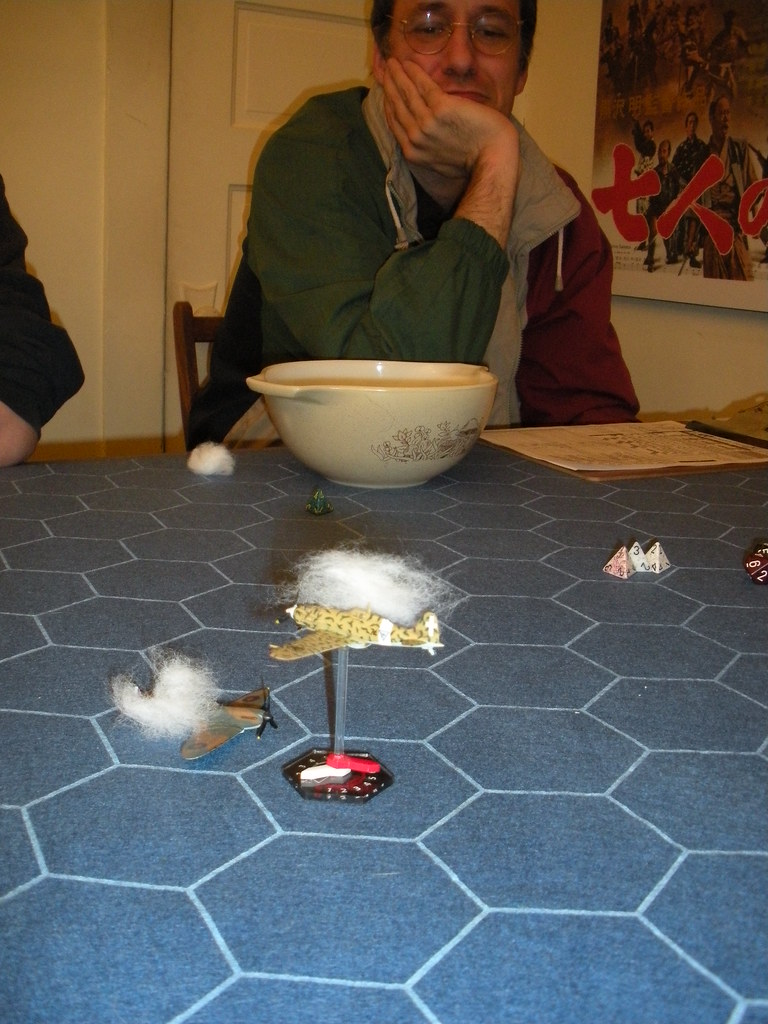
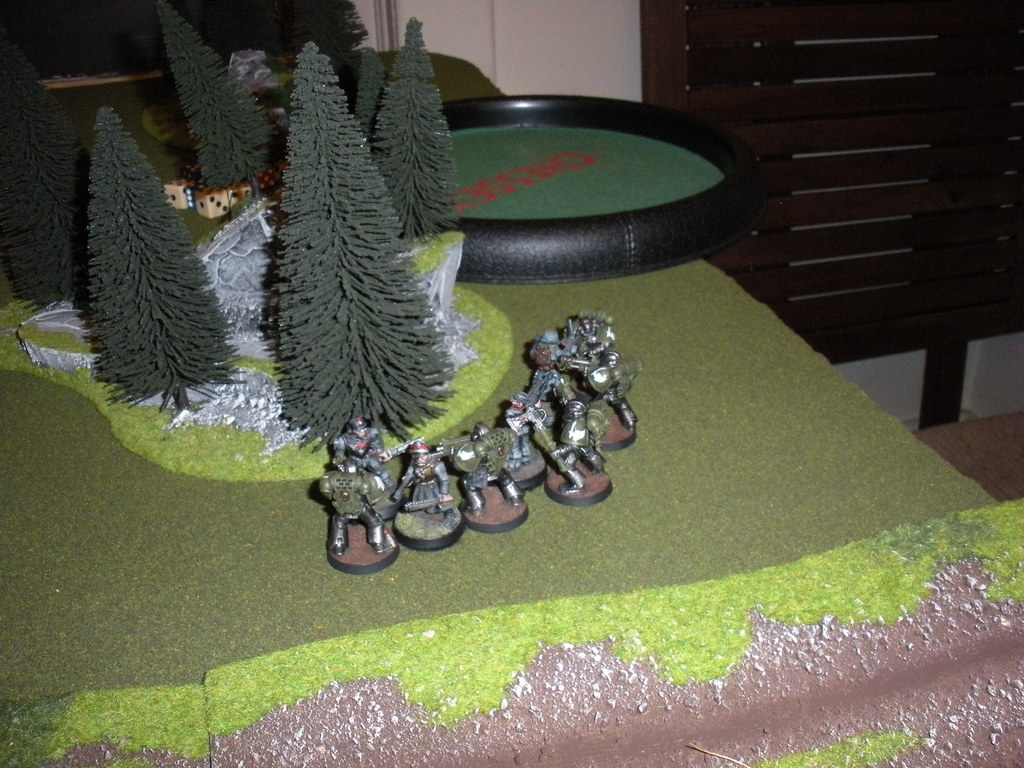
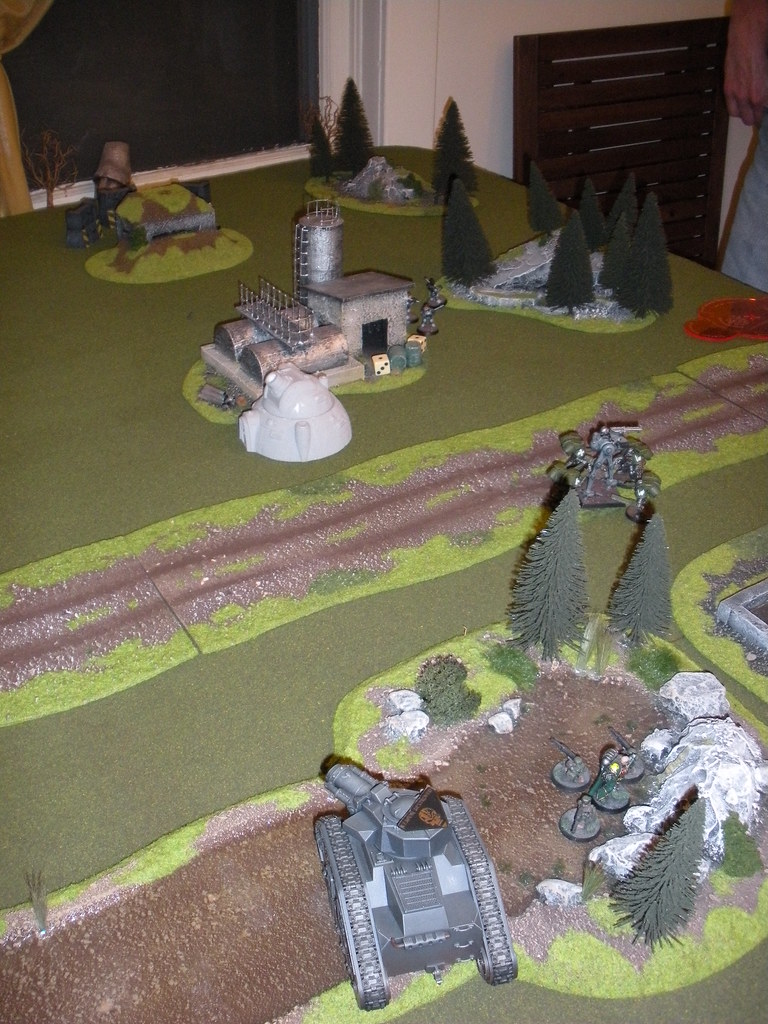
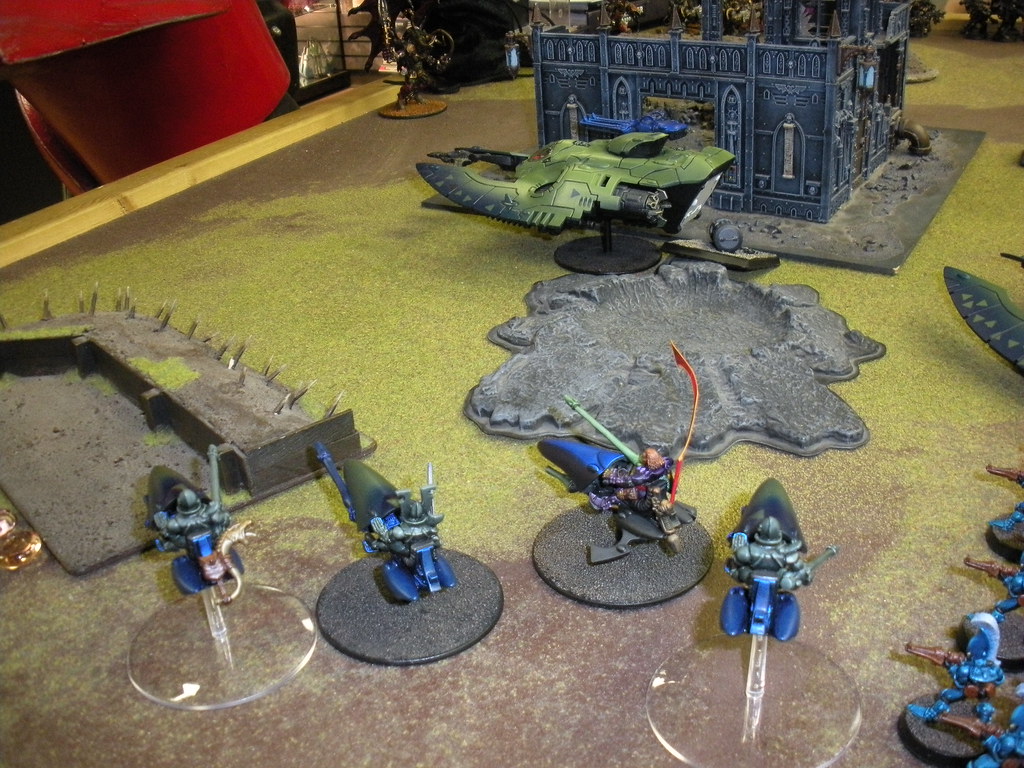
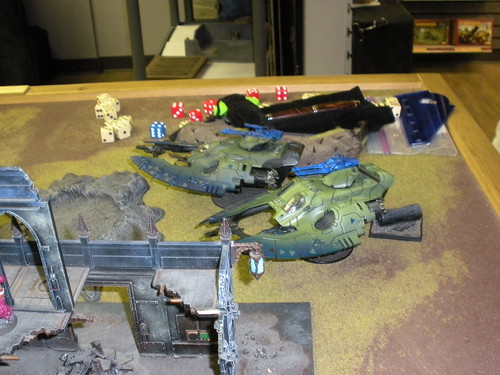
In the photo below, looking south the Avengers can be seen taking cover in their vehicles behind some ruins.
Return fire killed some Dragons, but their morale held. The surviving demon attacked the Banshees' Serpent in close combat, blowing it up, leaving six survivors.

As the game wound down, I made a tactical error. Instead of mounting up the surviving Dragons, I advanced them towards the lascannon/missile squad. After killing some, the heavy weapon troopers' morale broke and Chris declined to re-roll their Leadership. They retreated out of "move, run and charge" range of the Banshees.
The heavy weapon squad rallied, but couldn't get close enough to the last container. The Dragons were gunned down. It took a turn for the demon to fight off the Banshees. The rest of the Eldar moved away from the action, whereupon the game ended at the bottom of the sixth turn.

Final Score: Chaos = 2 containers, Eldar = 3 containers, plus the pilot
The Eldar managed to eke out the win.
Al in all it was a fast, tense and highly enjoyable game.
Eldar Tactica Critique:
With regard to the unneeded sacrifice of the Dragons and the Banshees, what I probably should have done was mount up the surviving Dragons and place their boat about an inch off the north table edge, facing south. The Banshees were well within charge reach of the heavy weapons squad, which would have pulled them away from the demon.